Film grain in digital photography
I still remember the times as a kid watching my father loading a film roll into analoge camera from a small colorful boxes which I still keep in my desk at home. Every time I look those old Fuji and Kodak film stock packaging memories are instantly back. These are the times when photography shaped my childhood, introducing me to passion for capturing the images of things and views that are surrounding me.
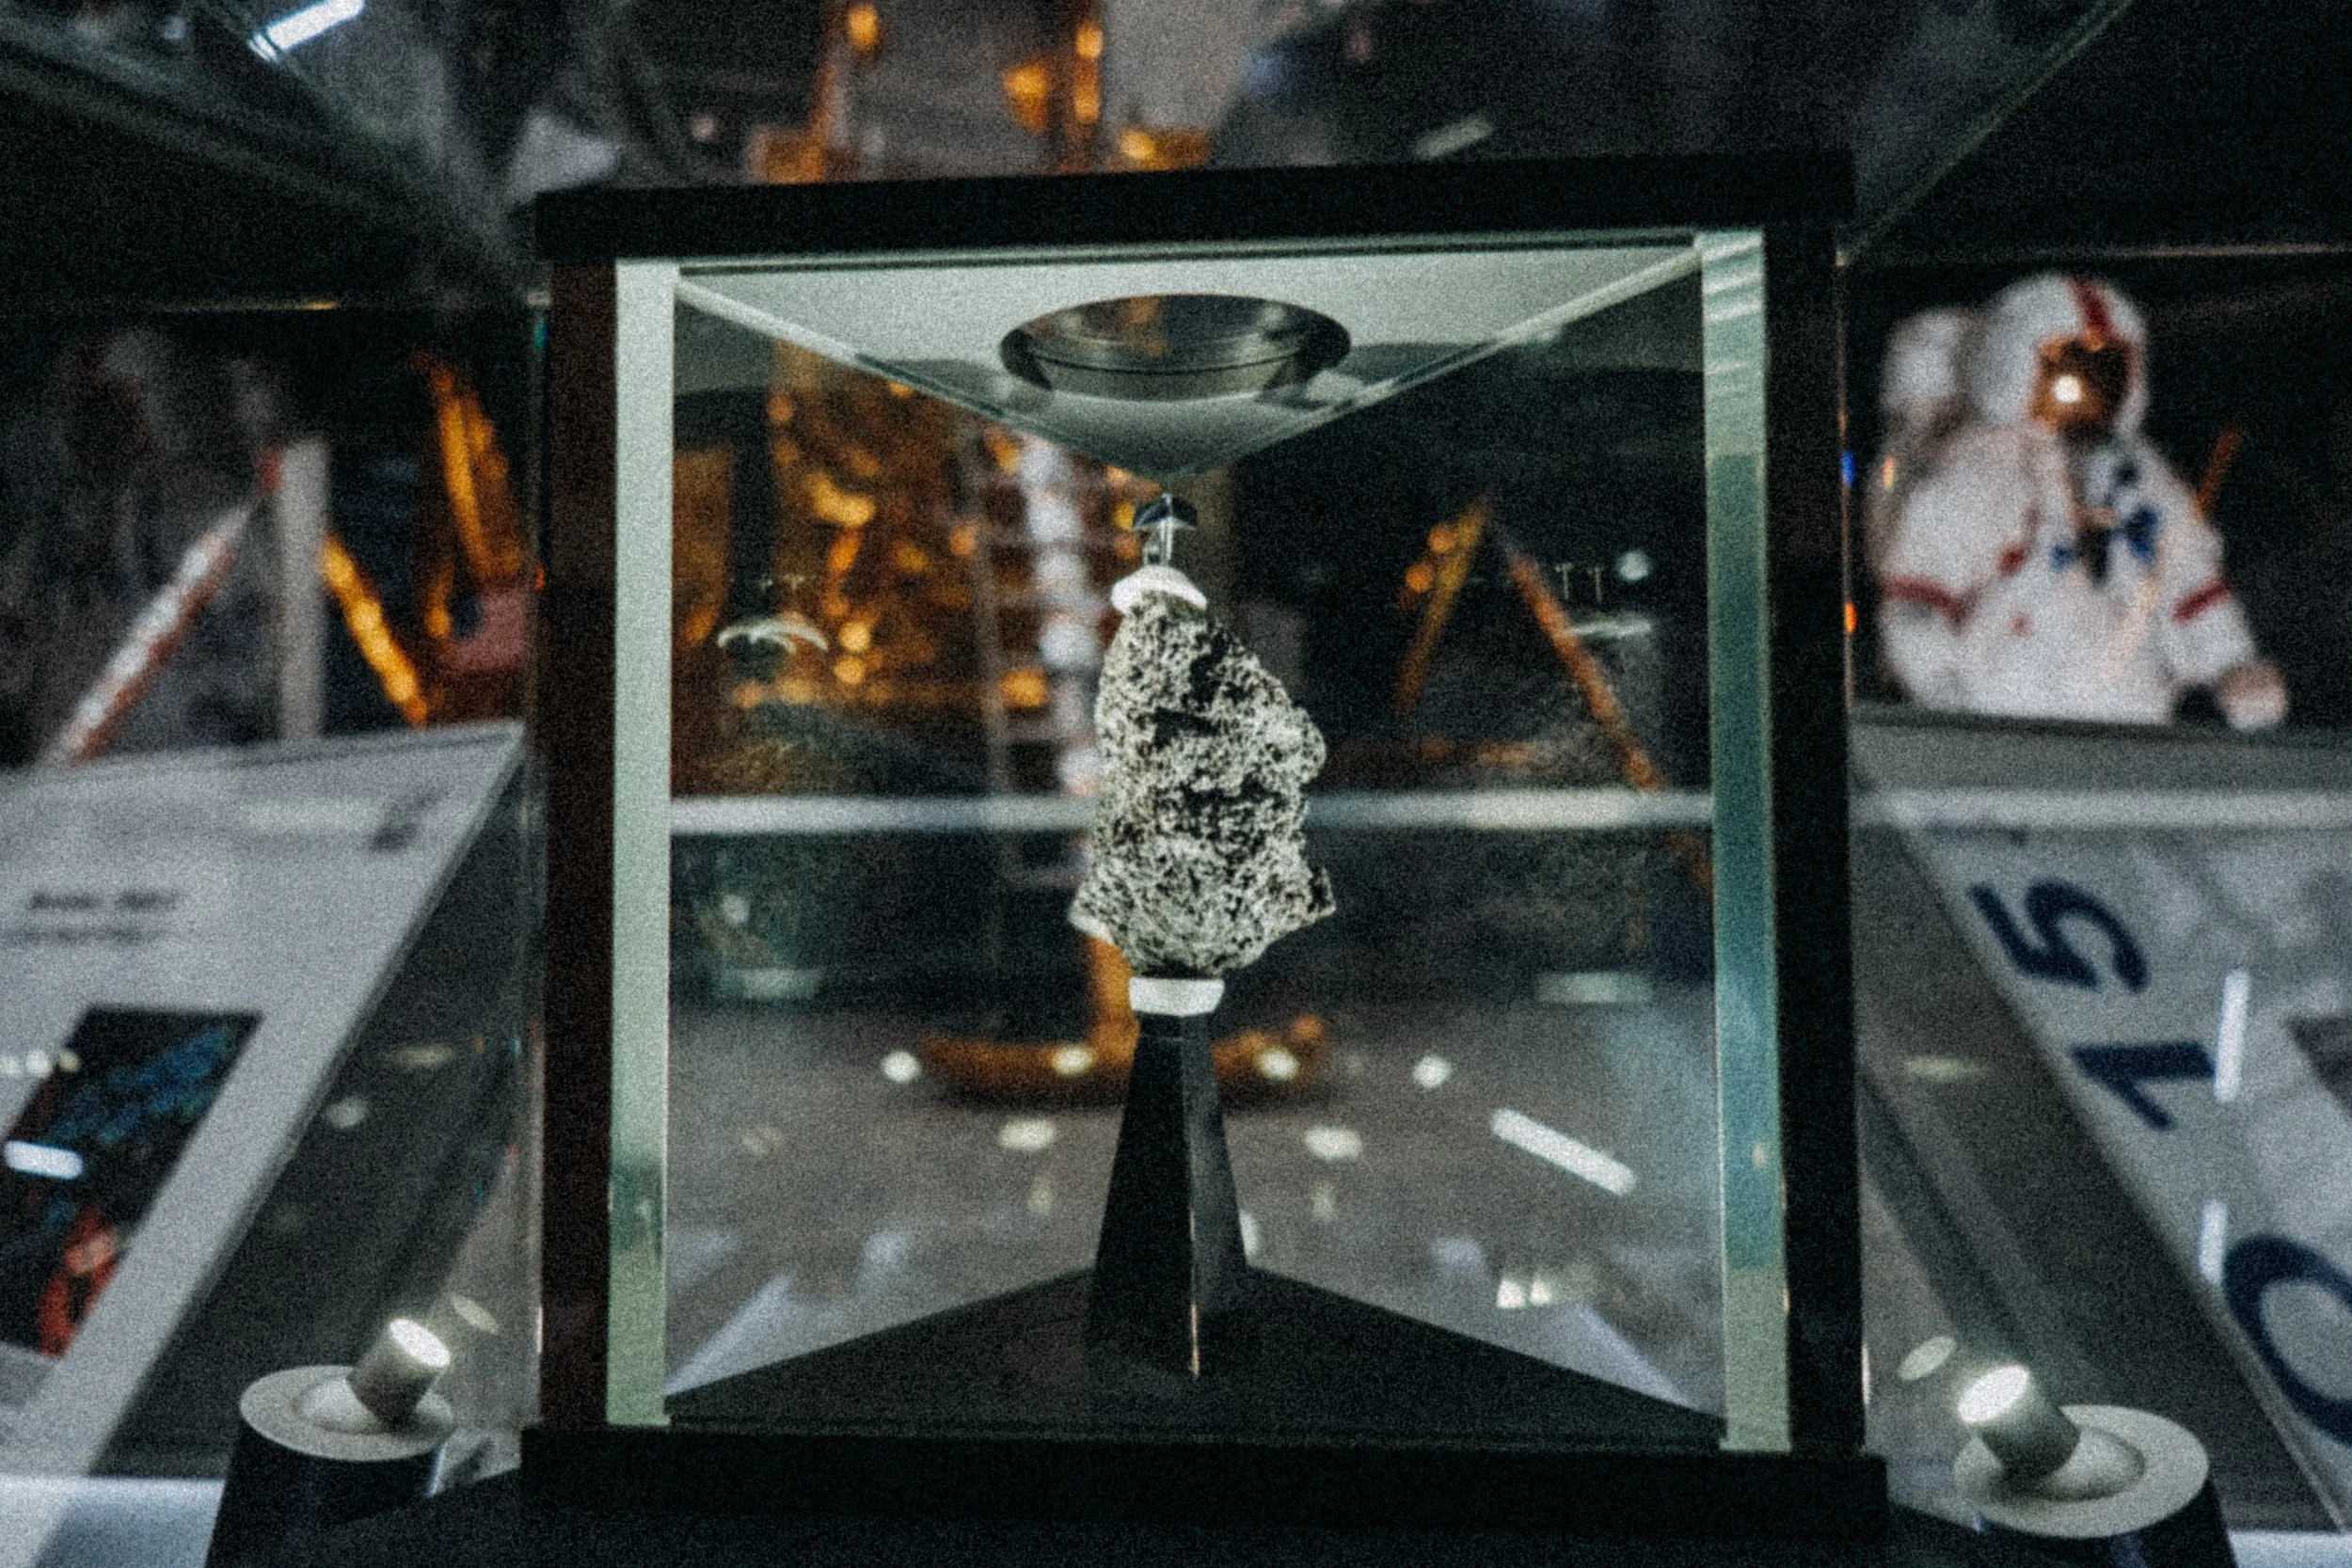
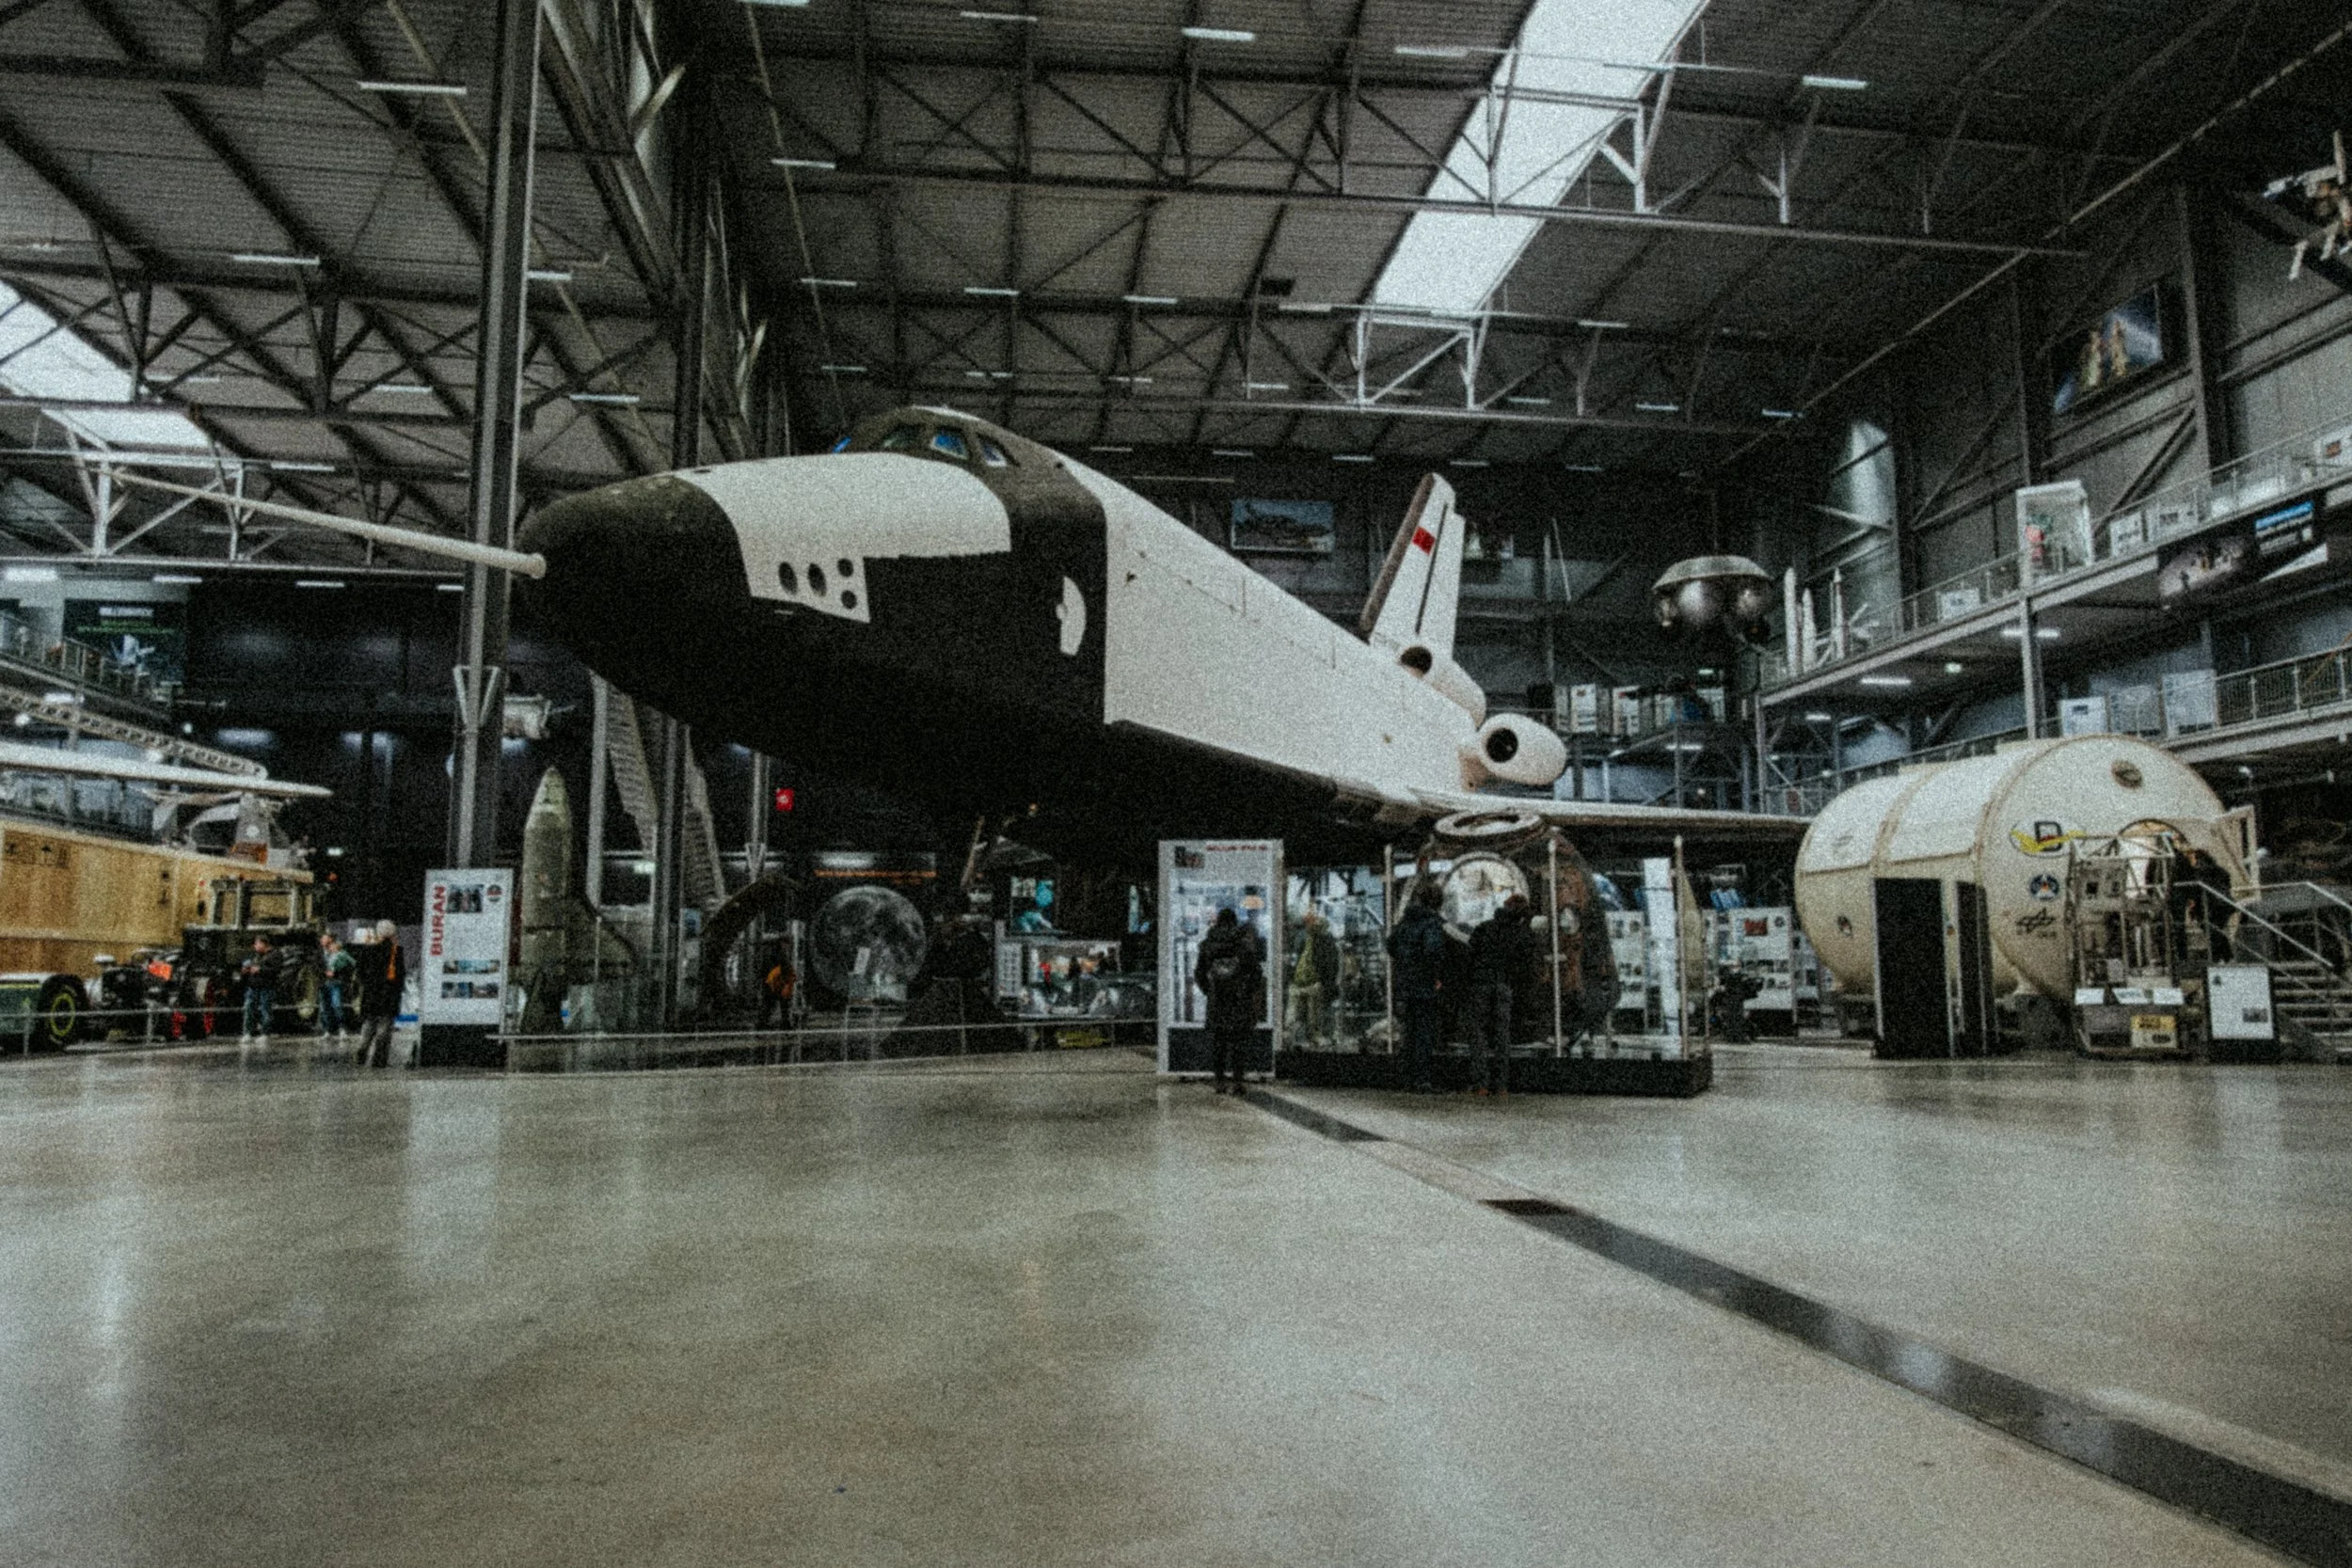
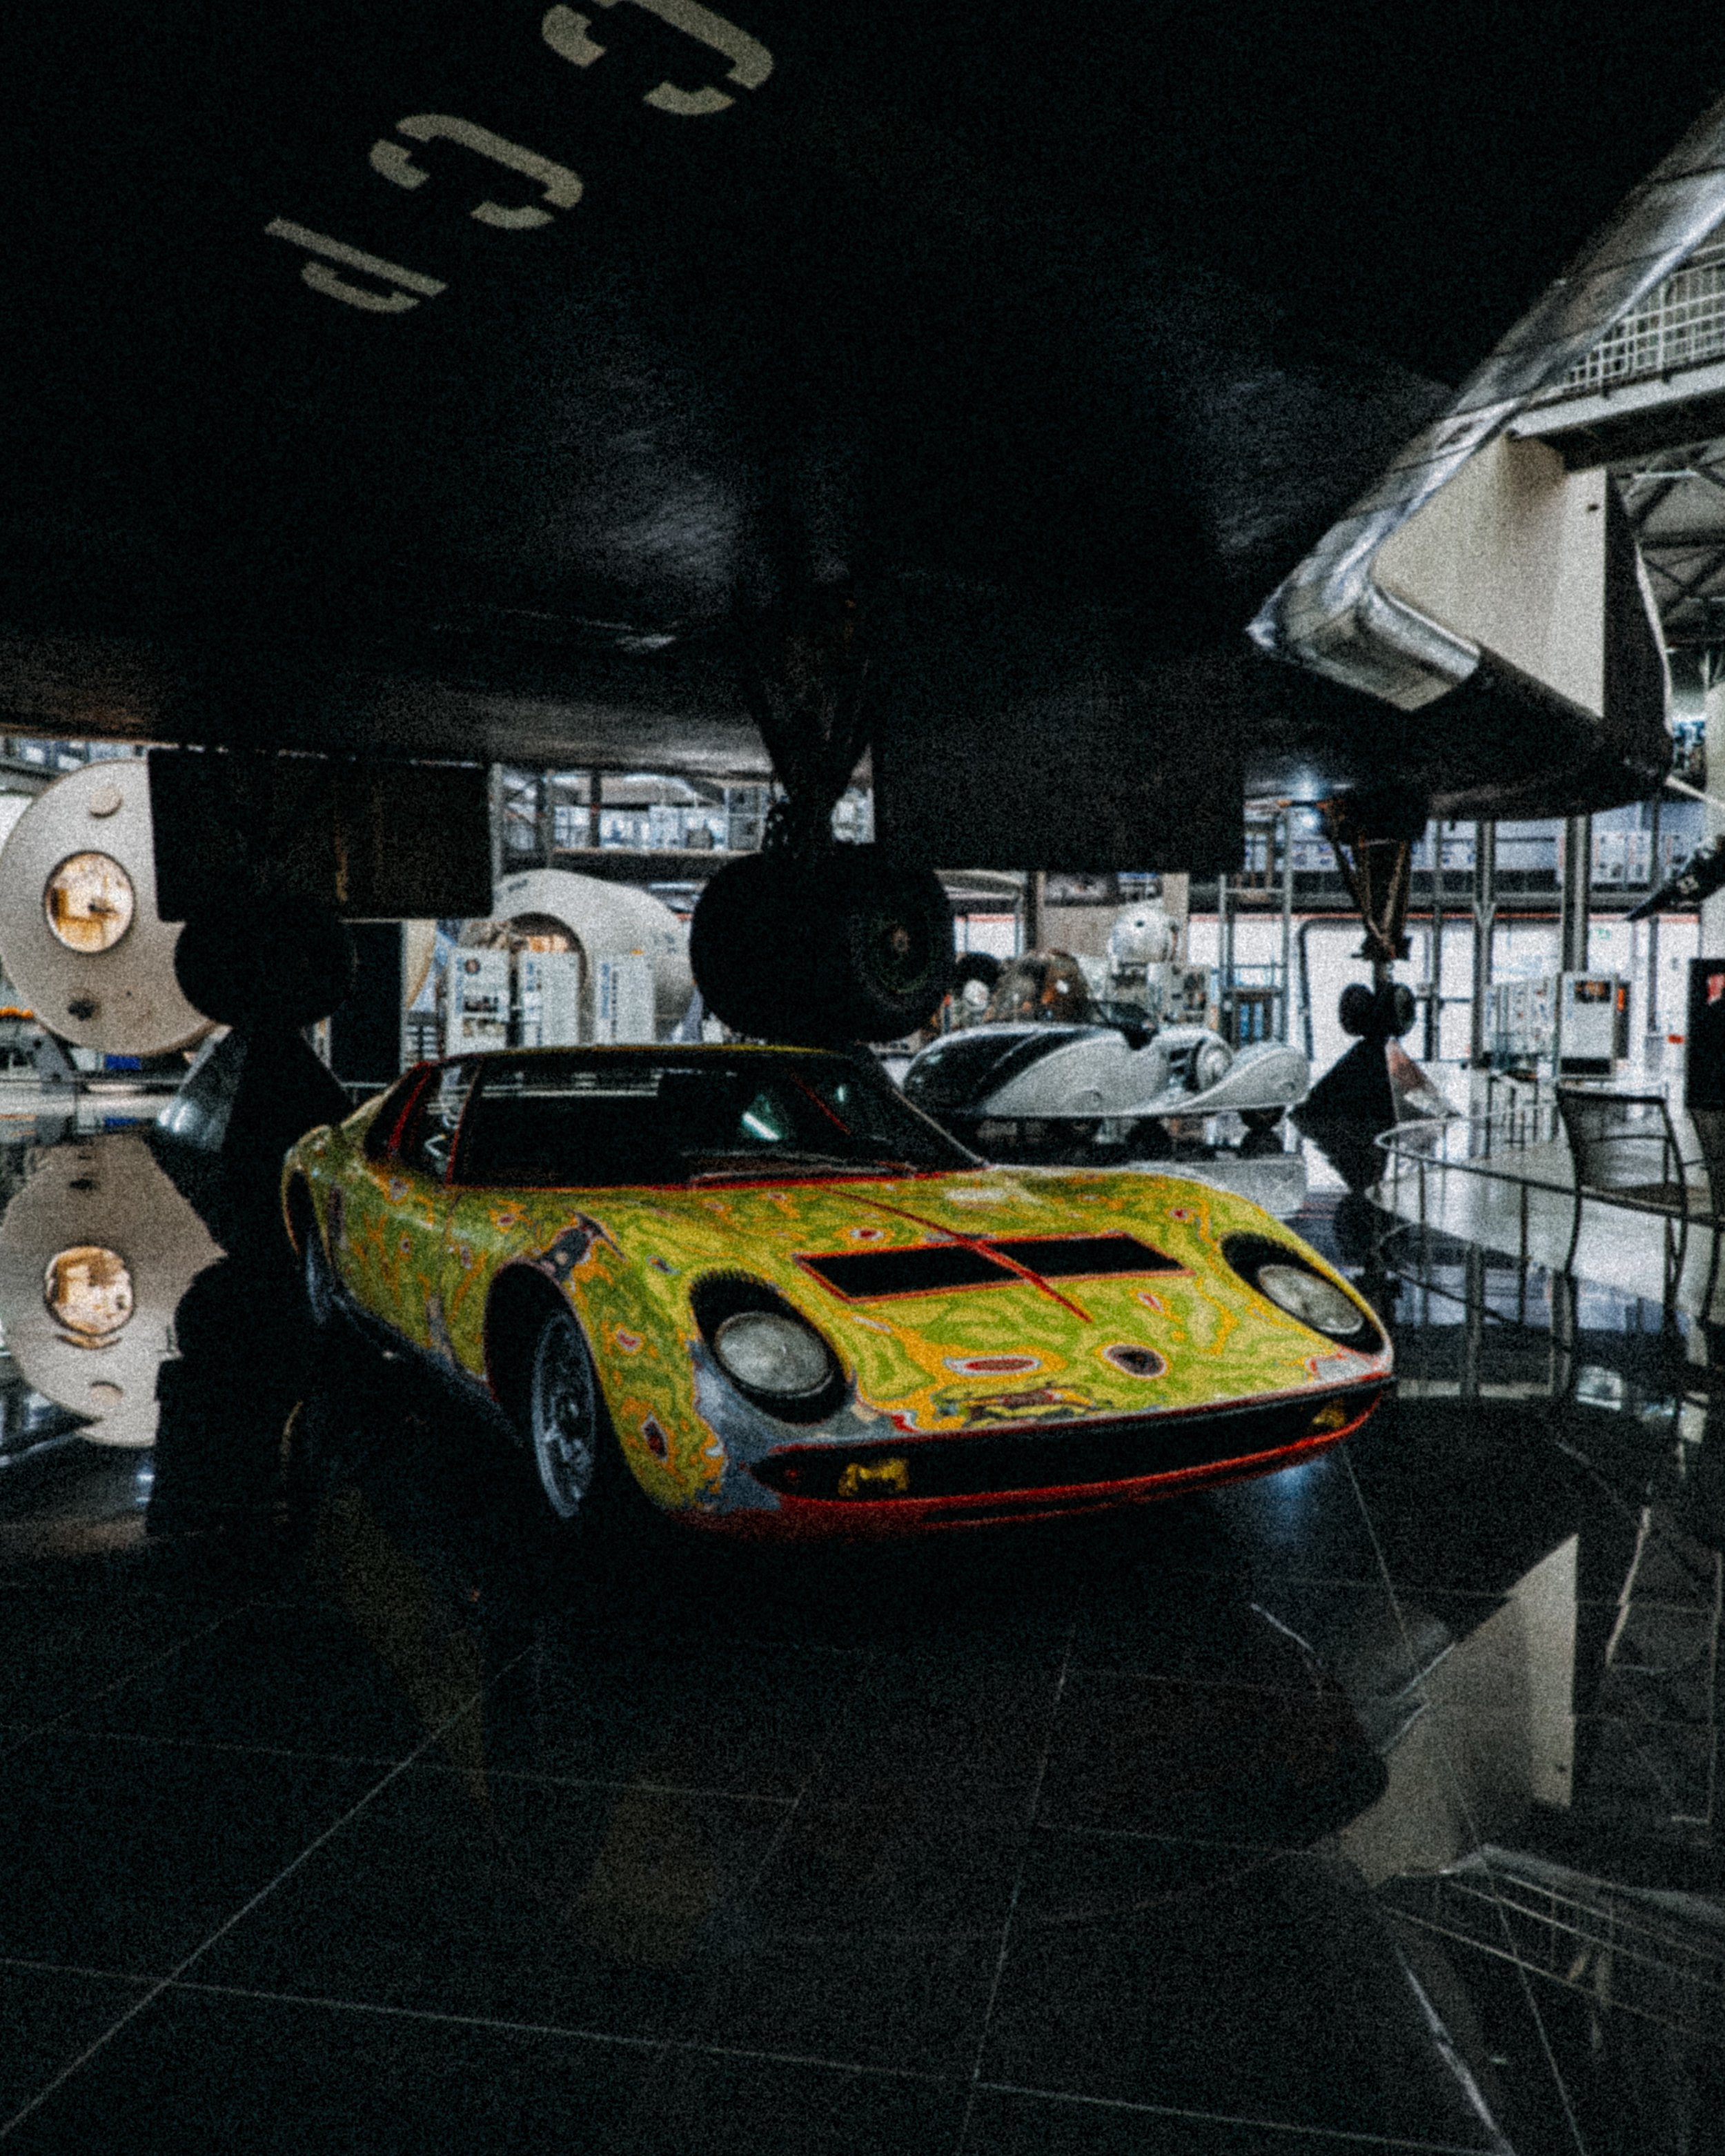
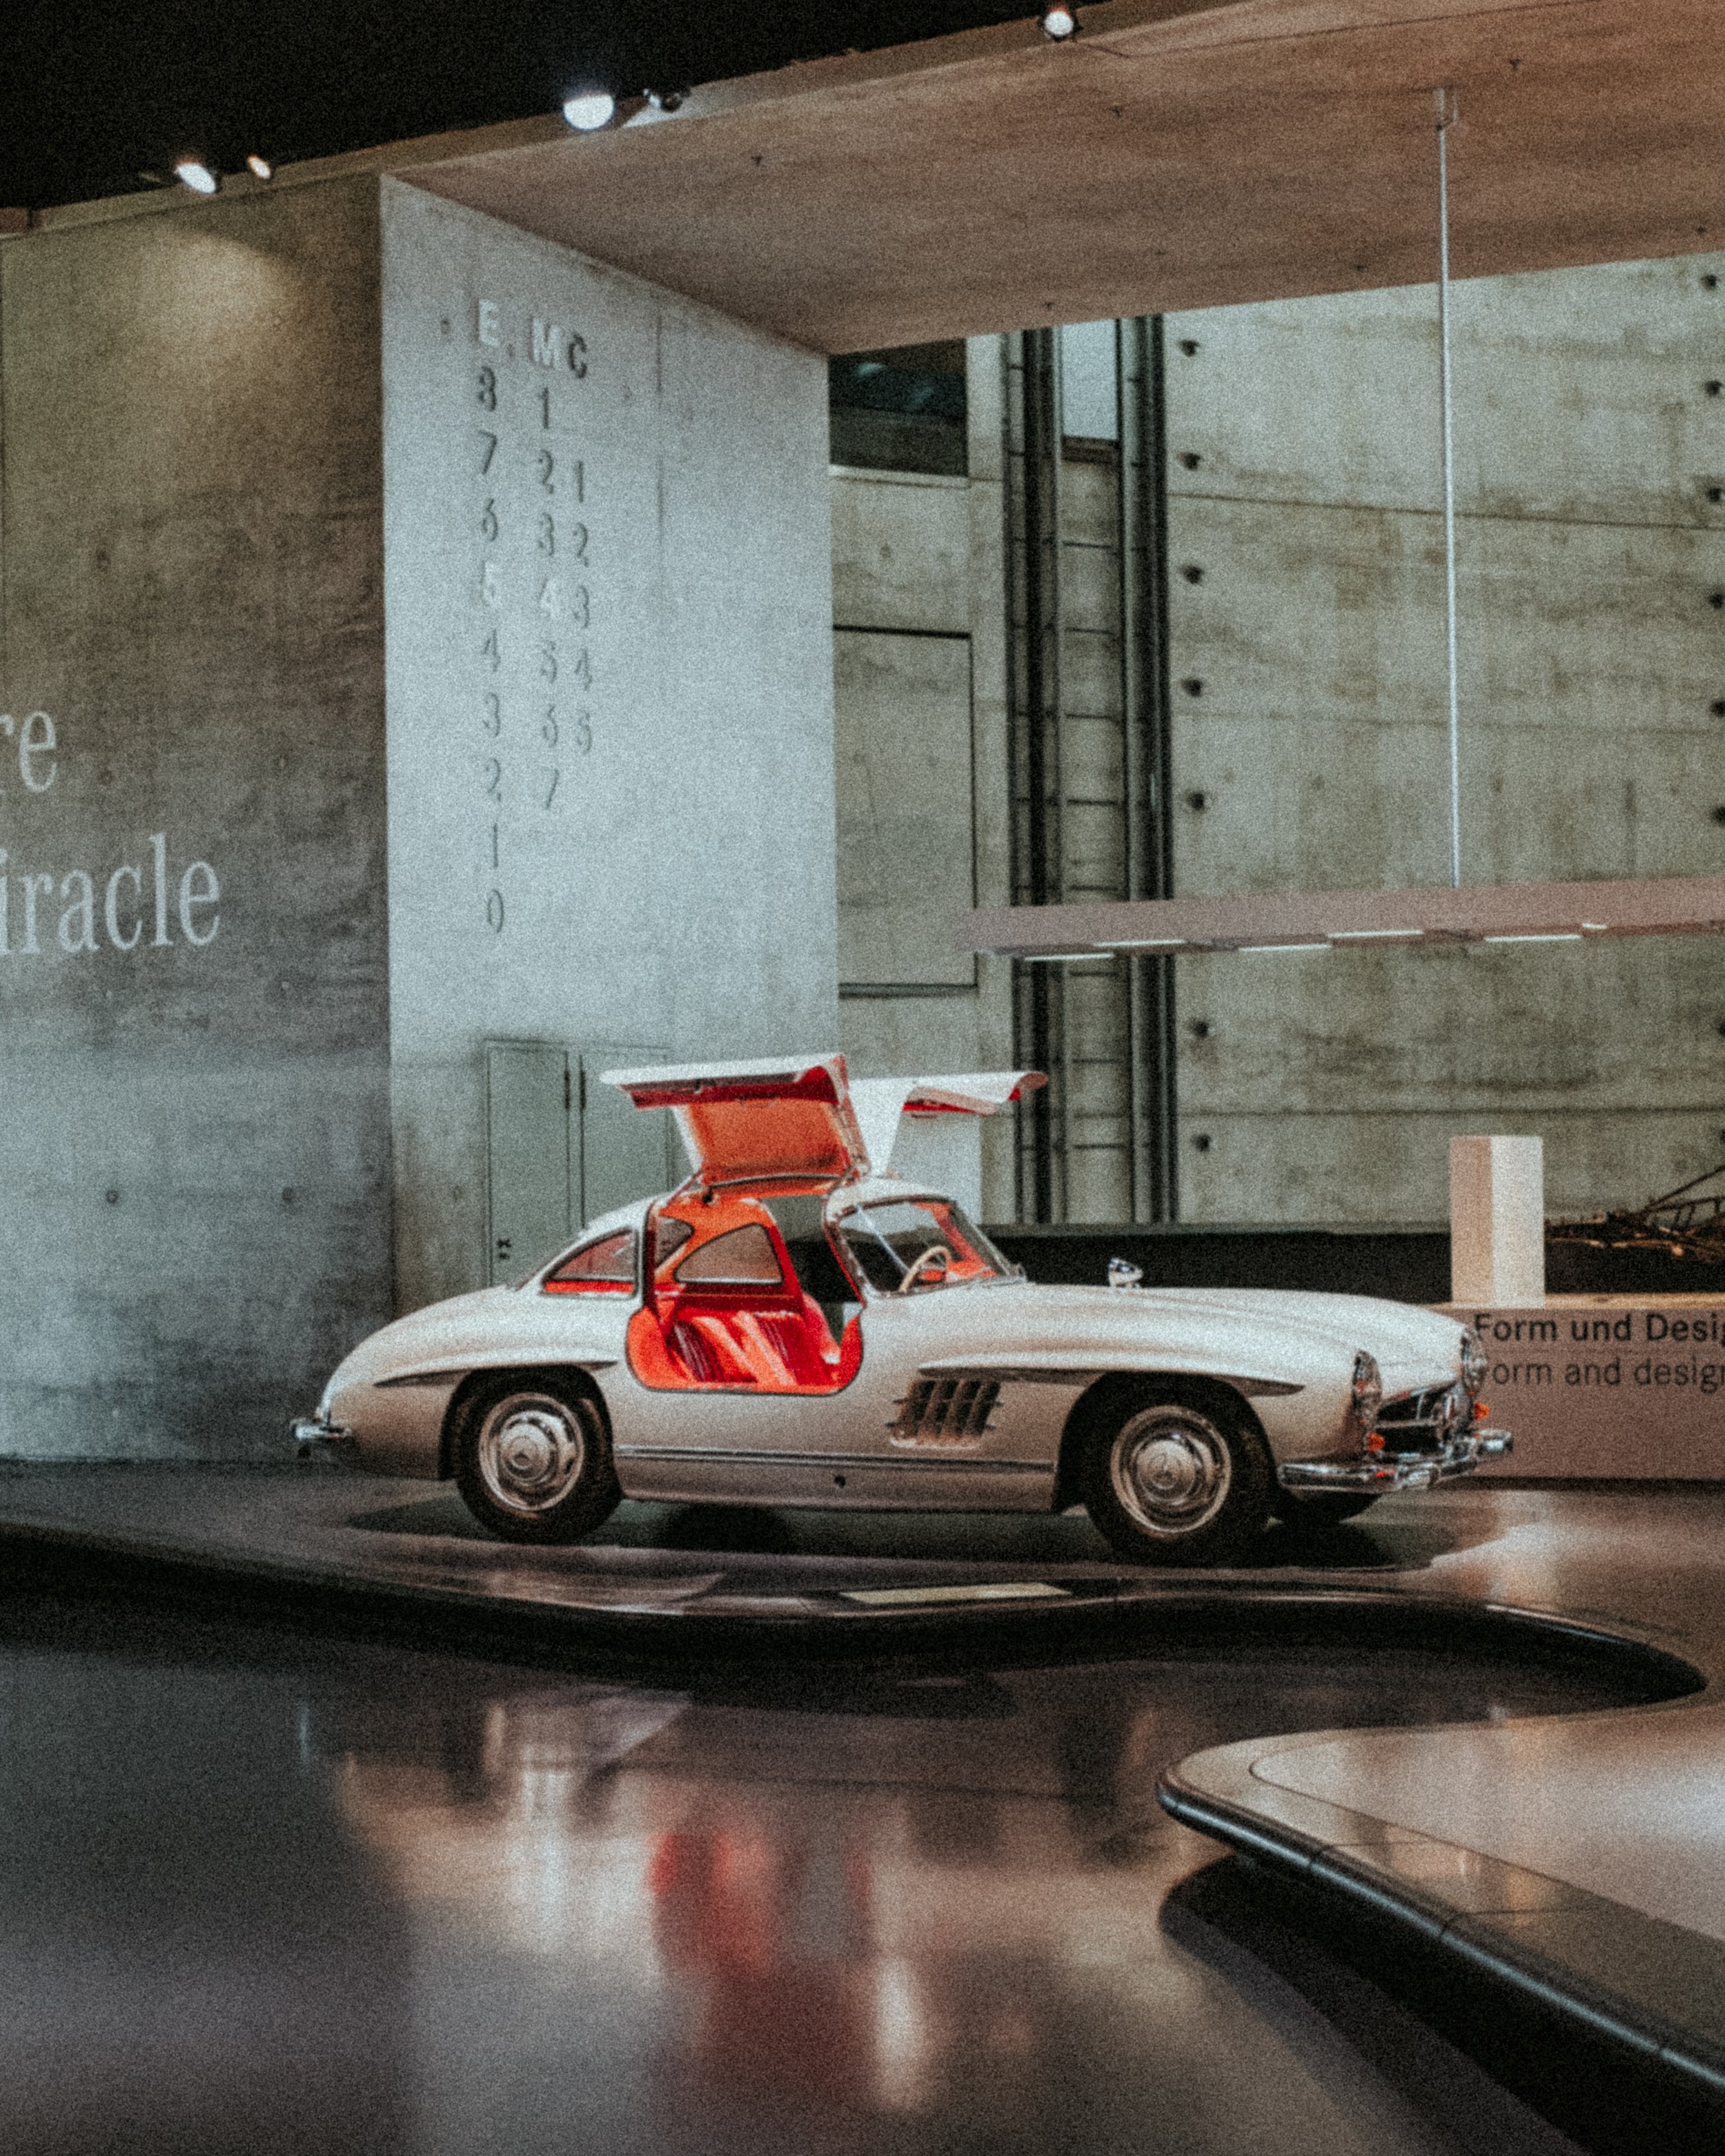
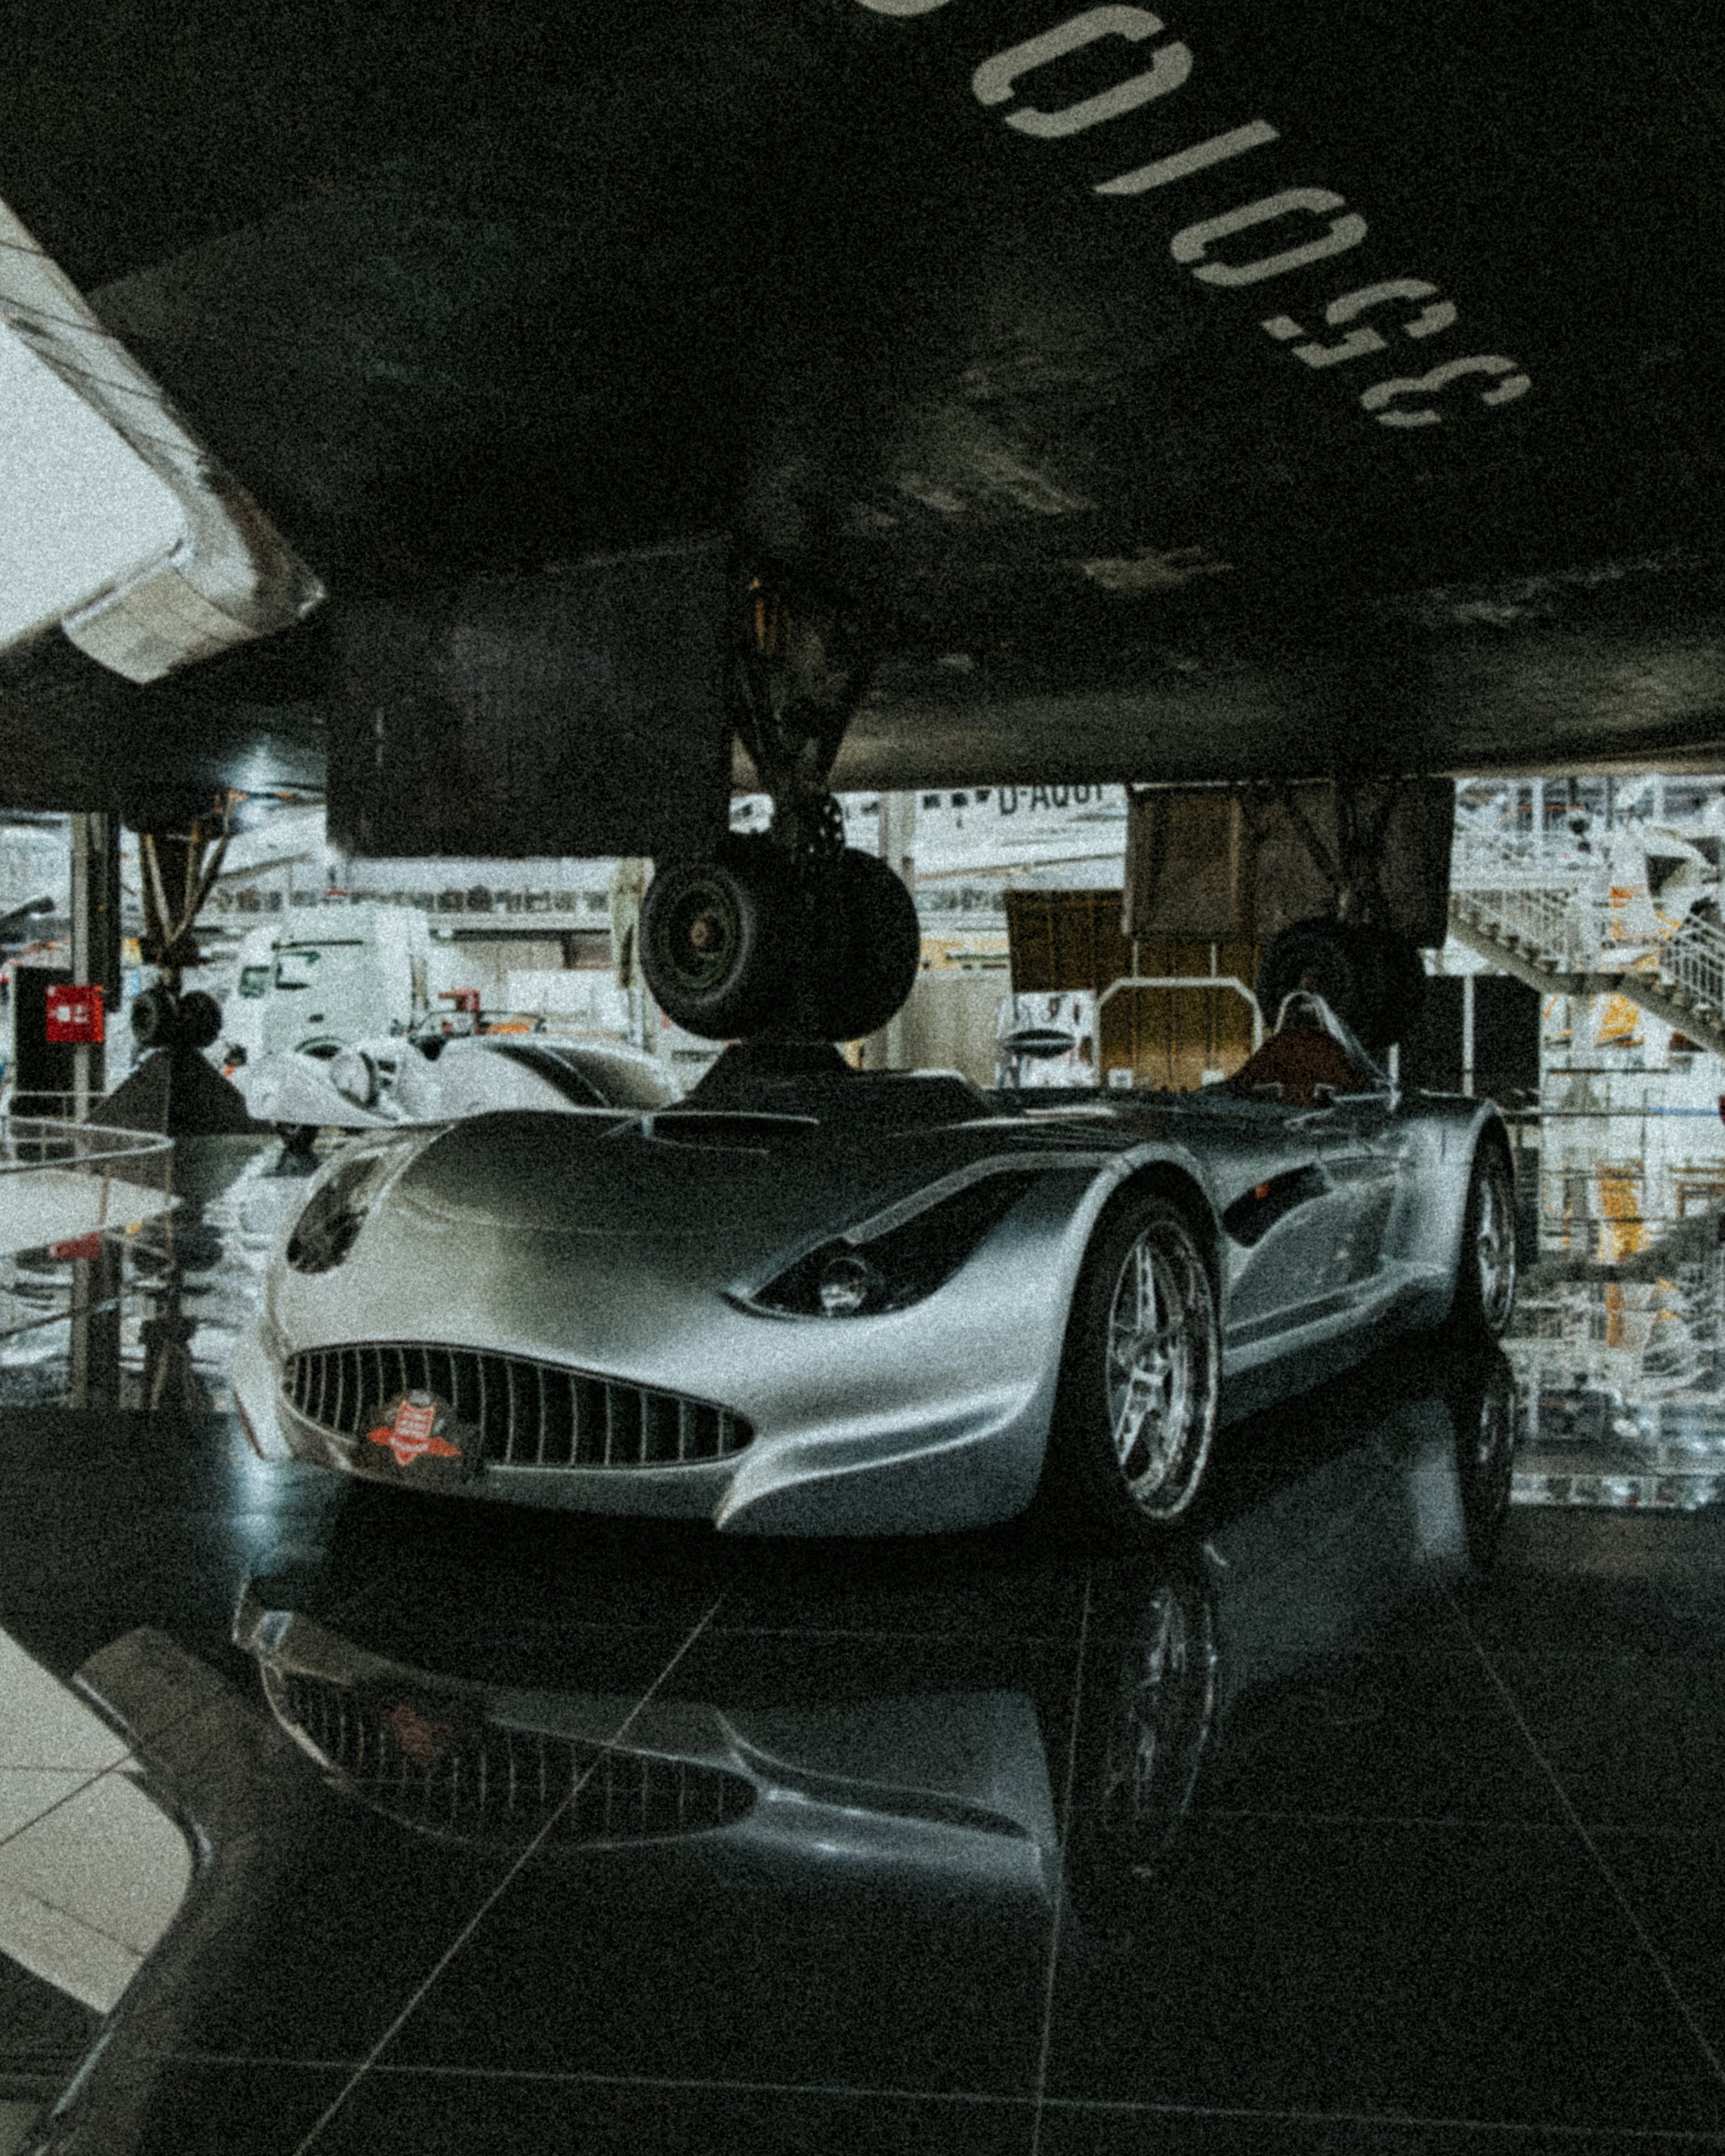
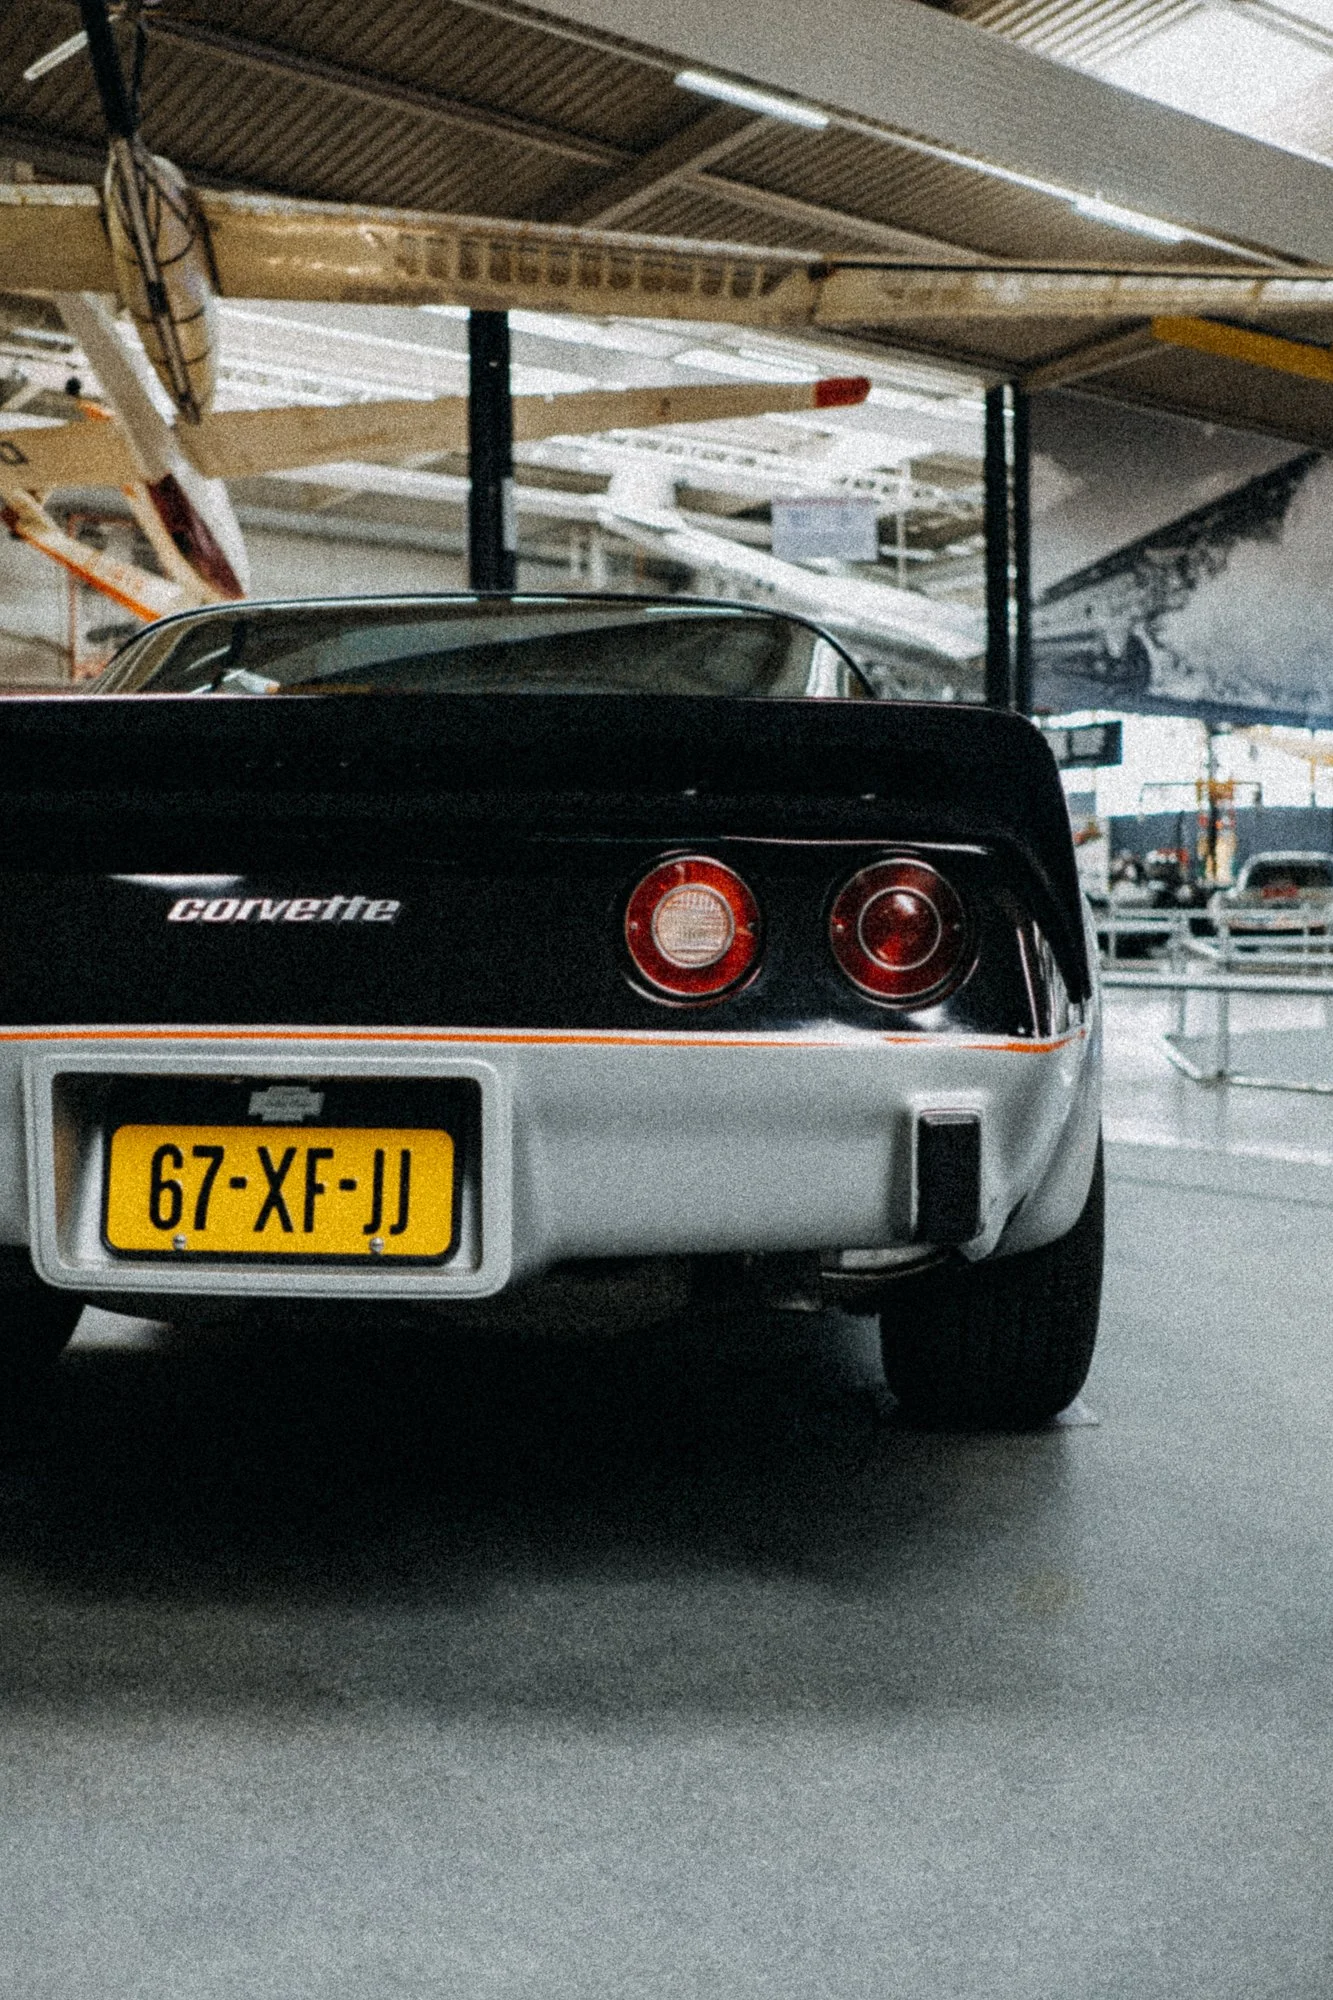
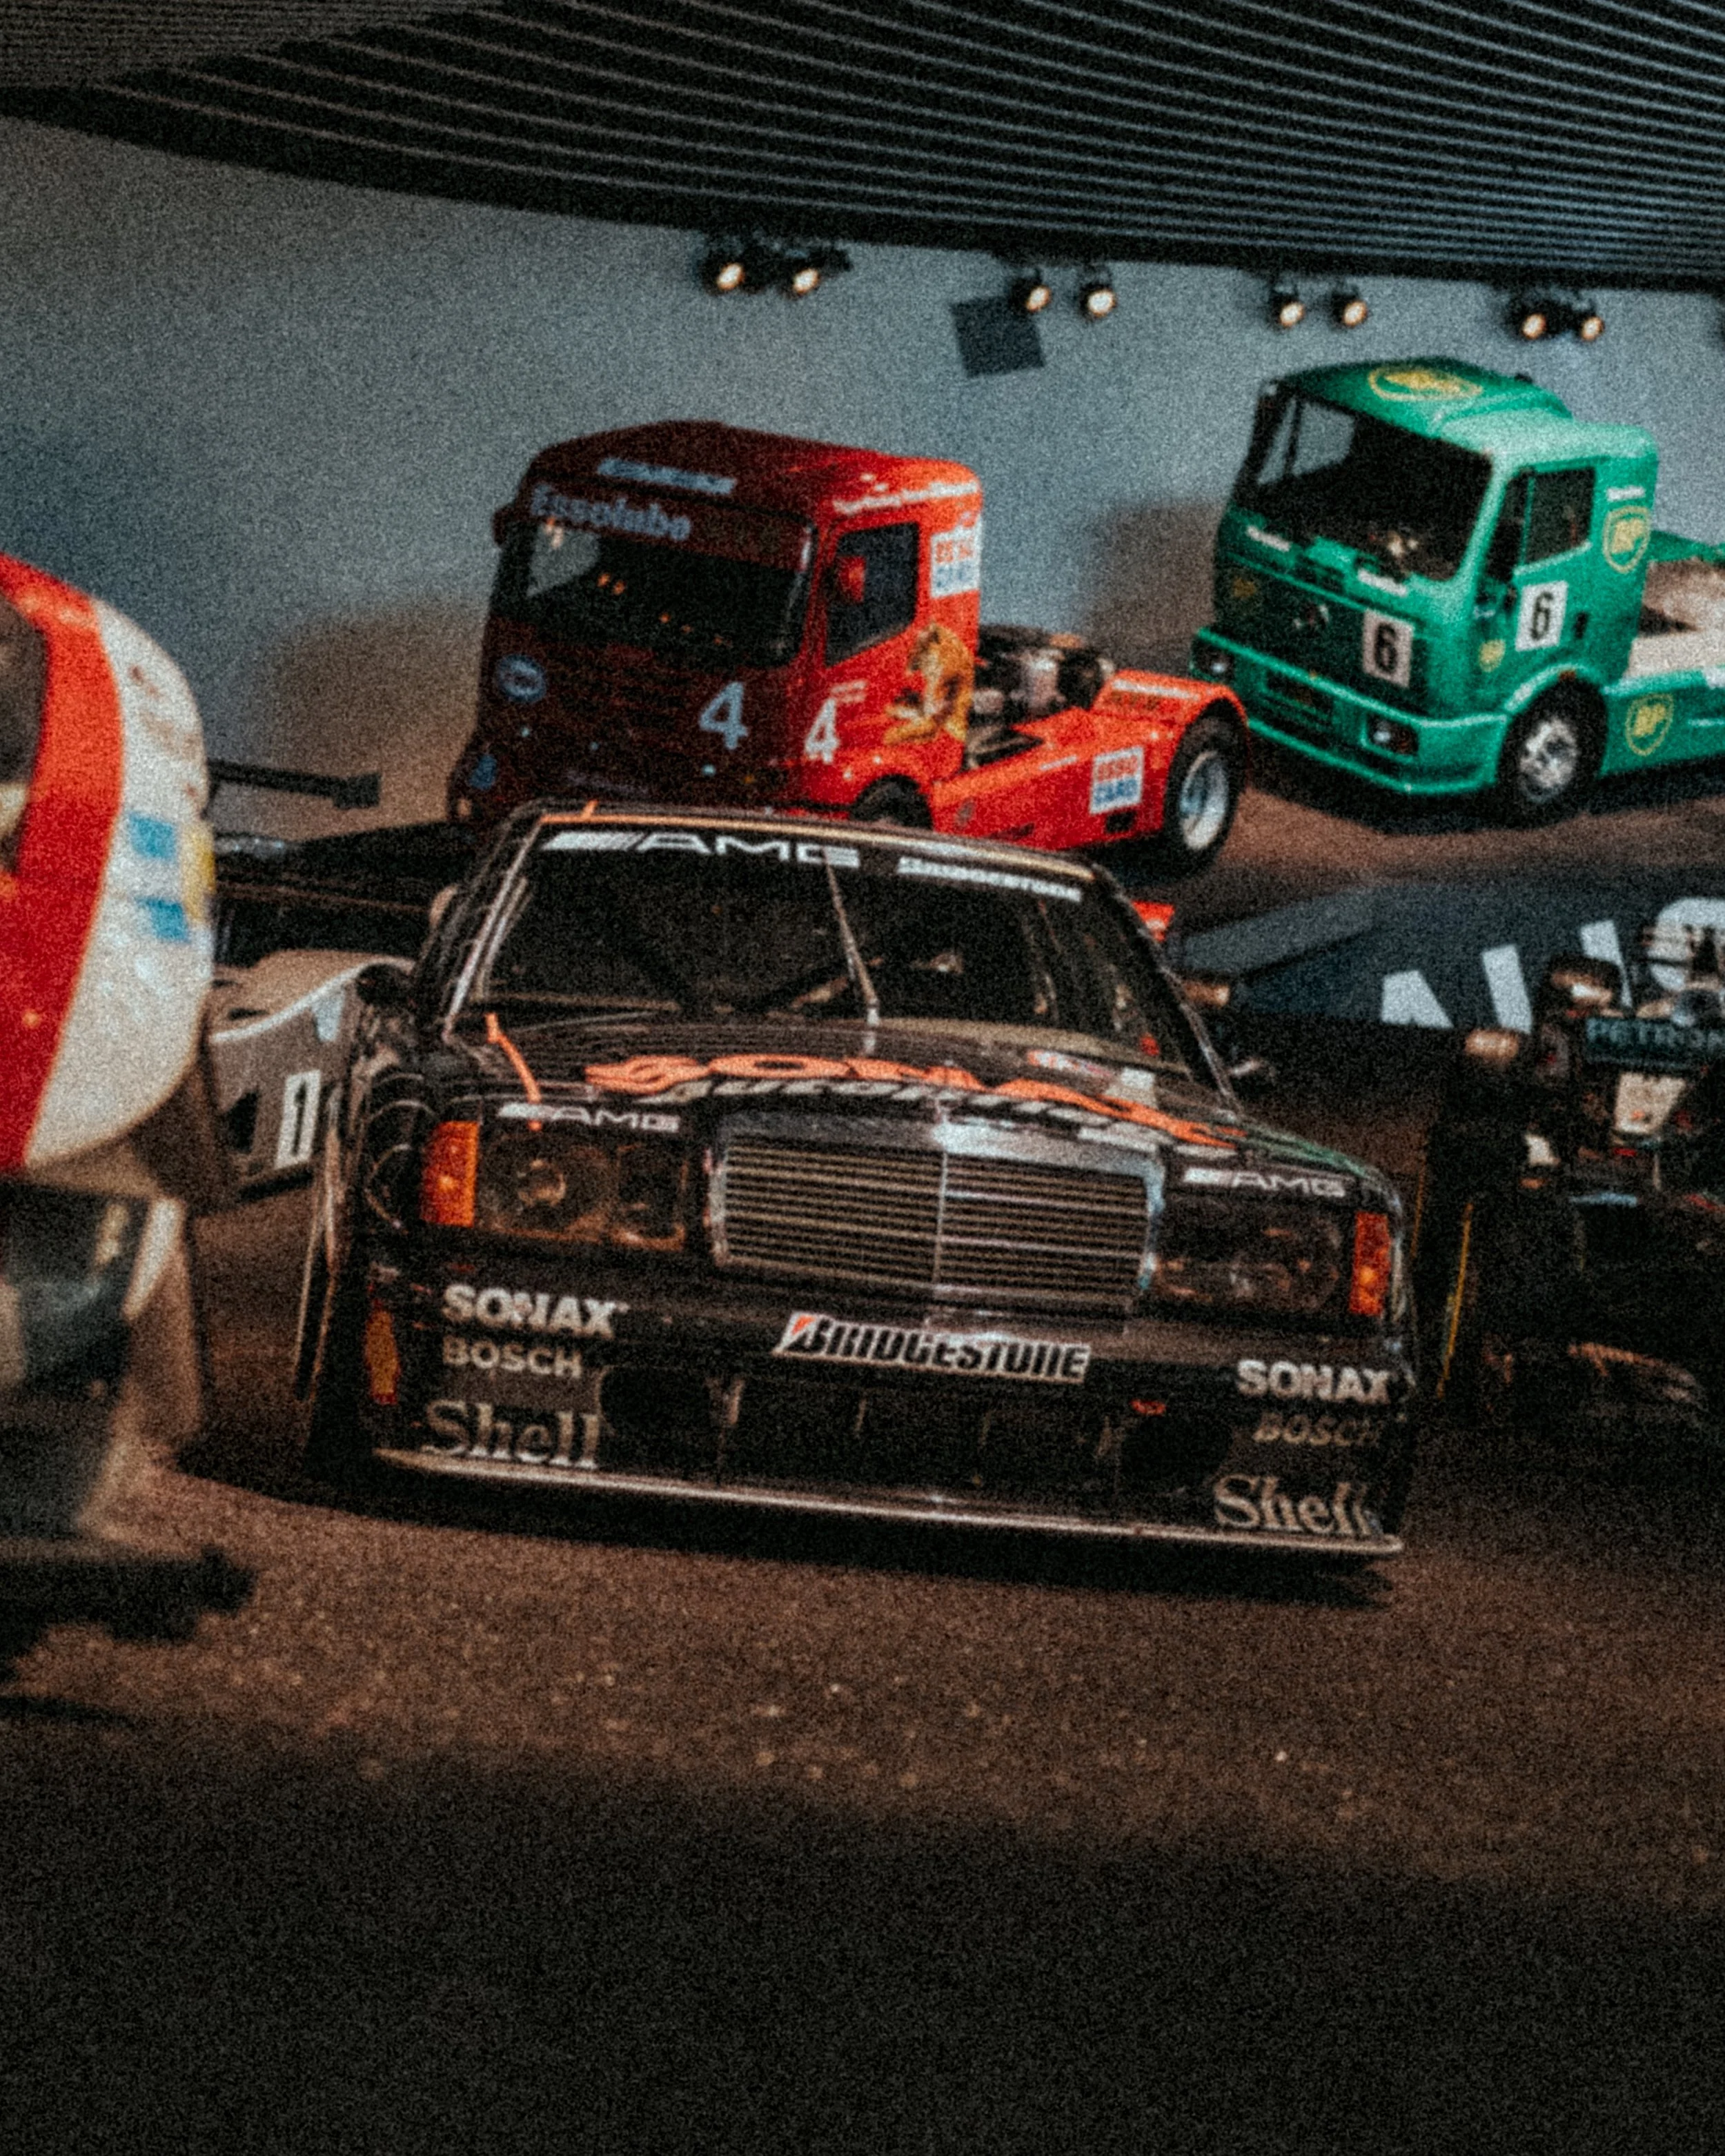
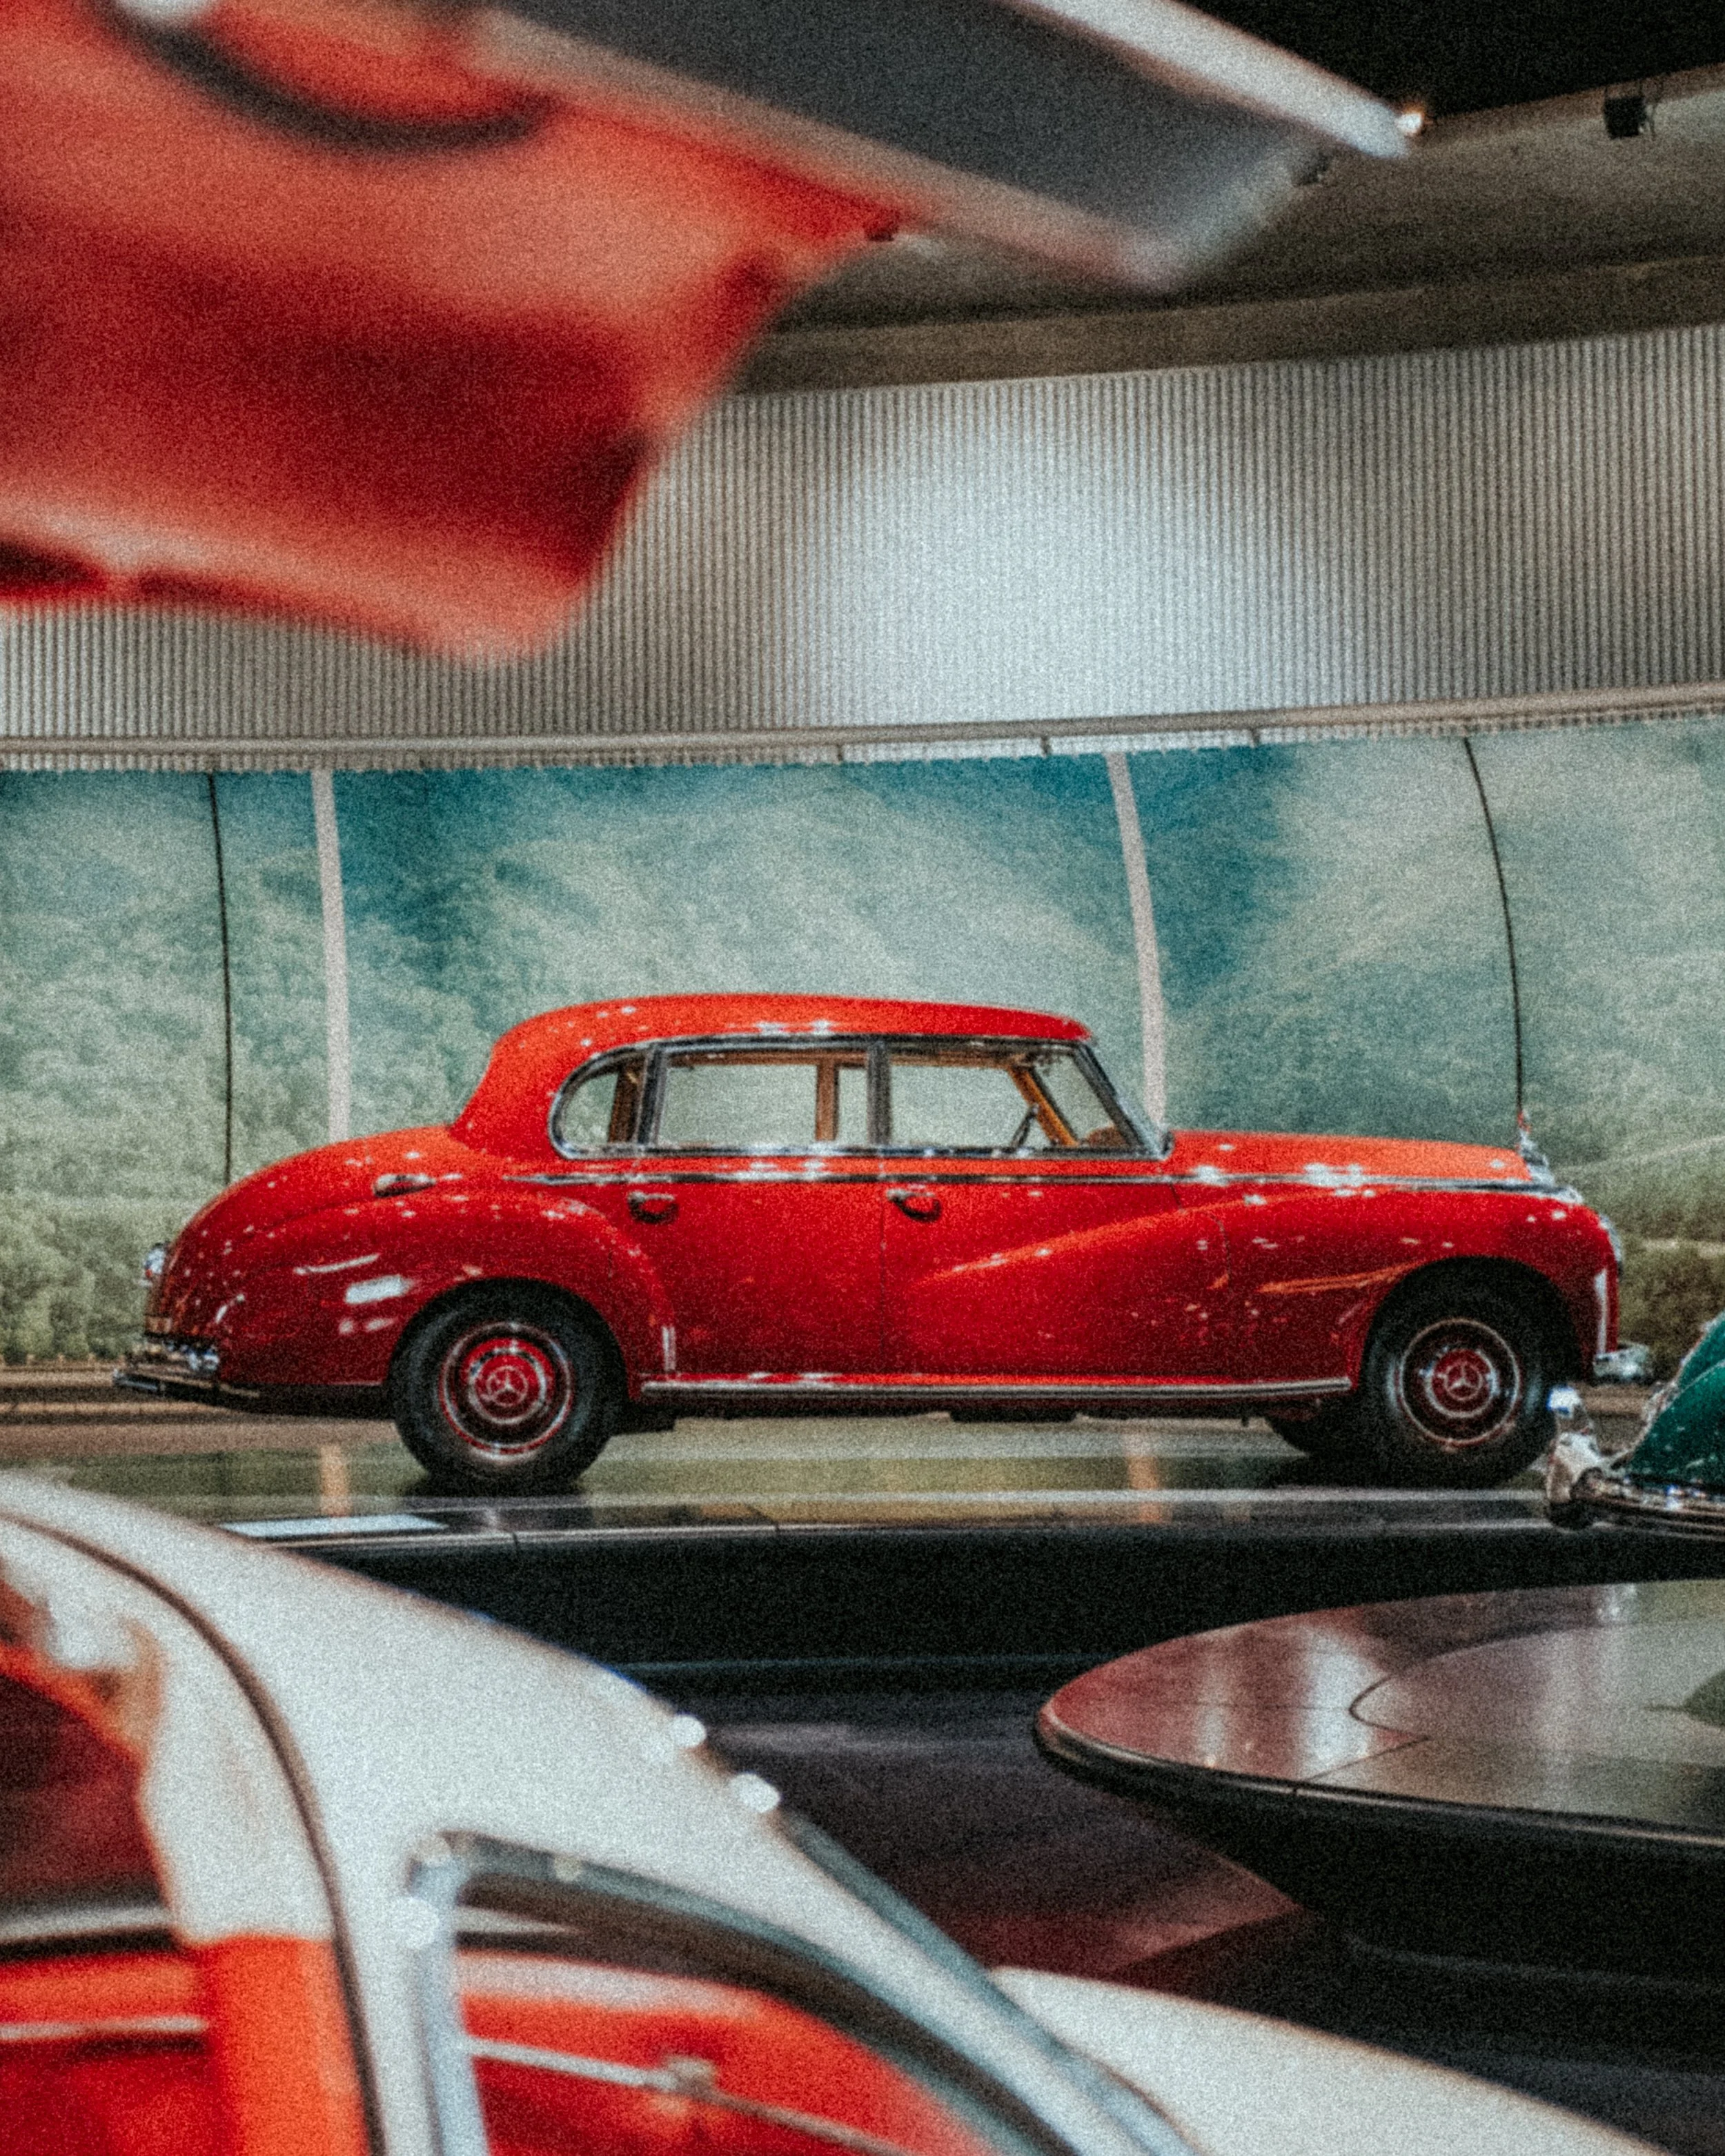
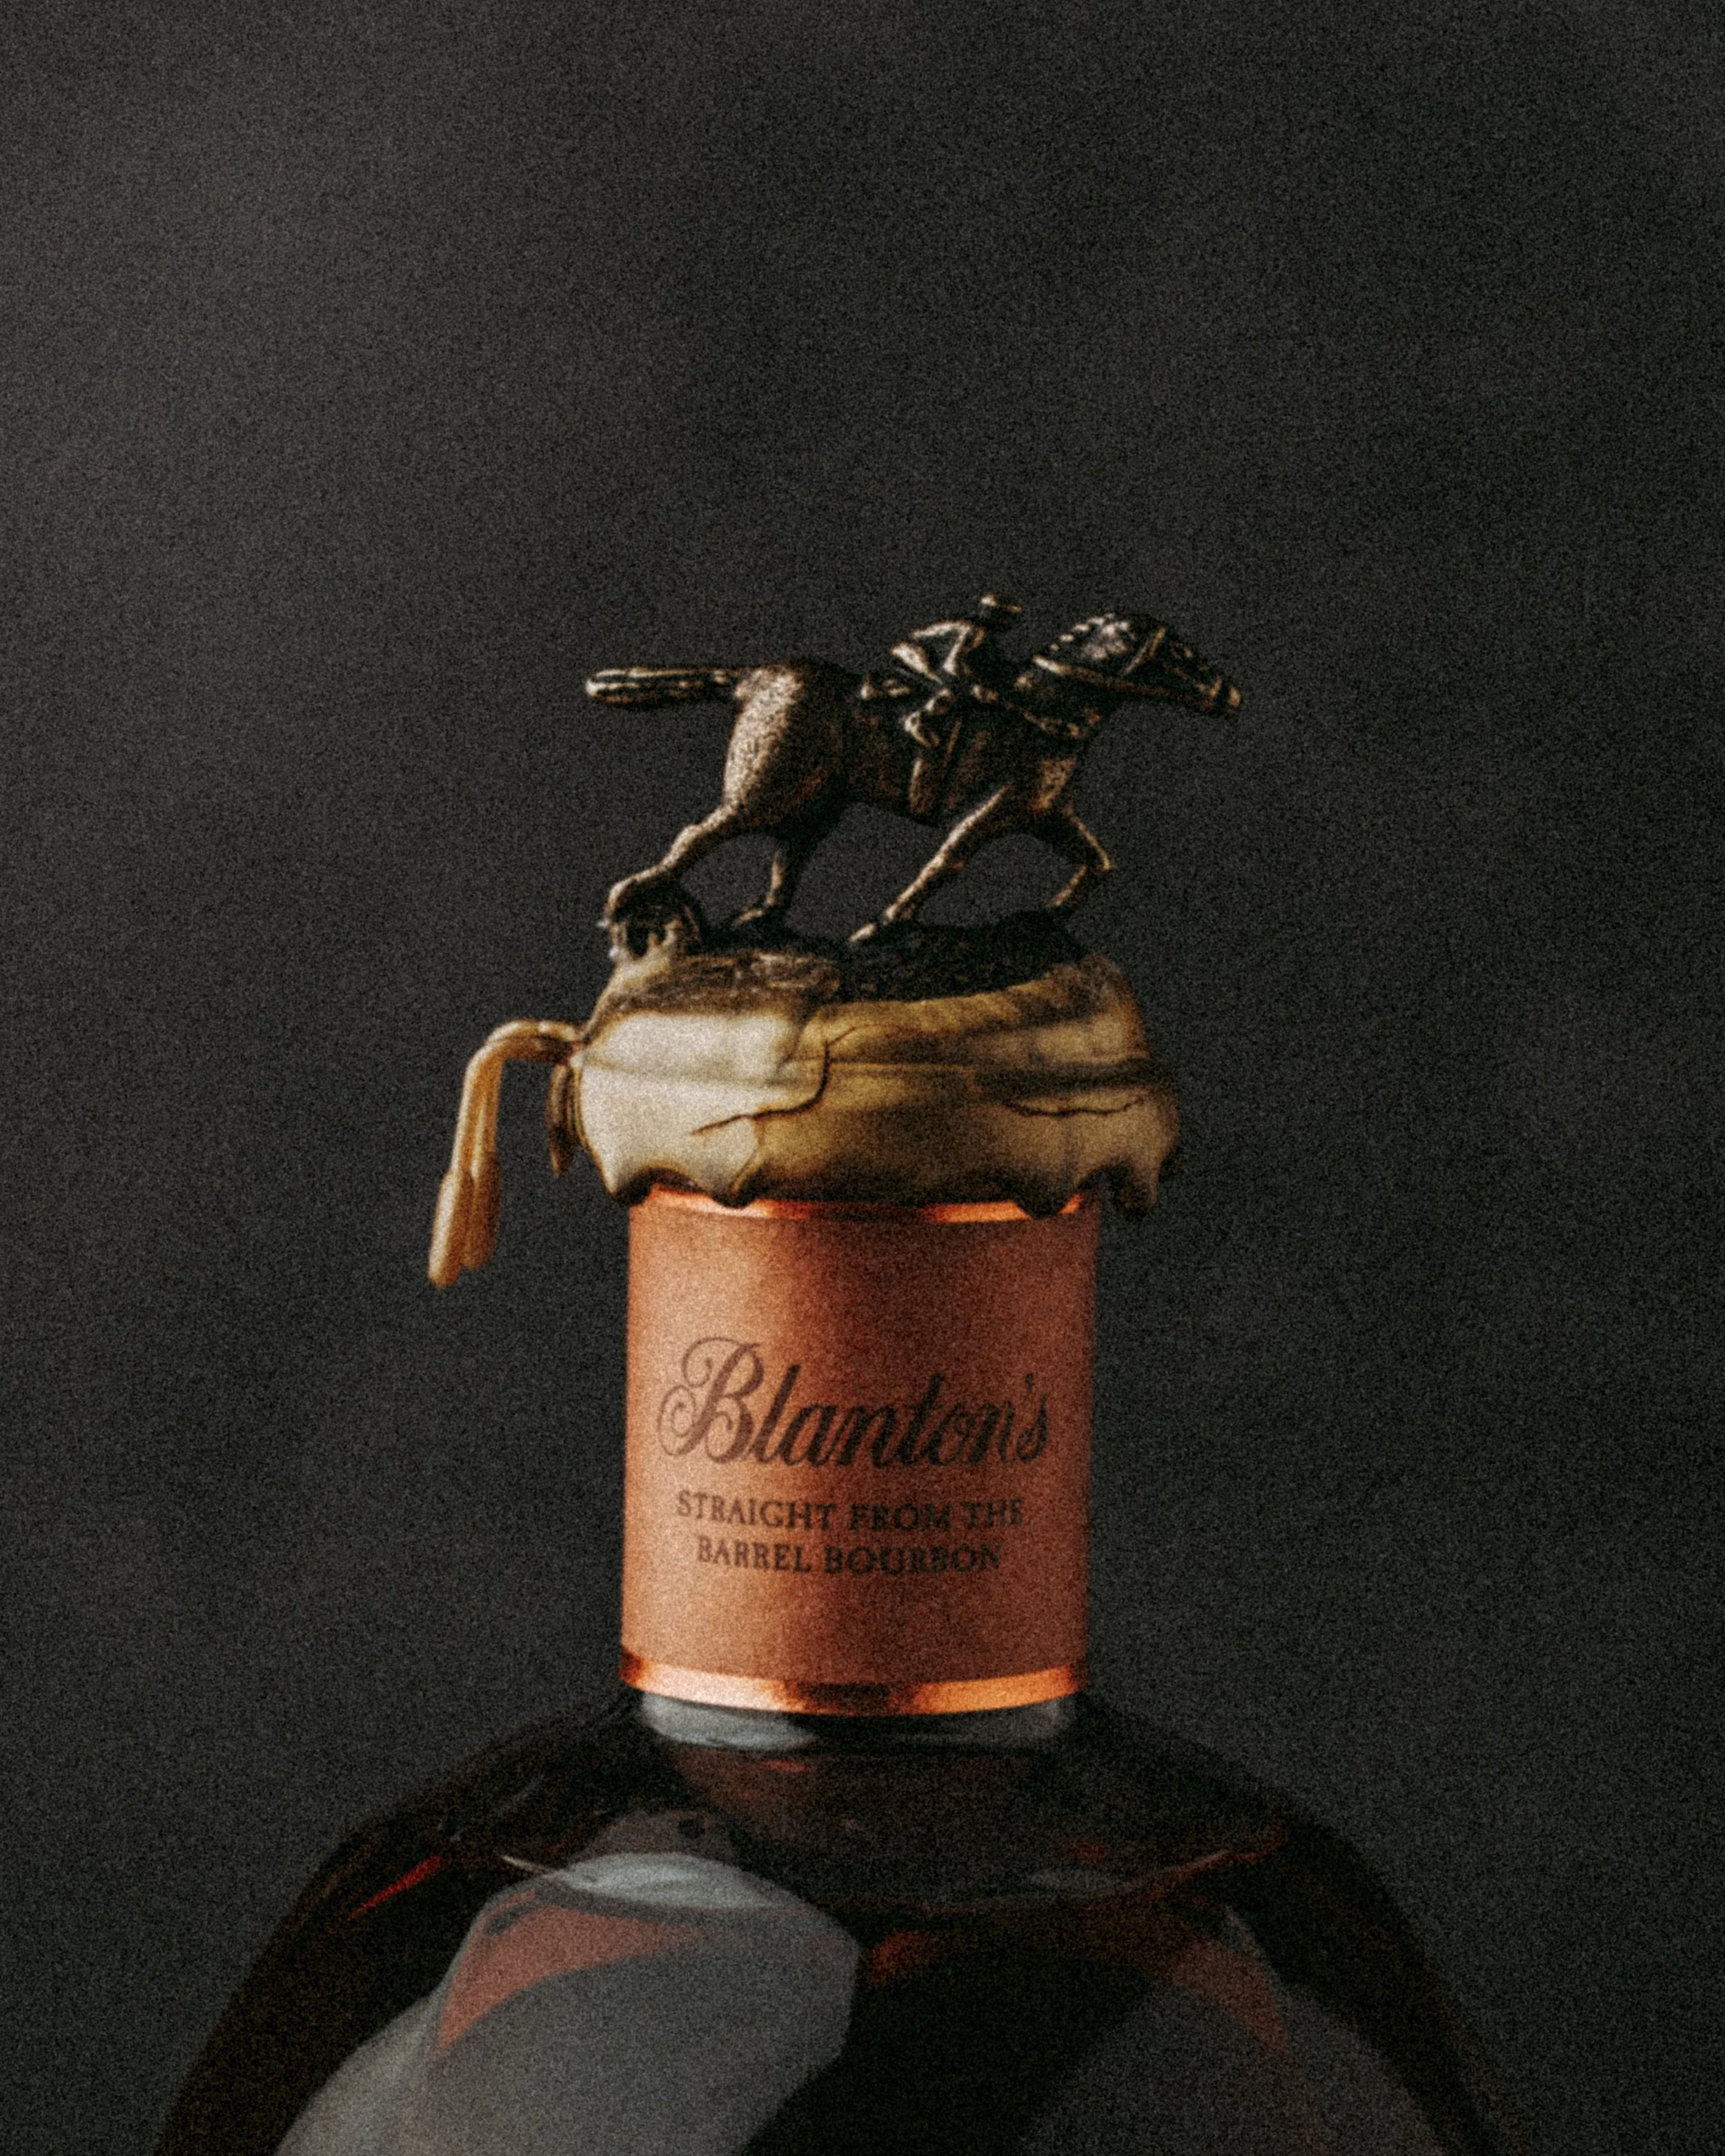
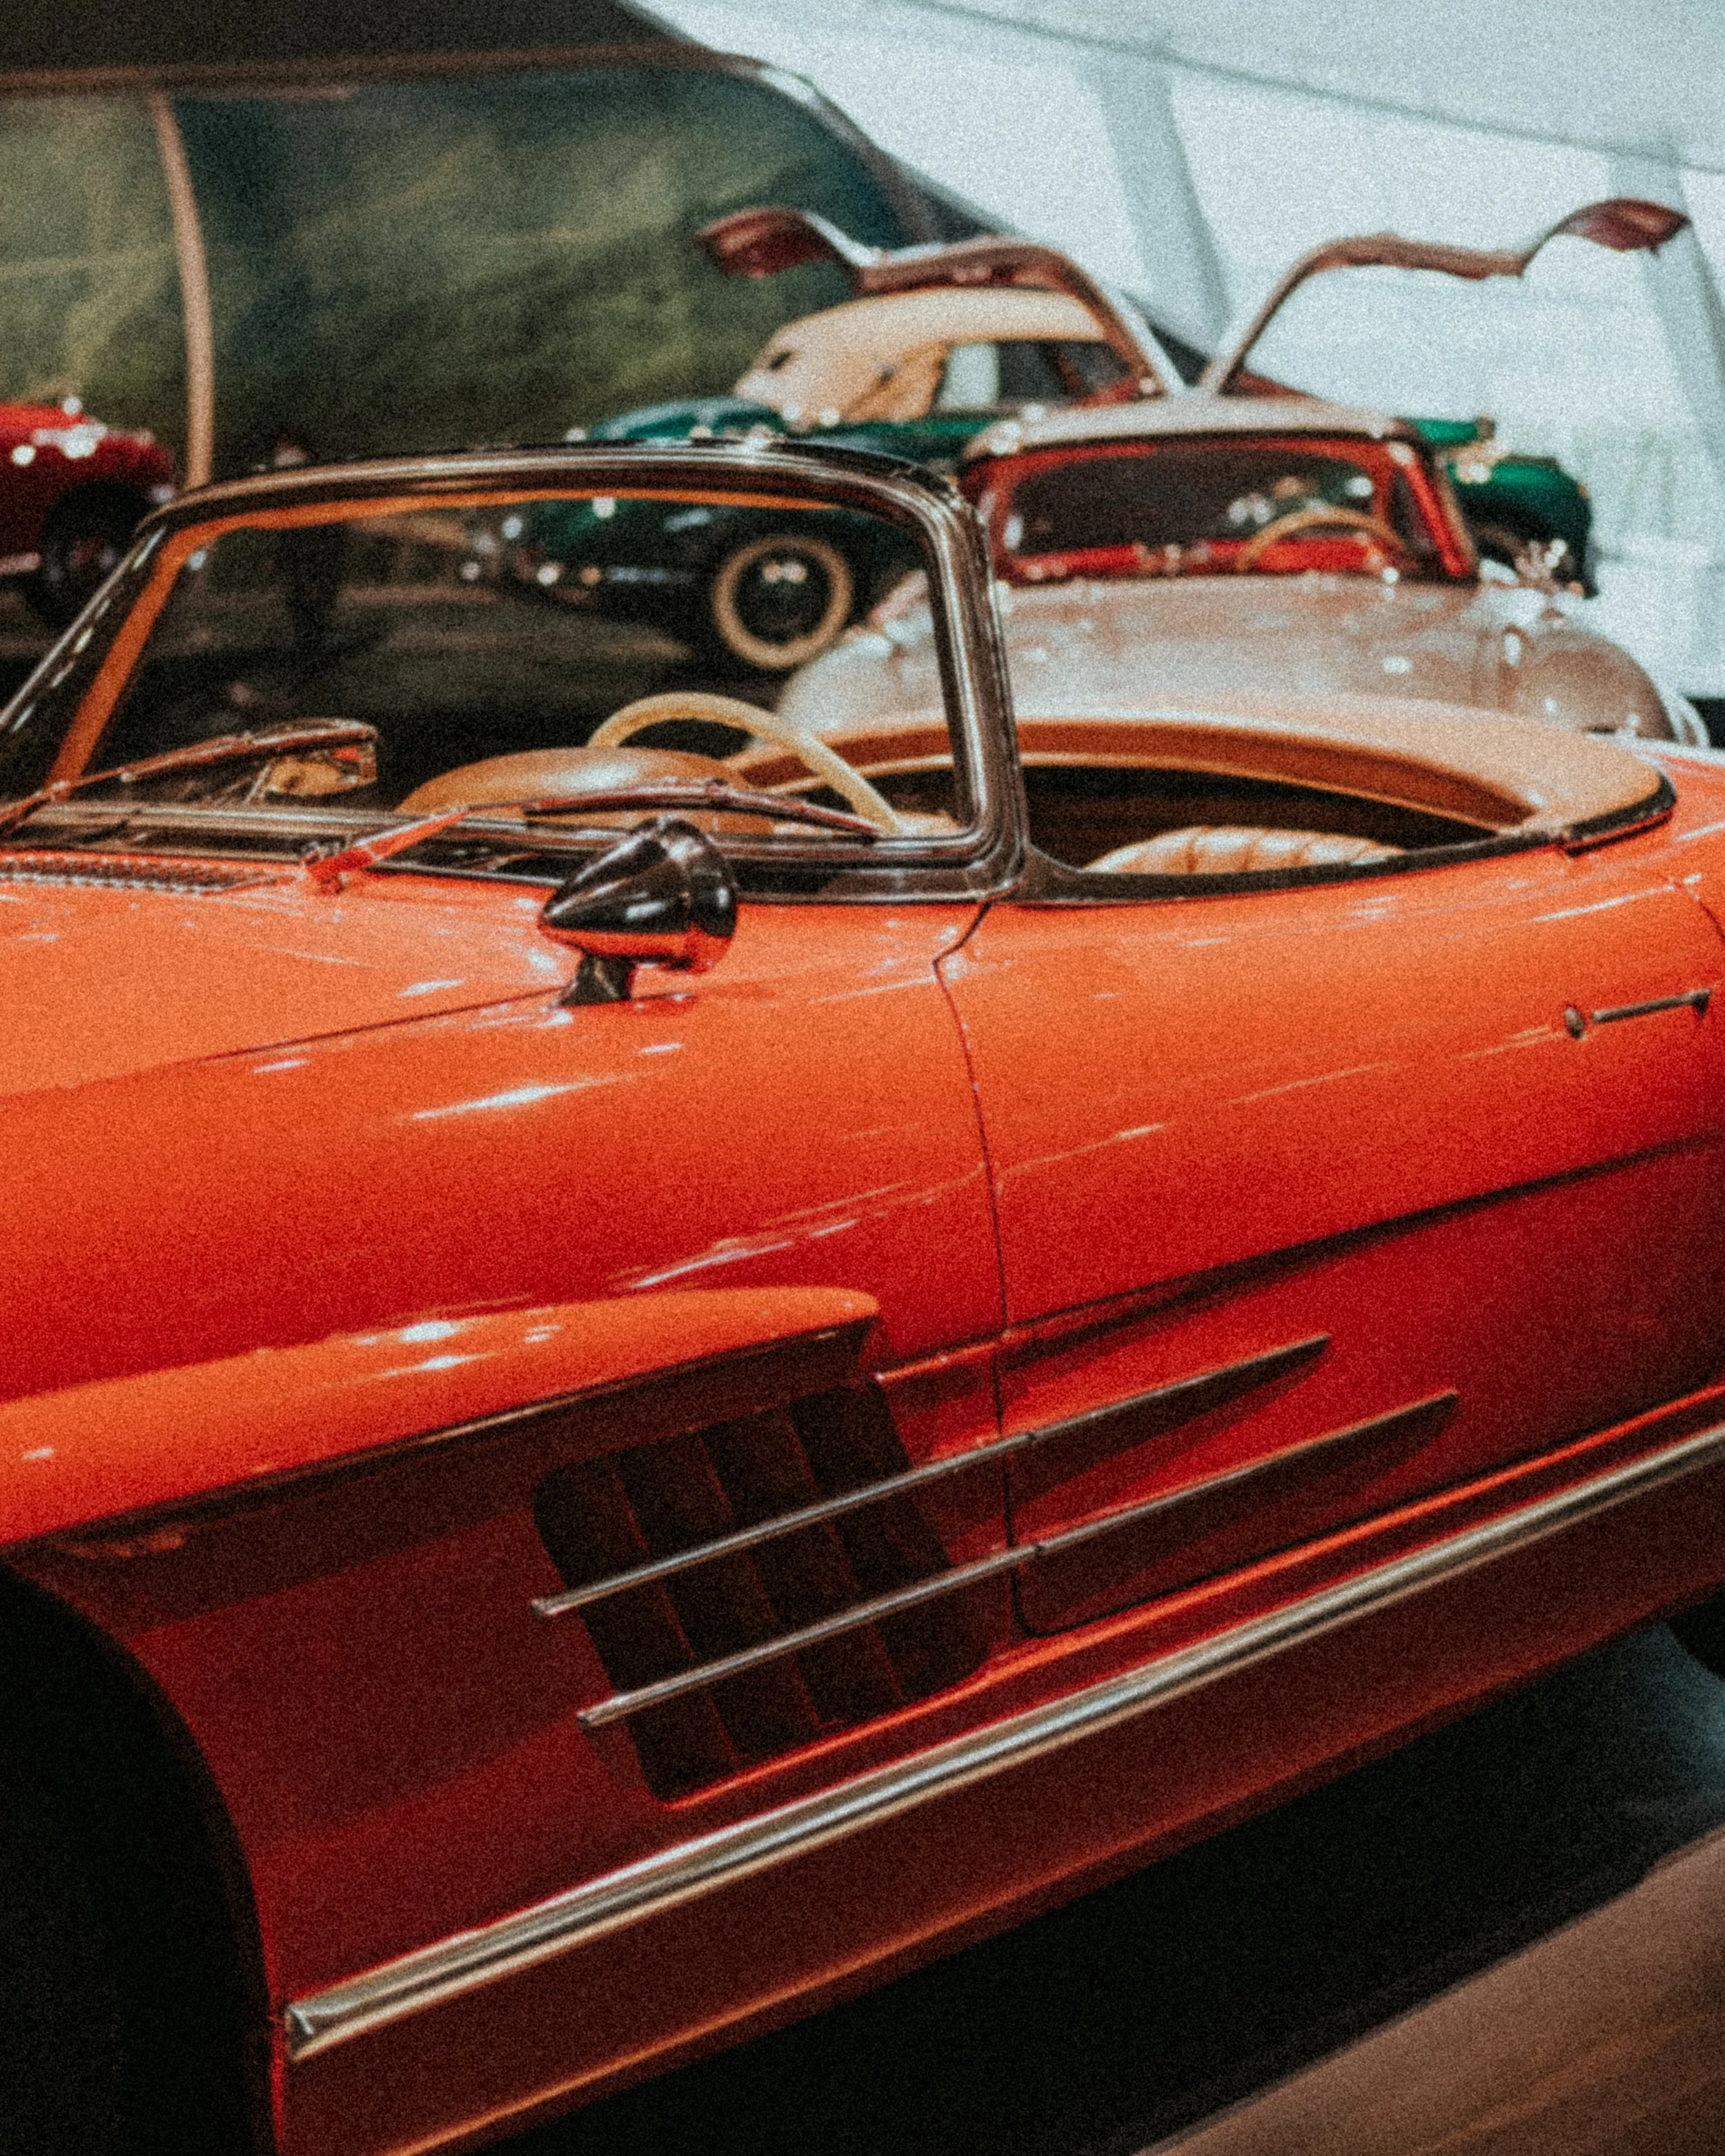
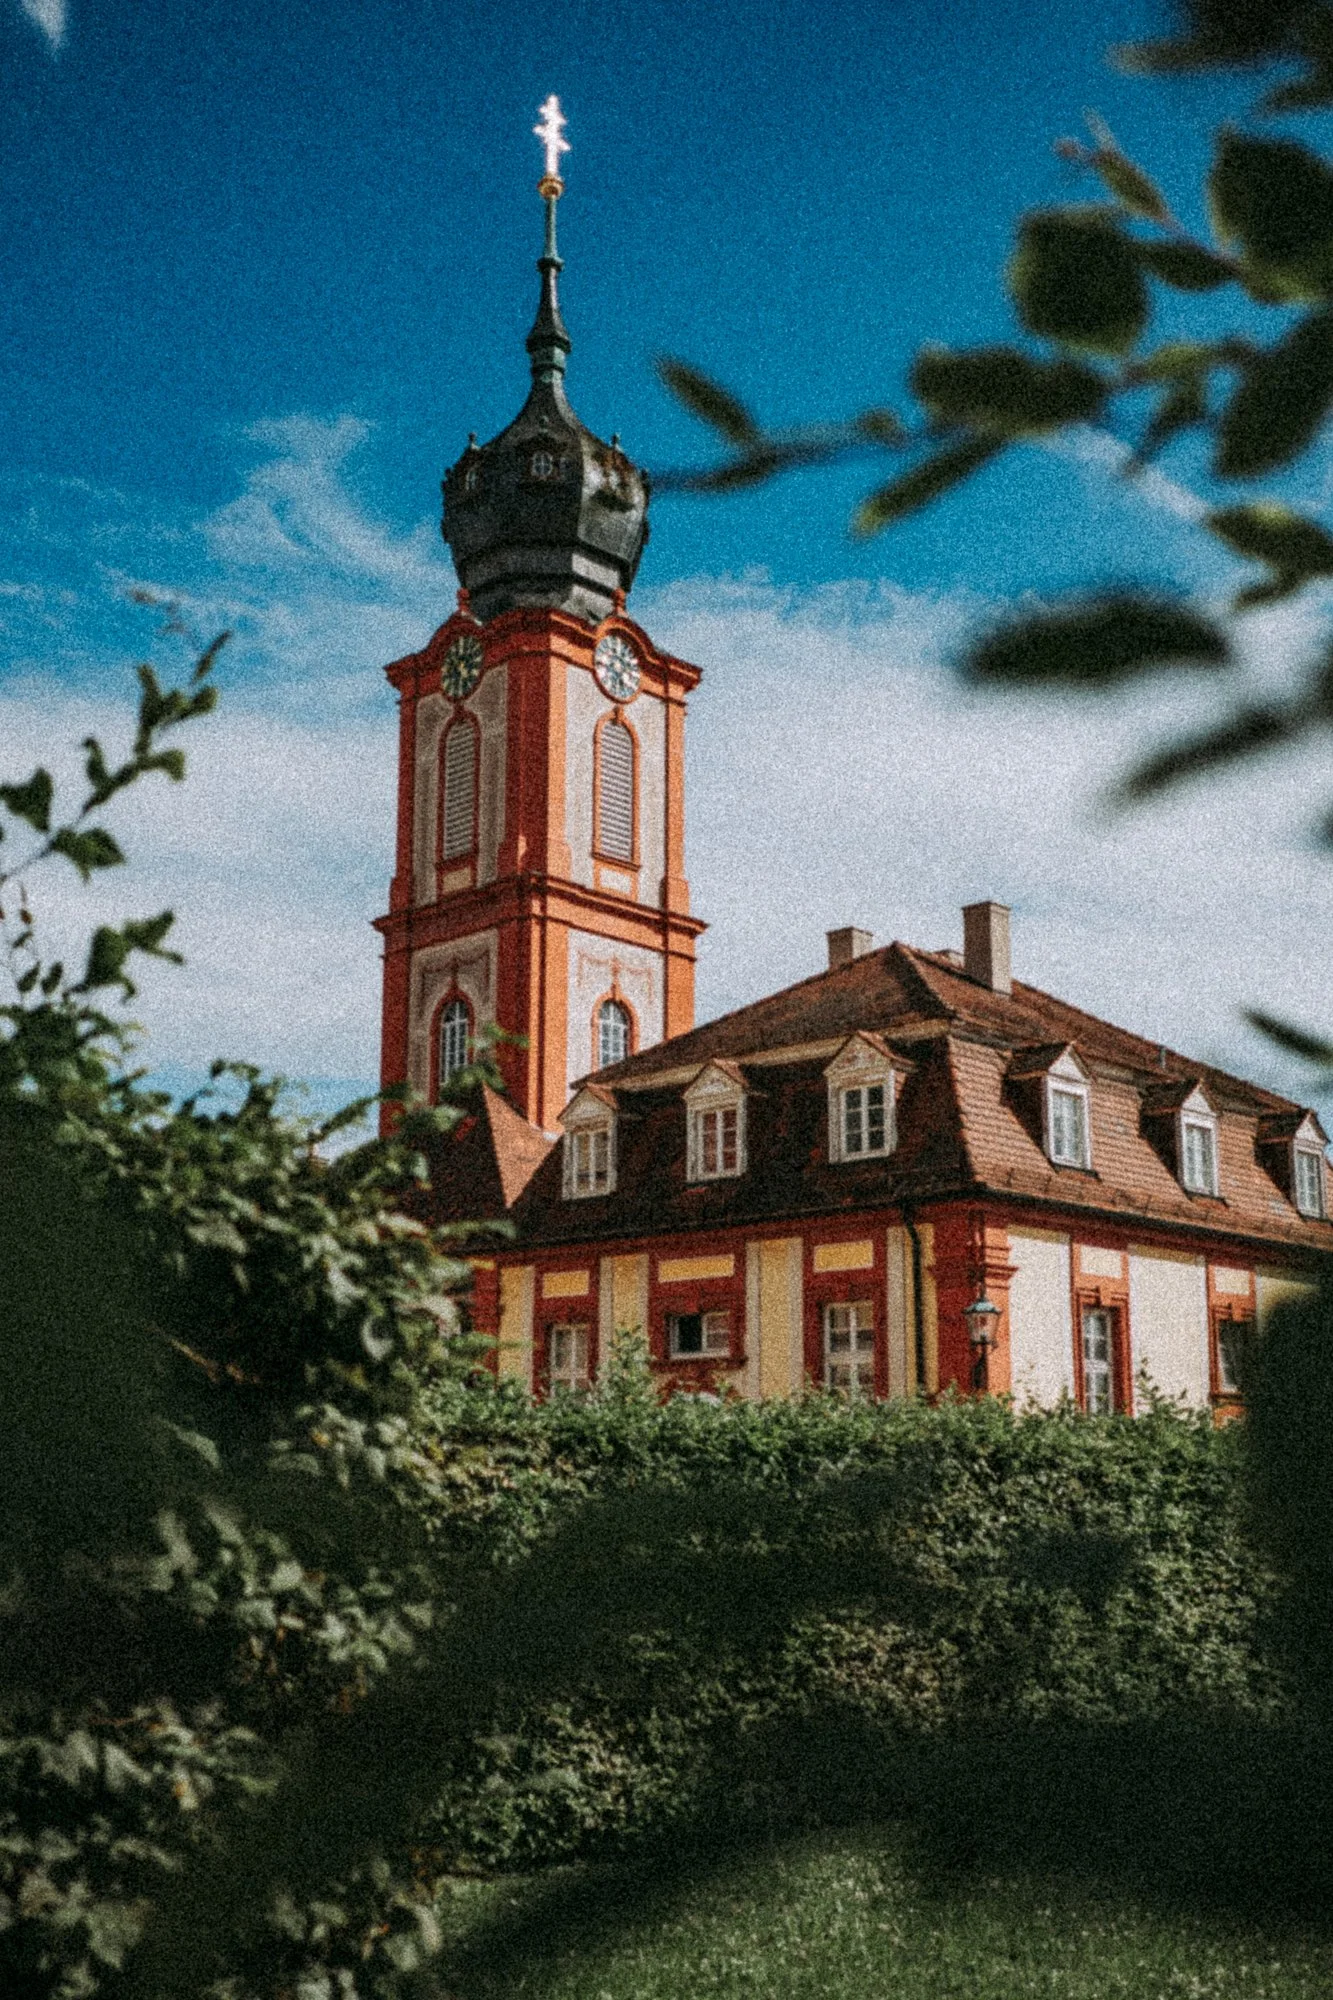
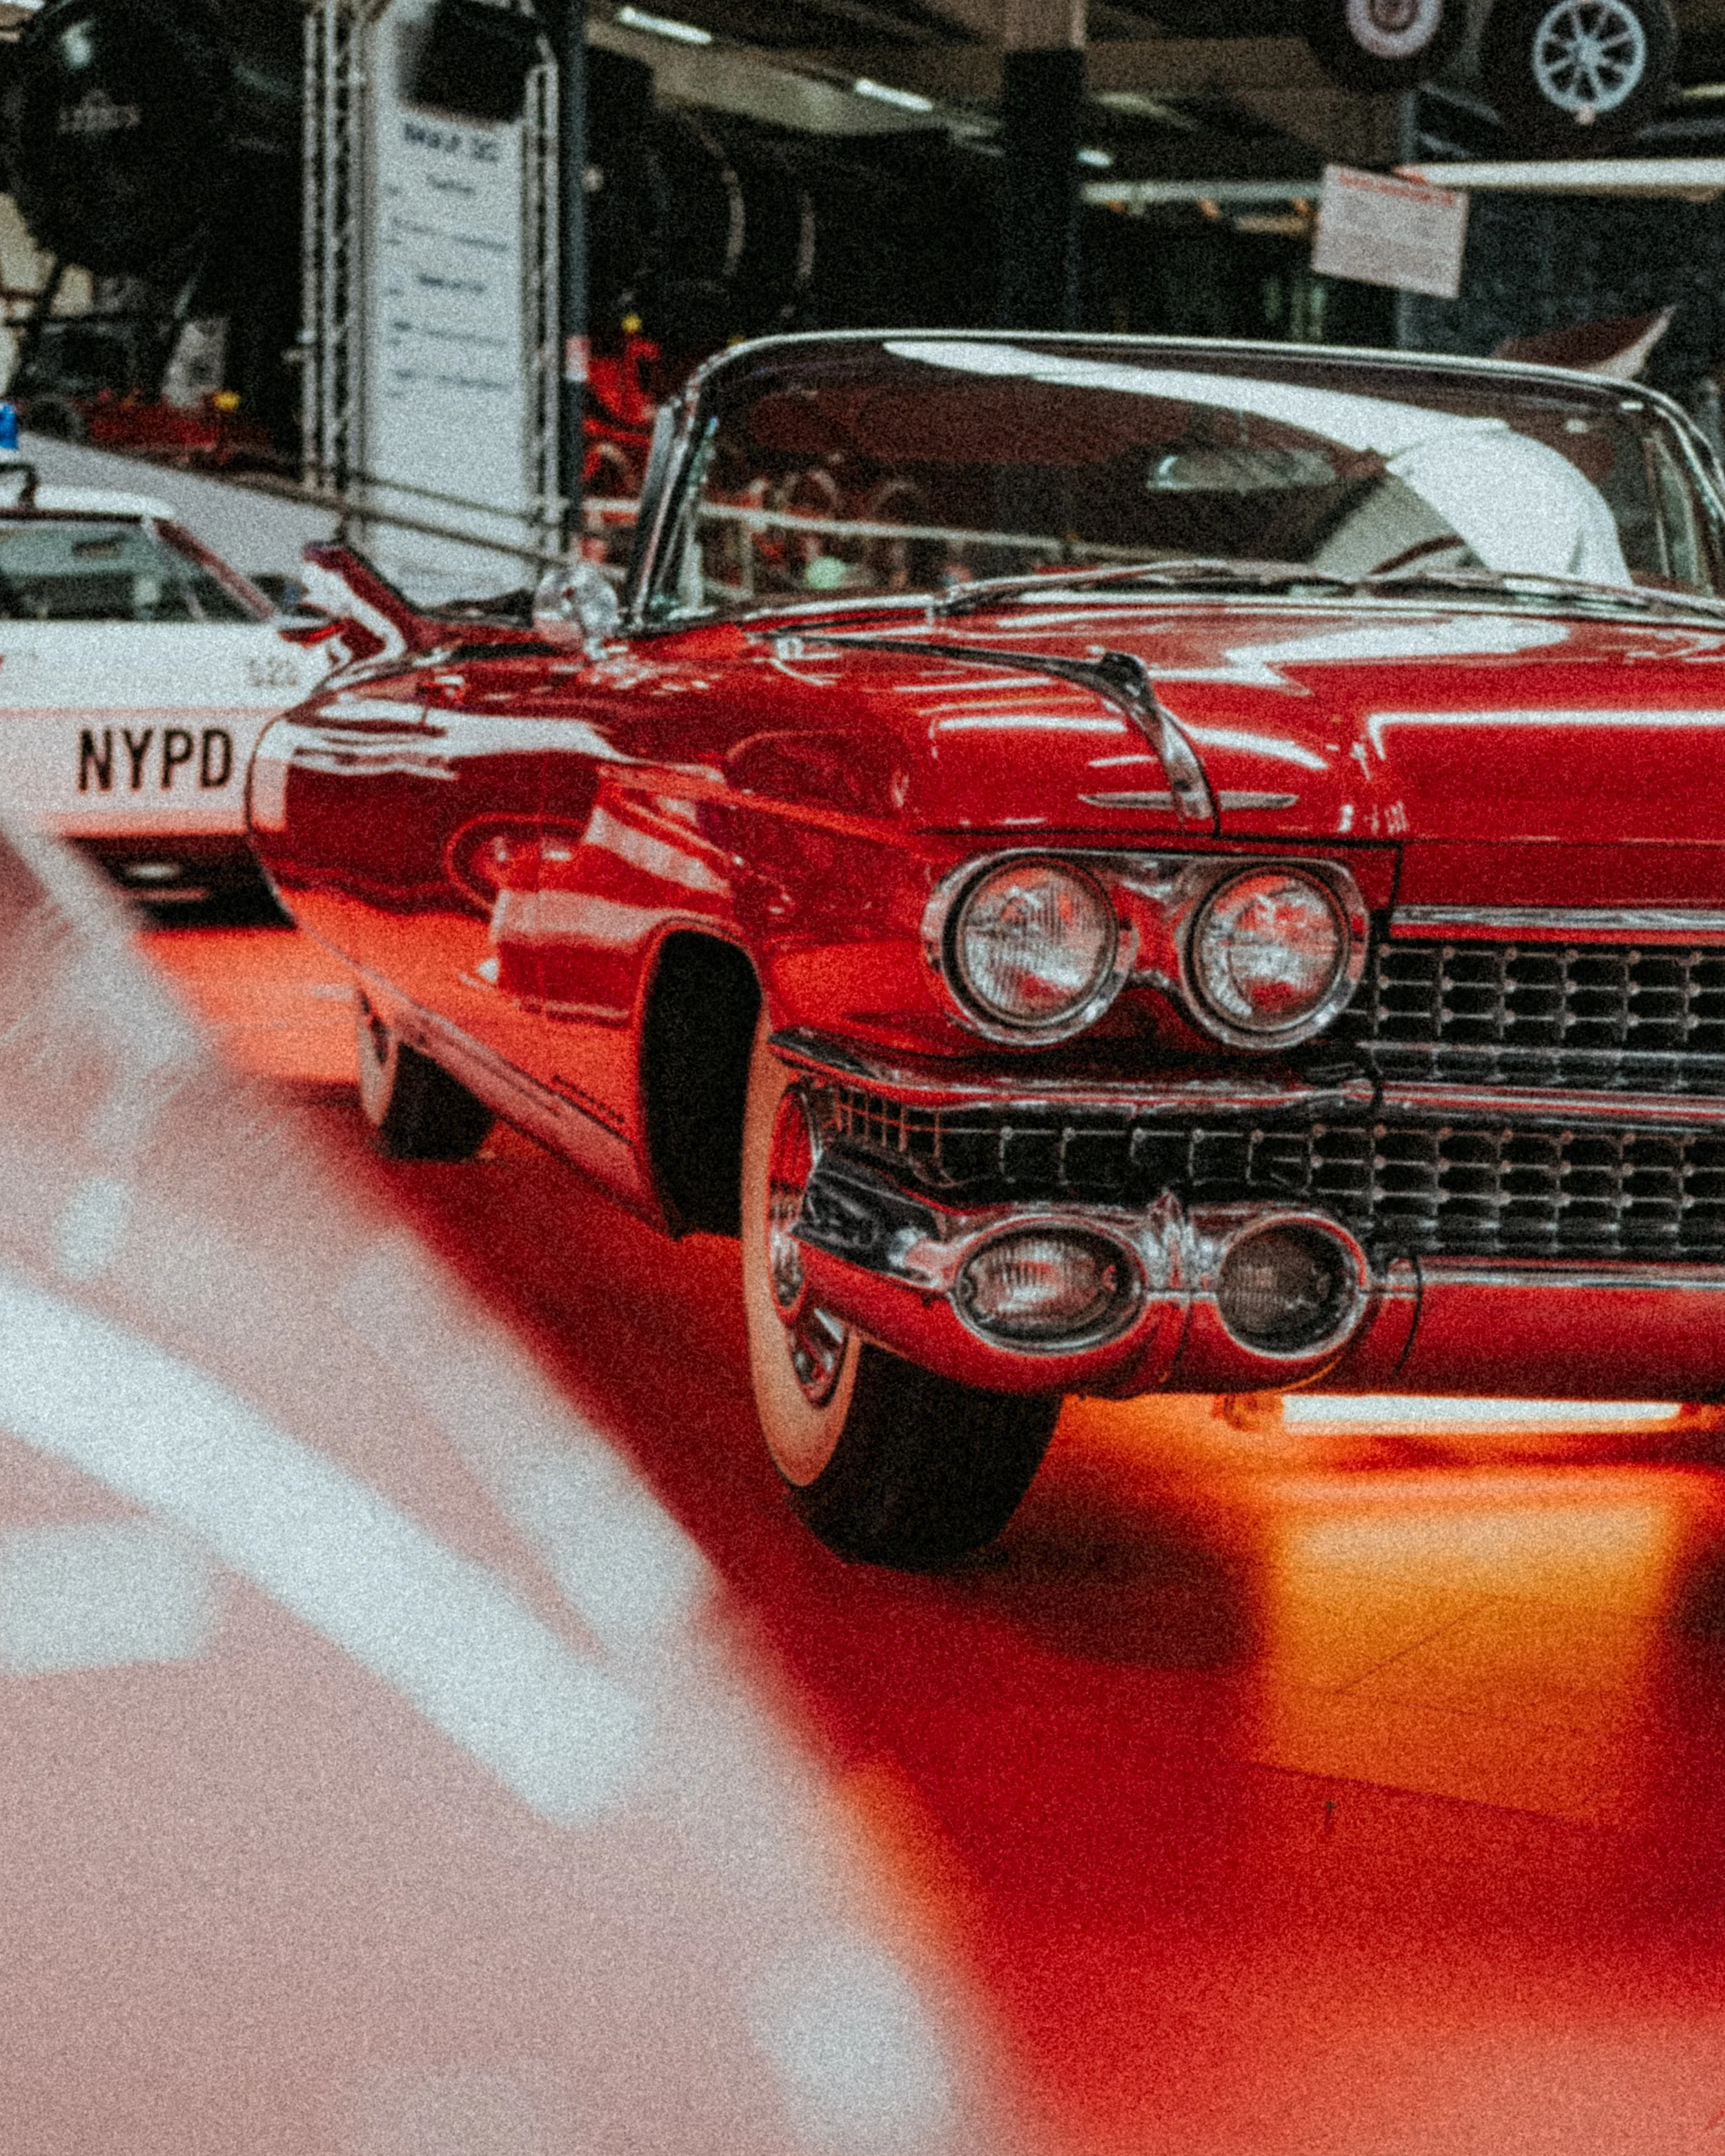
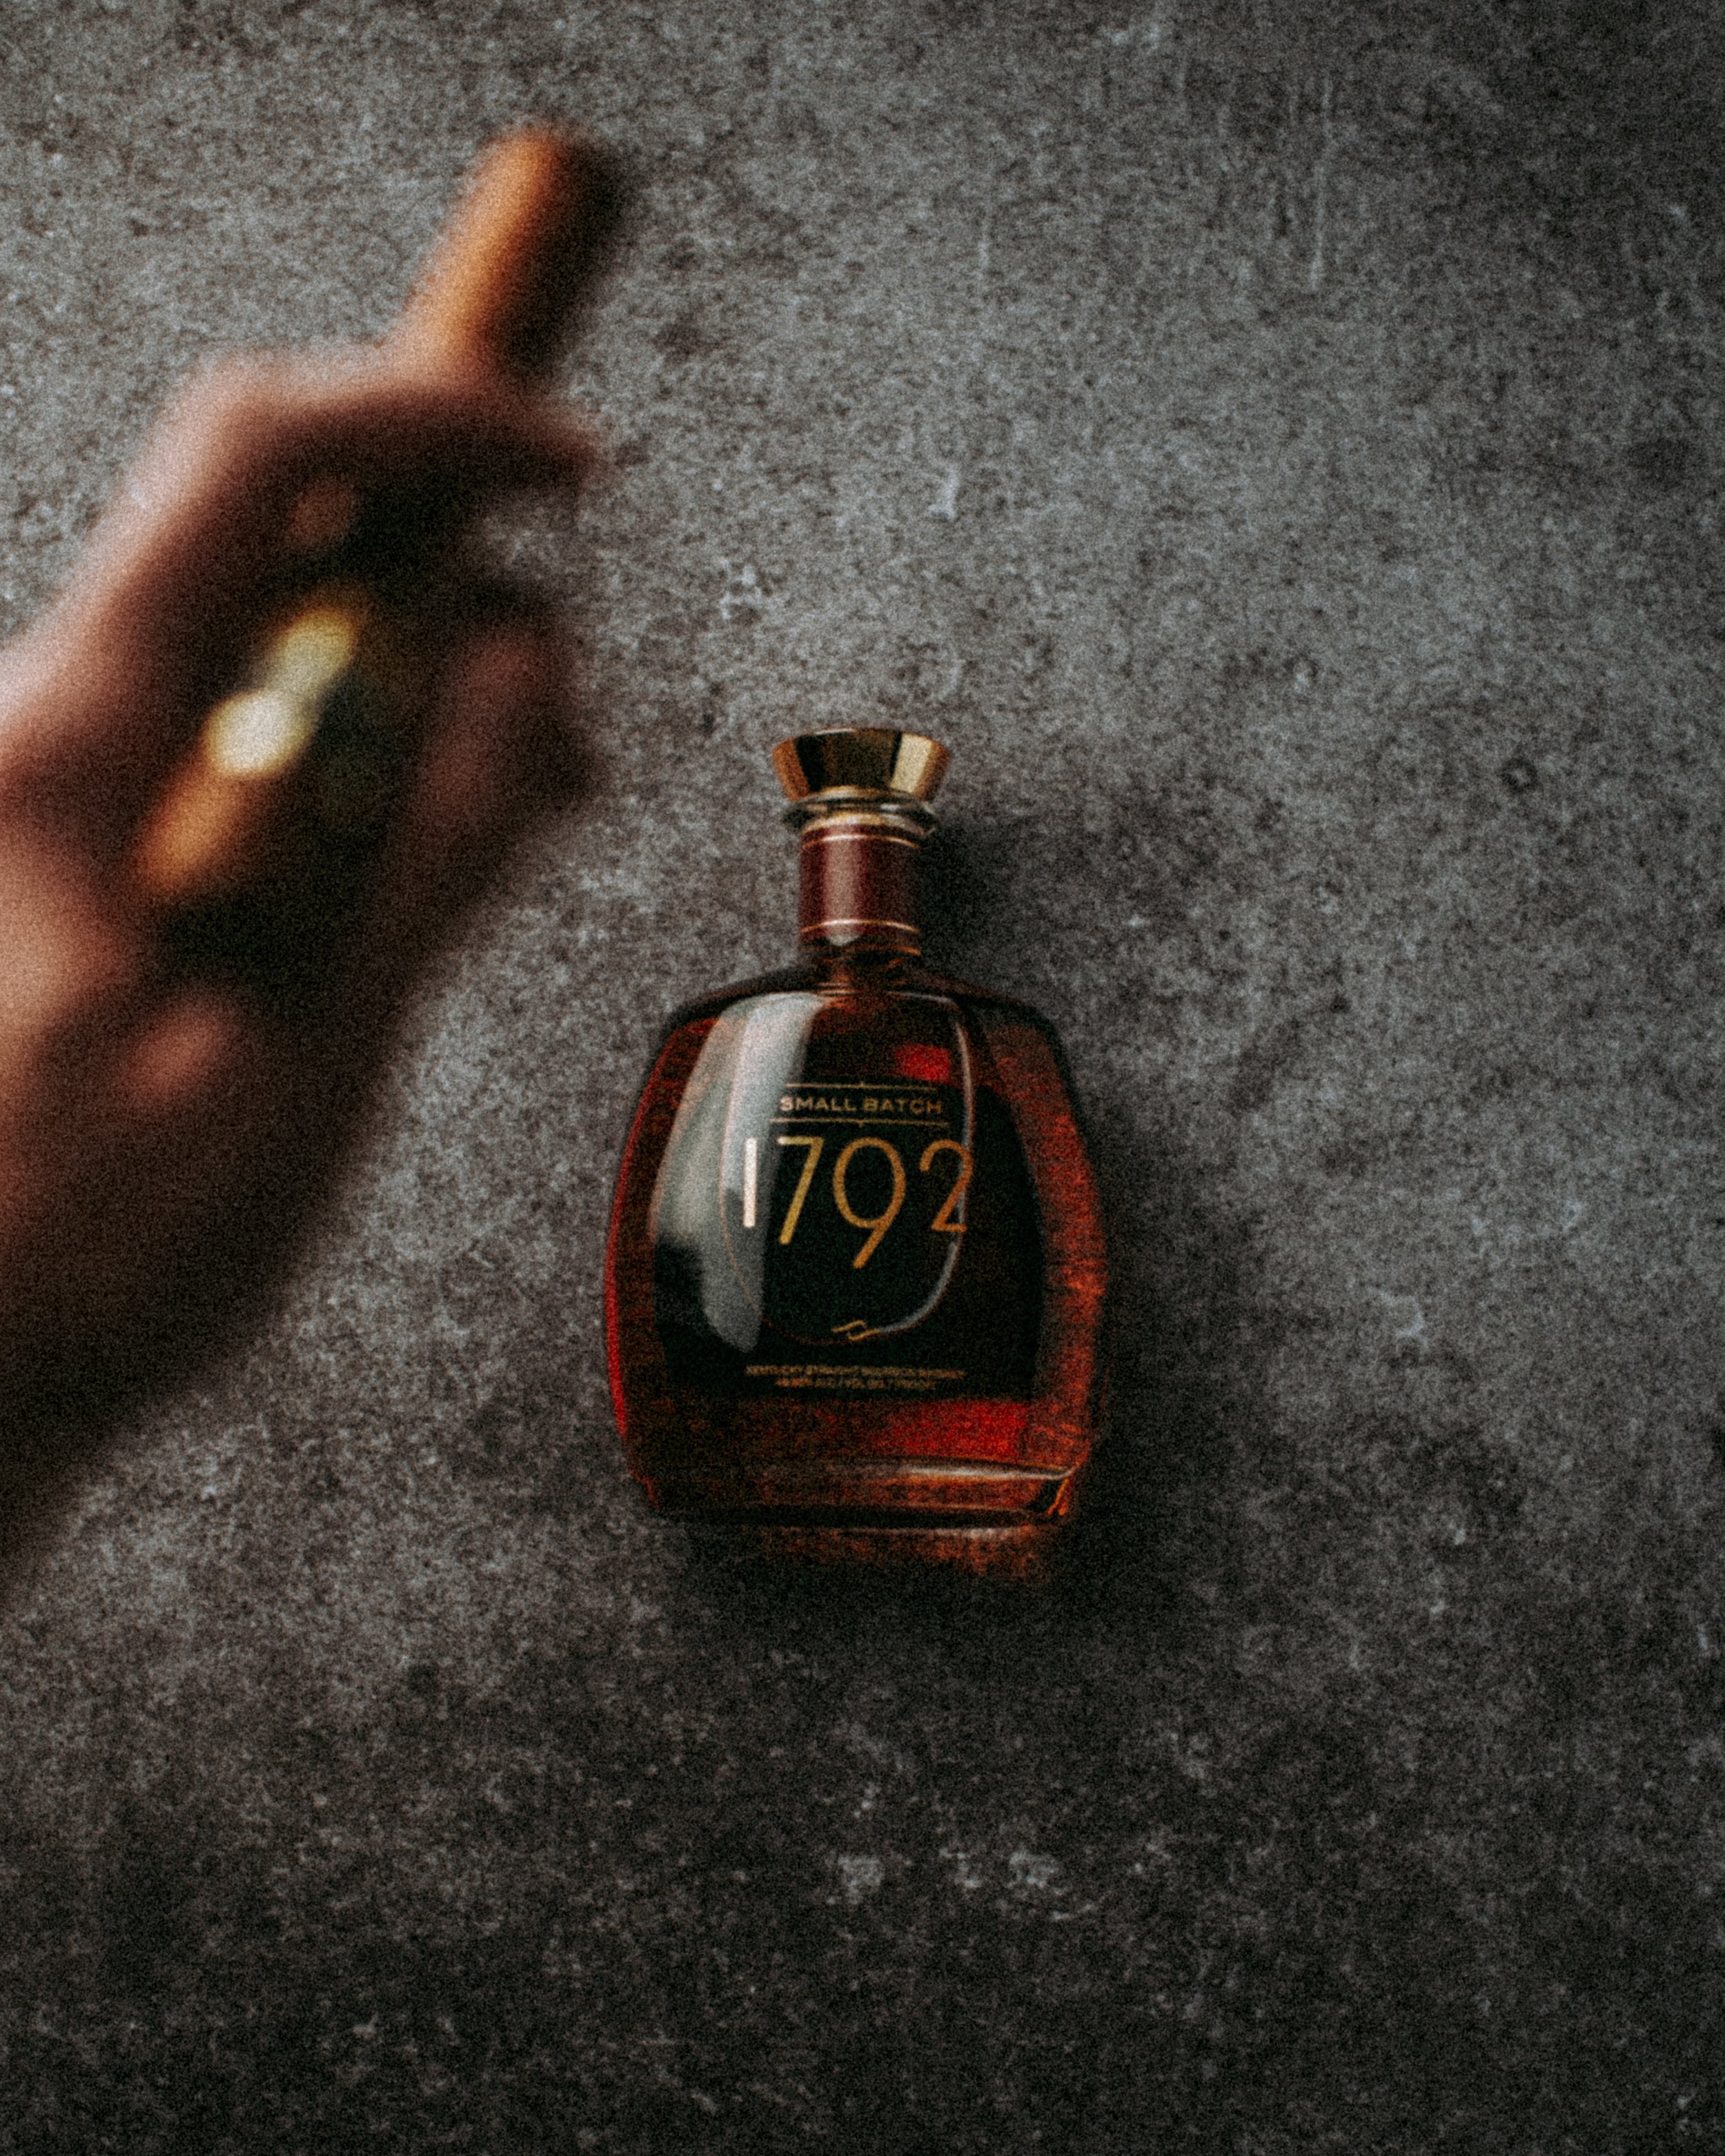
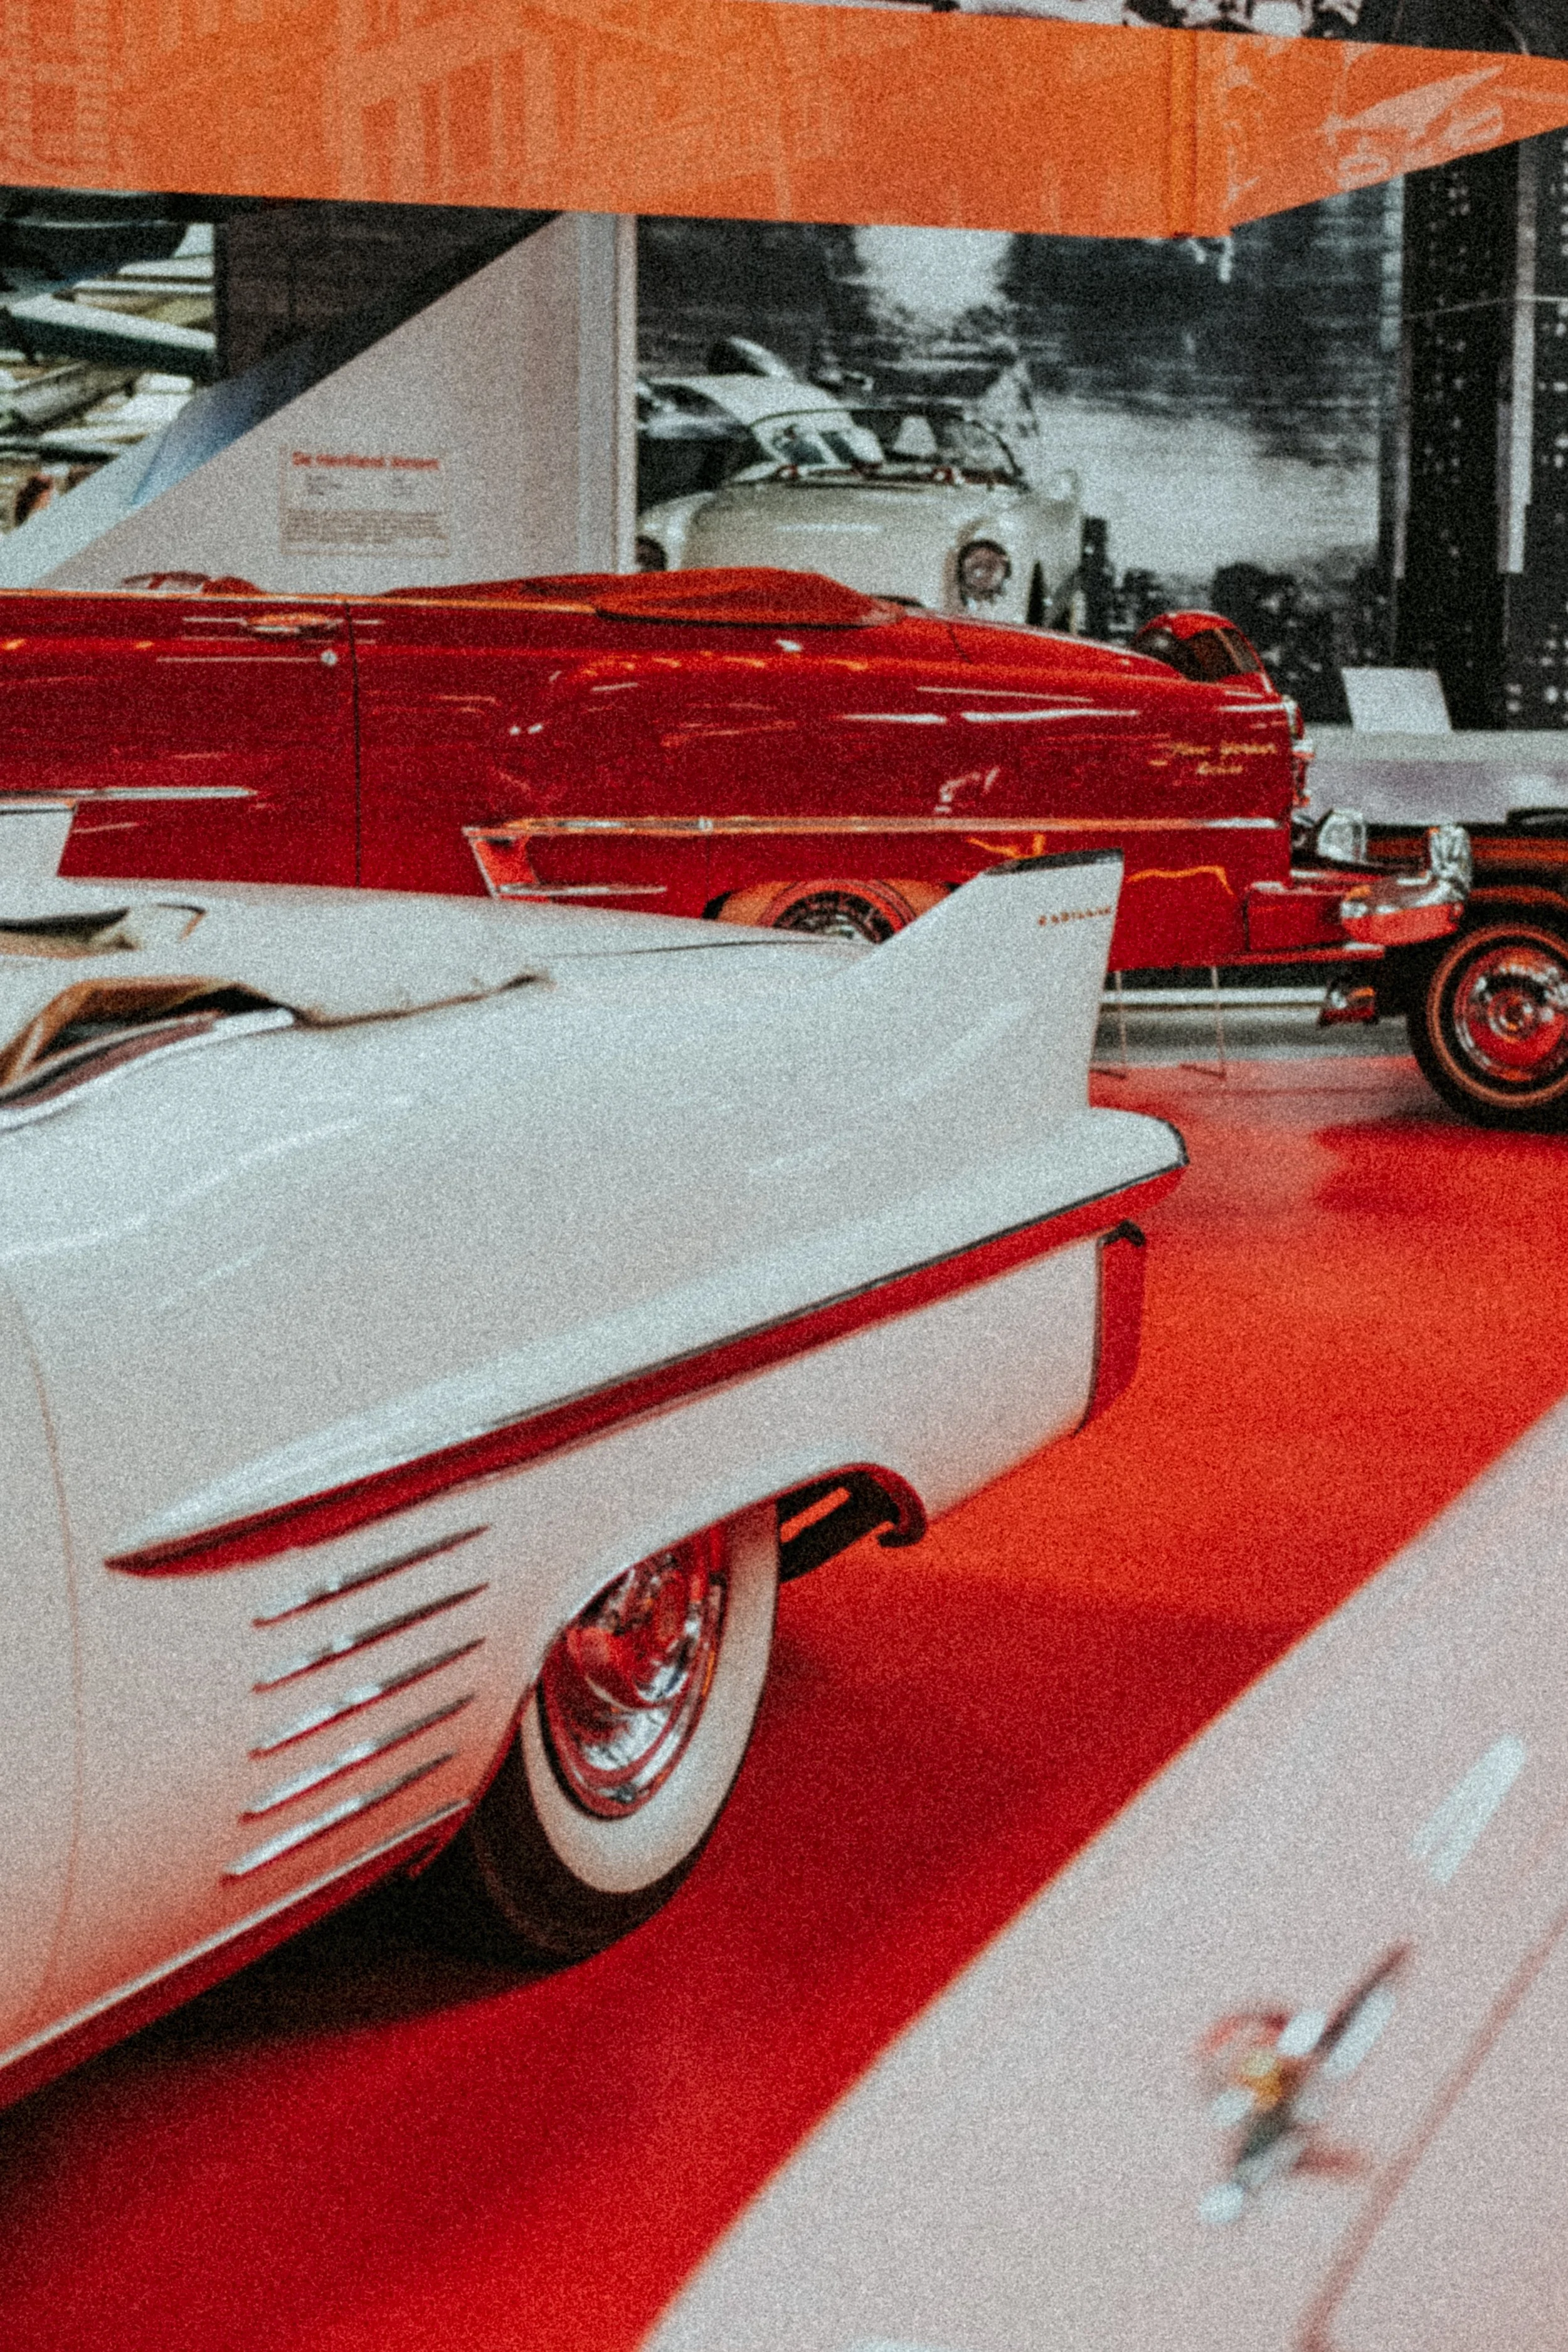
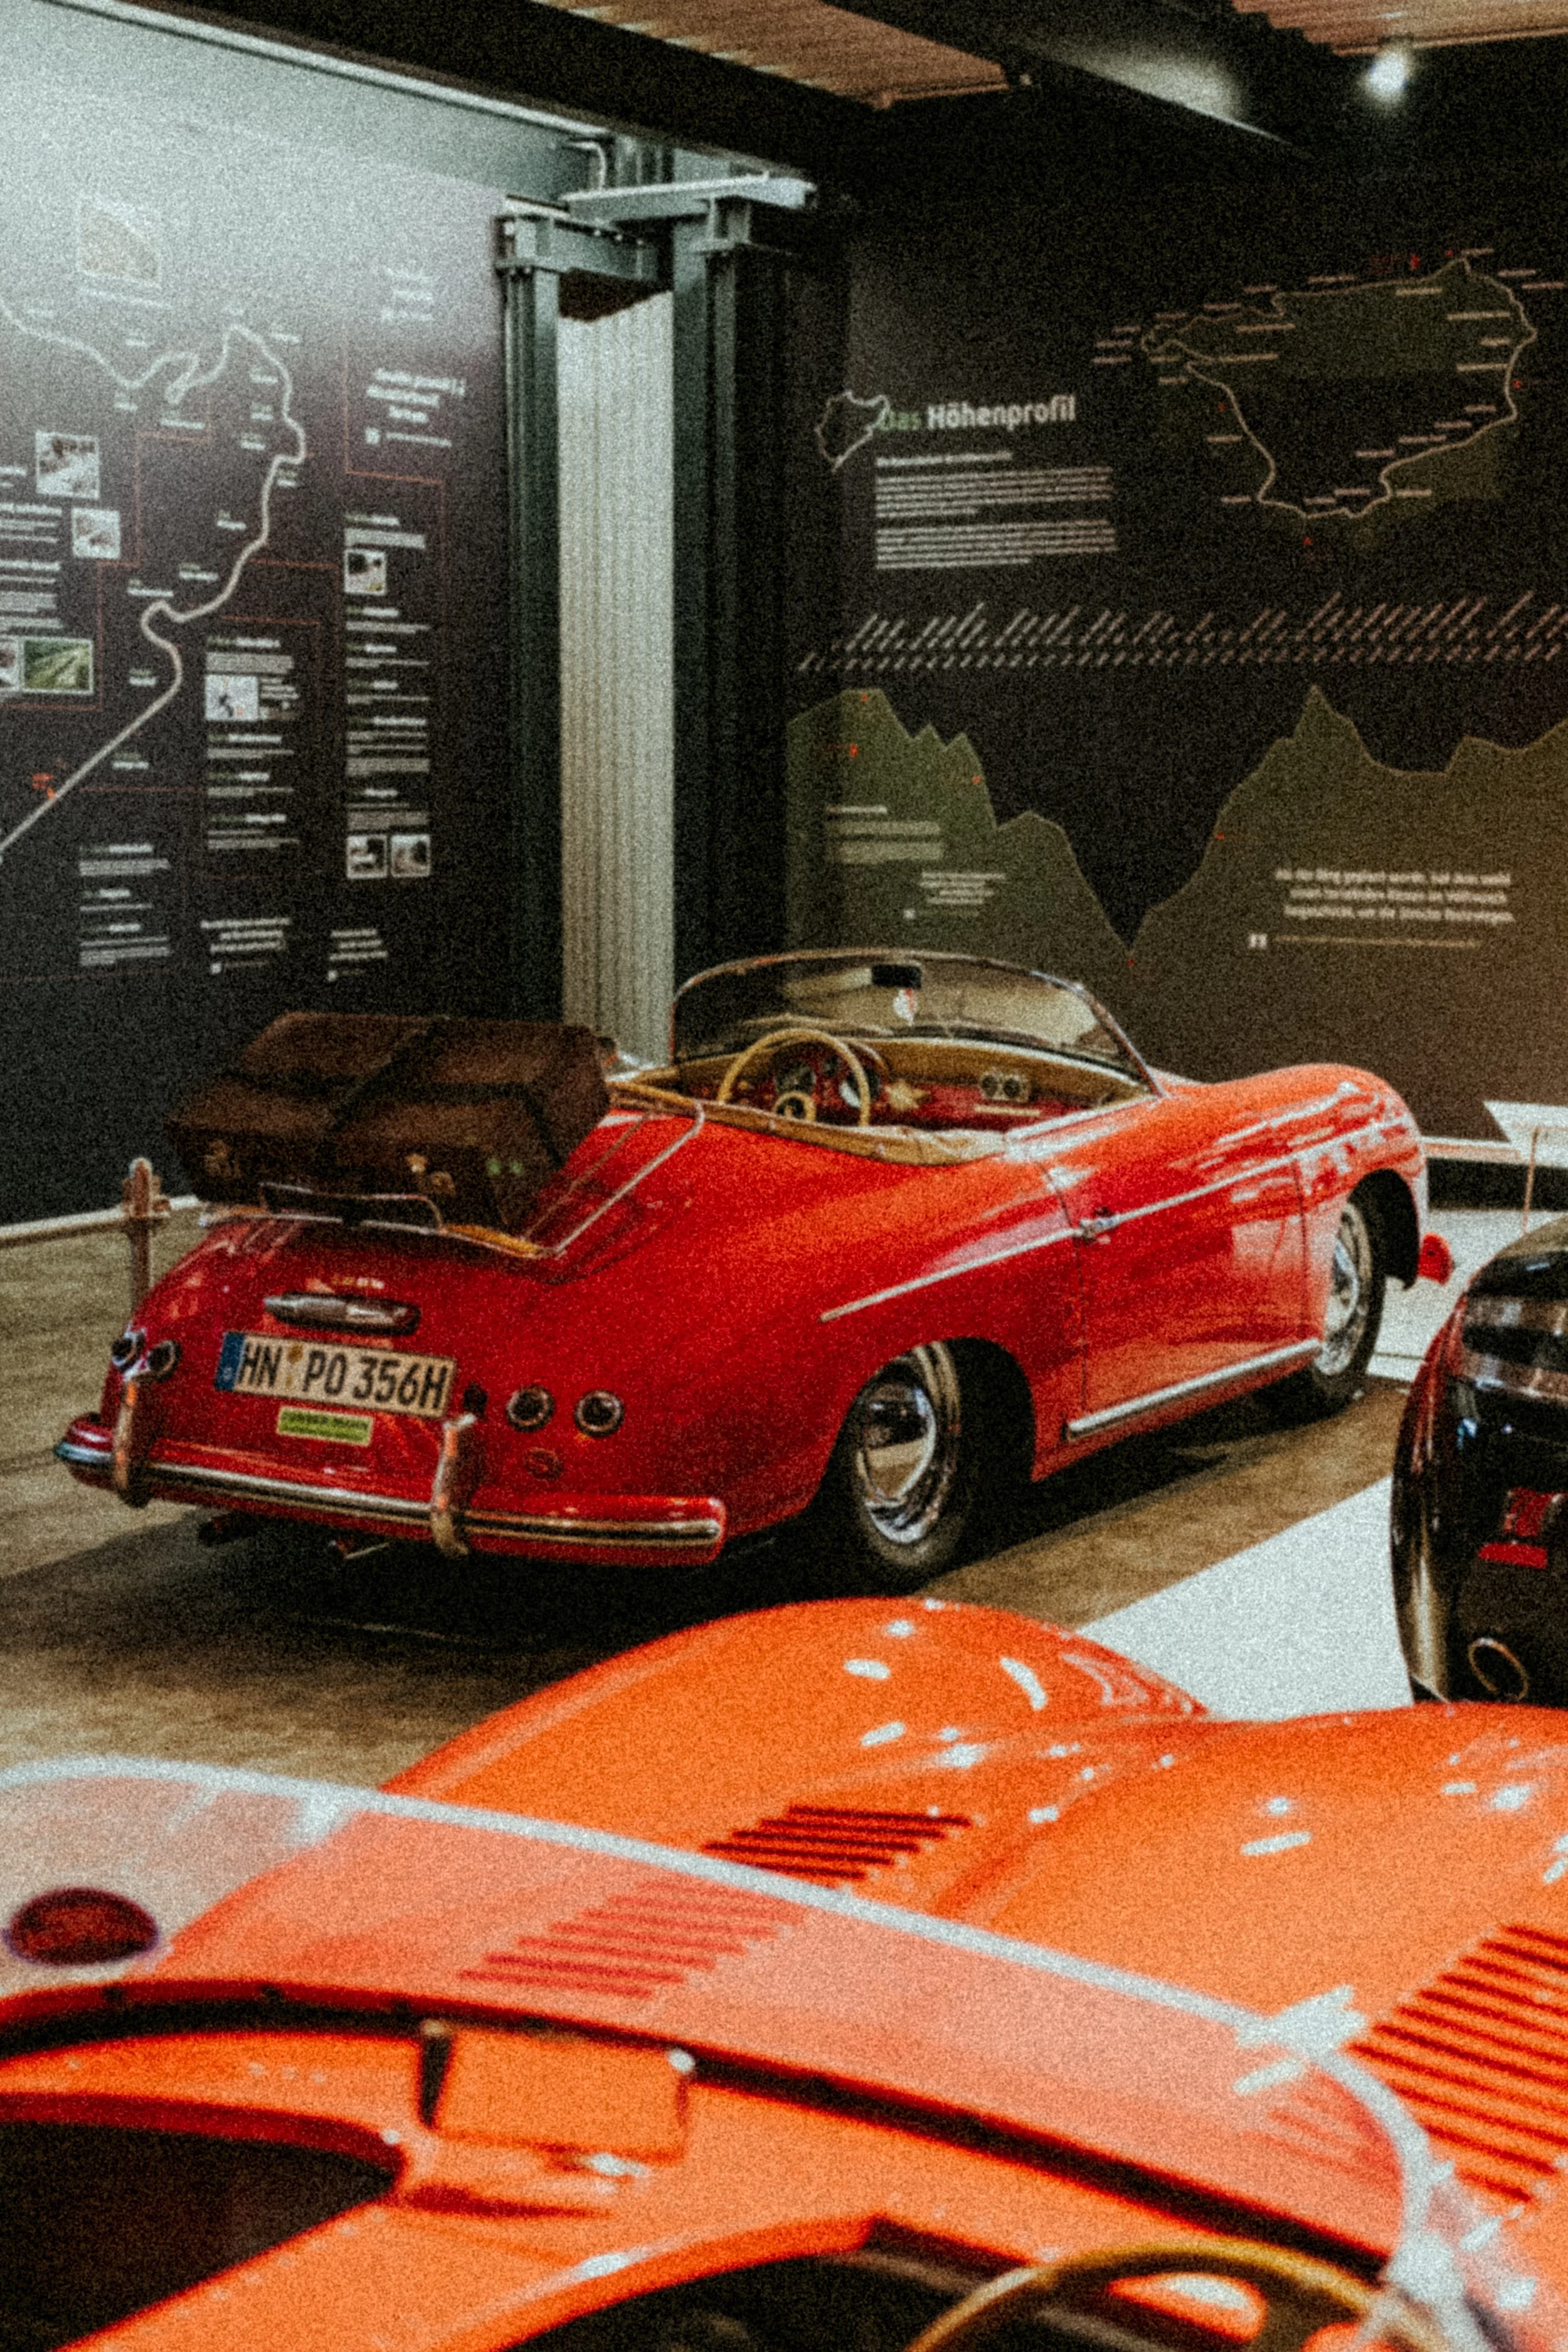
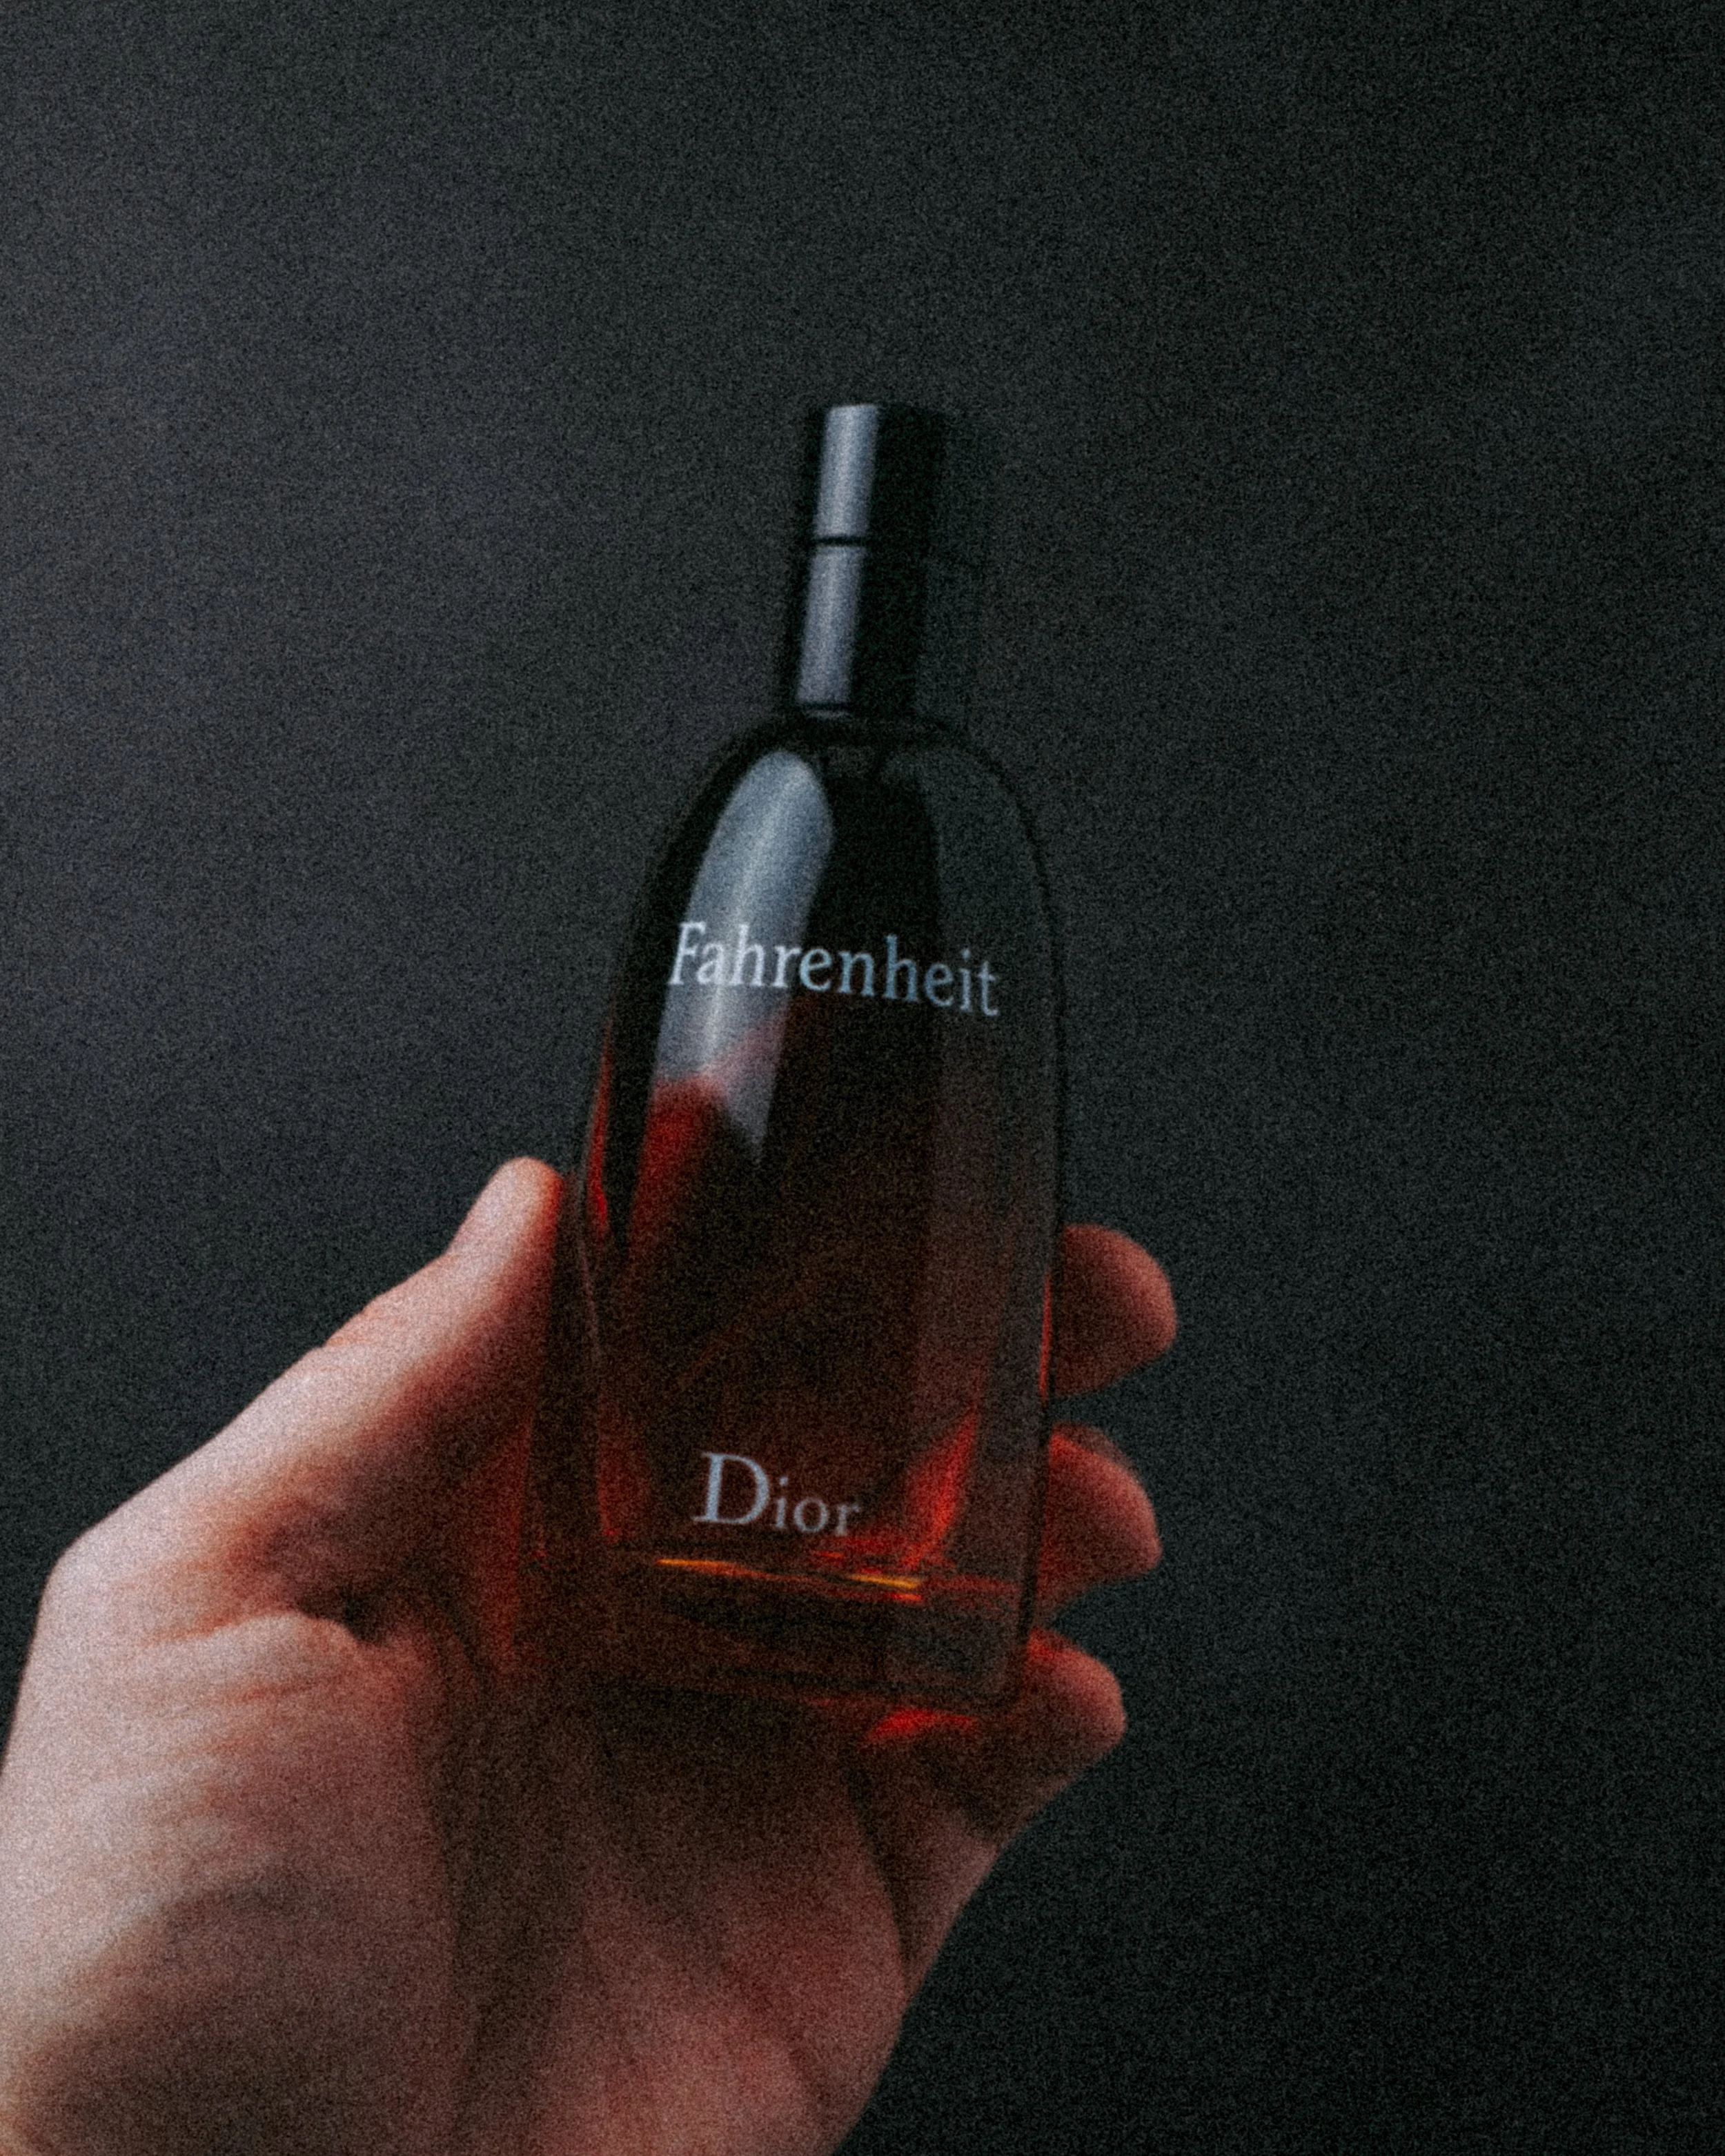
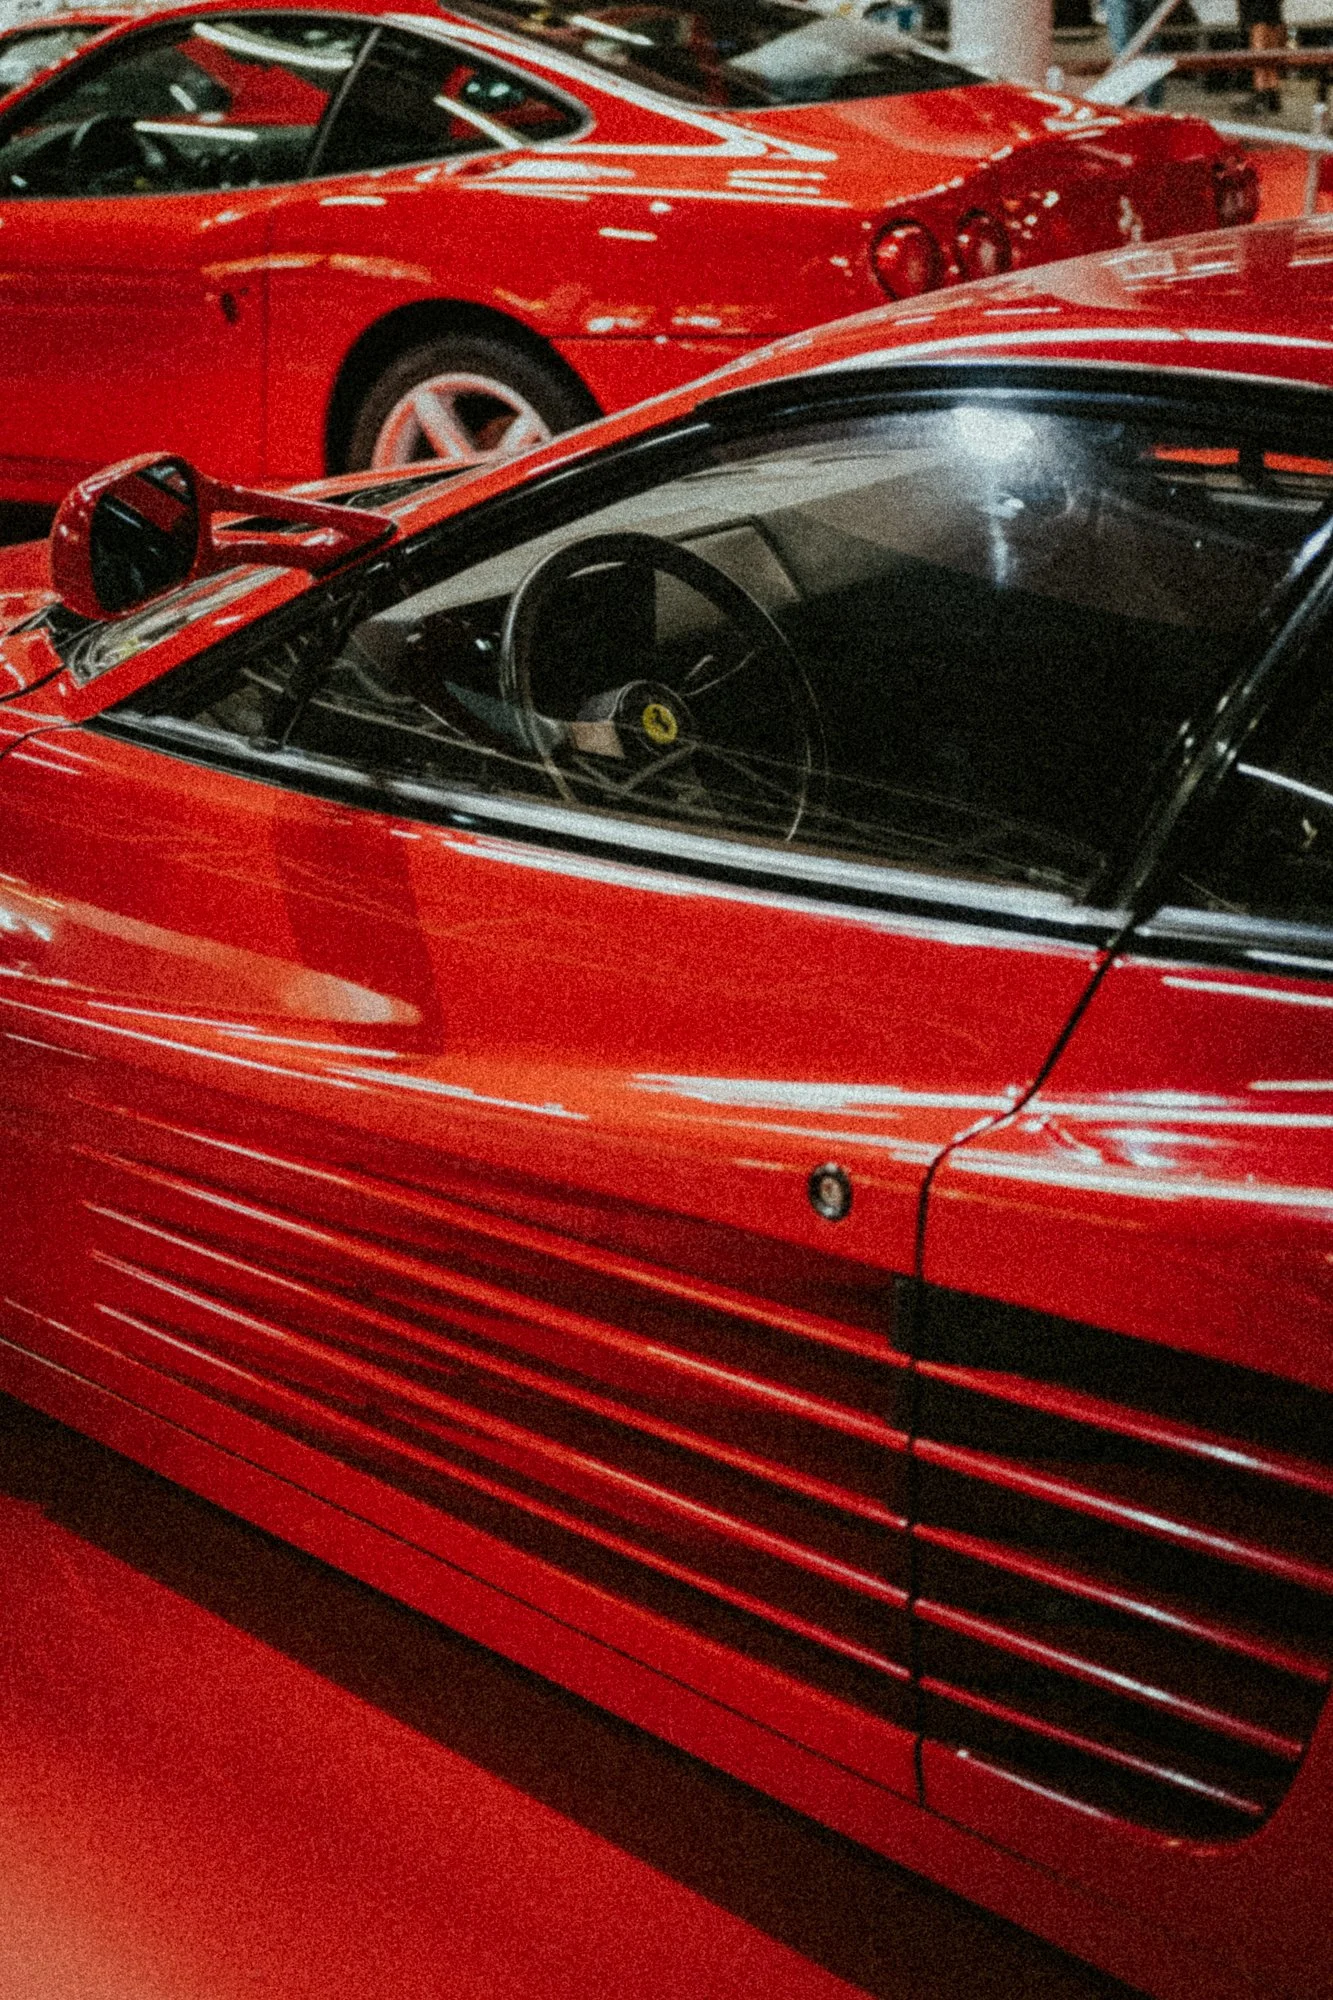
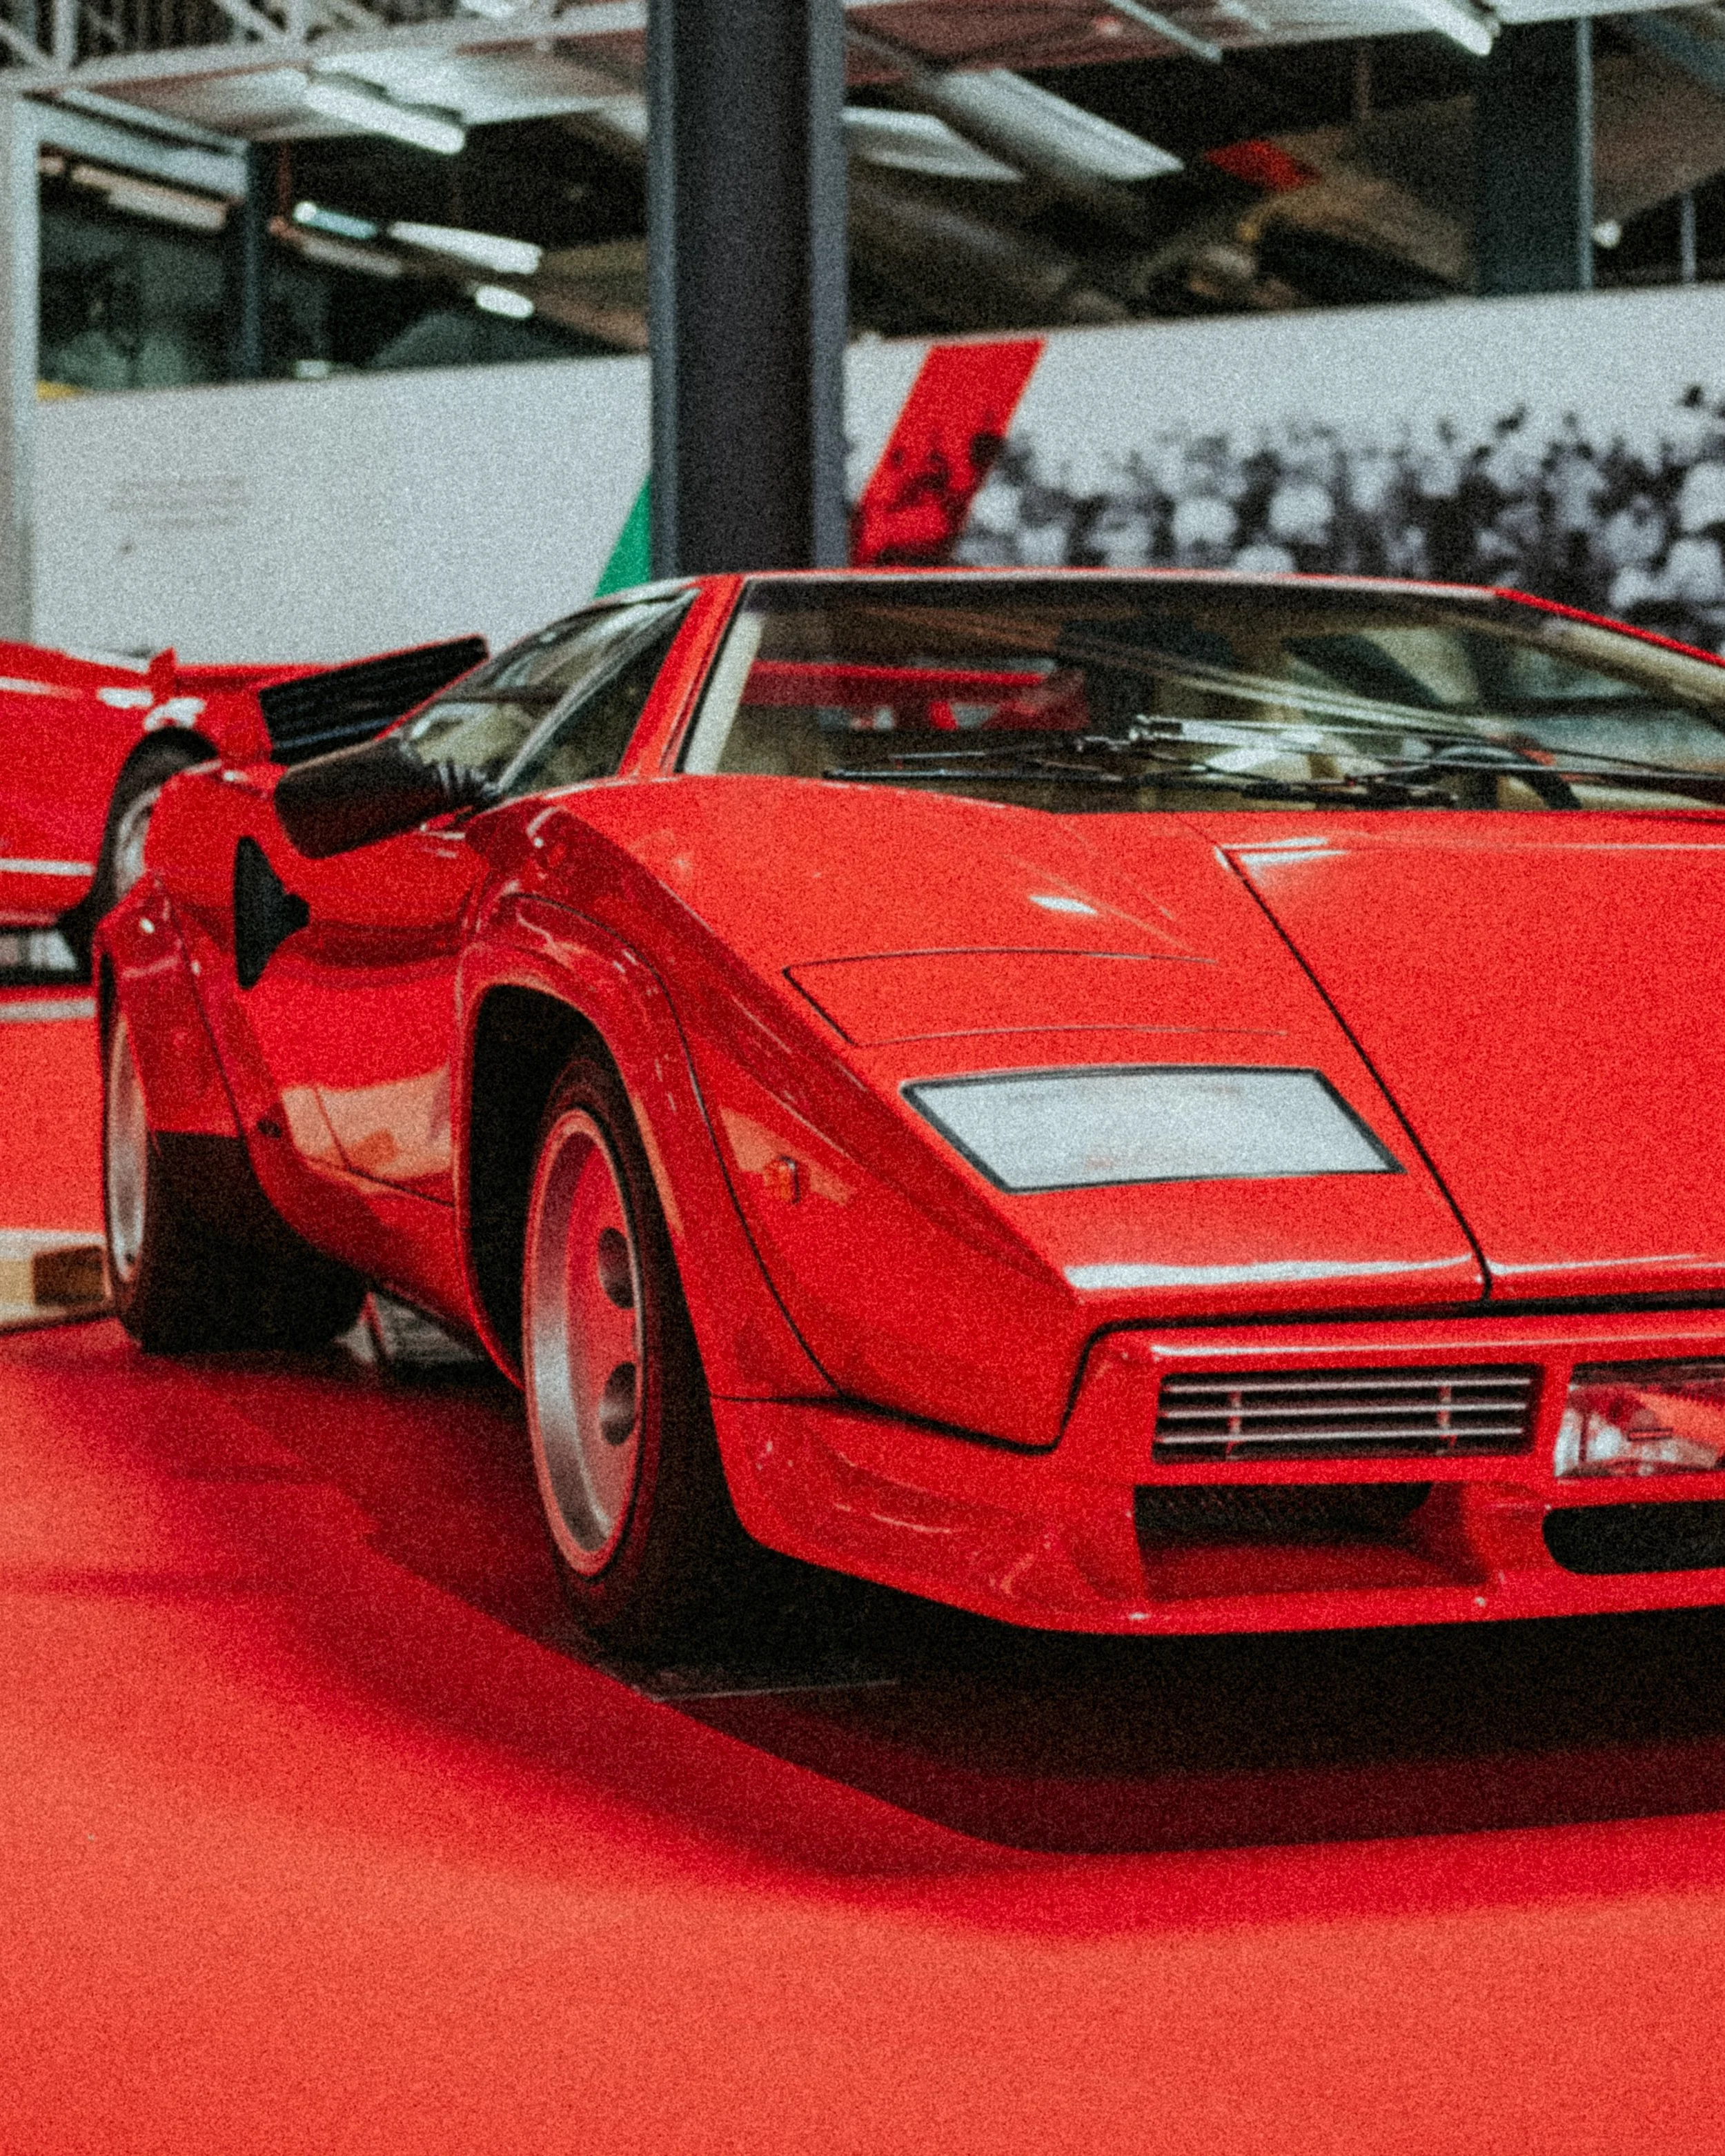
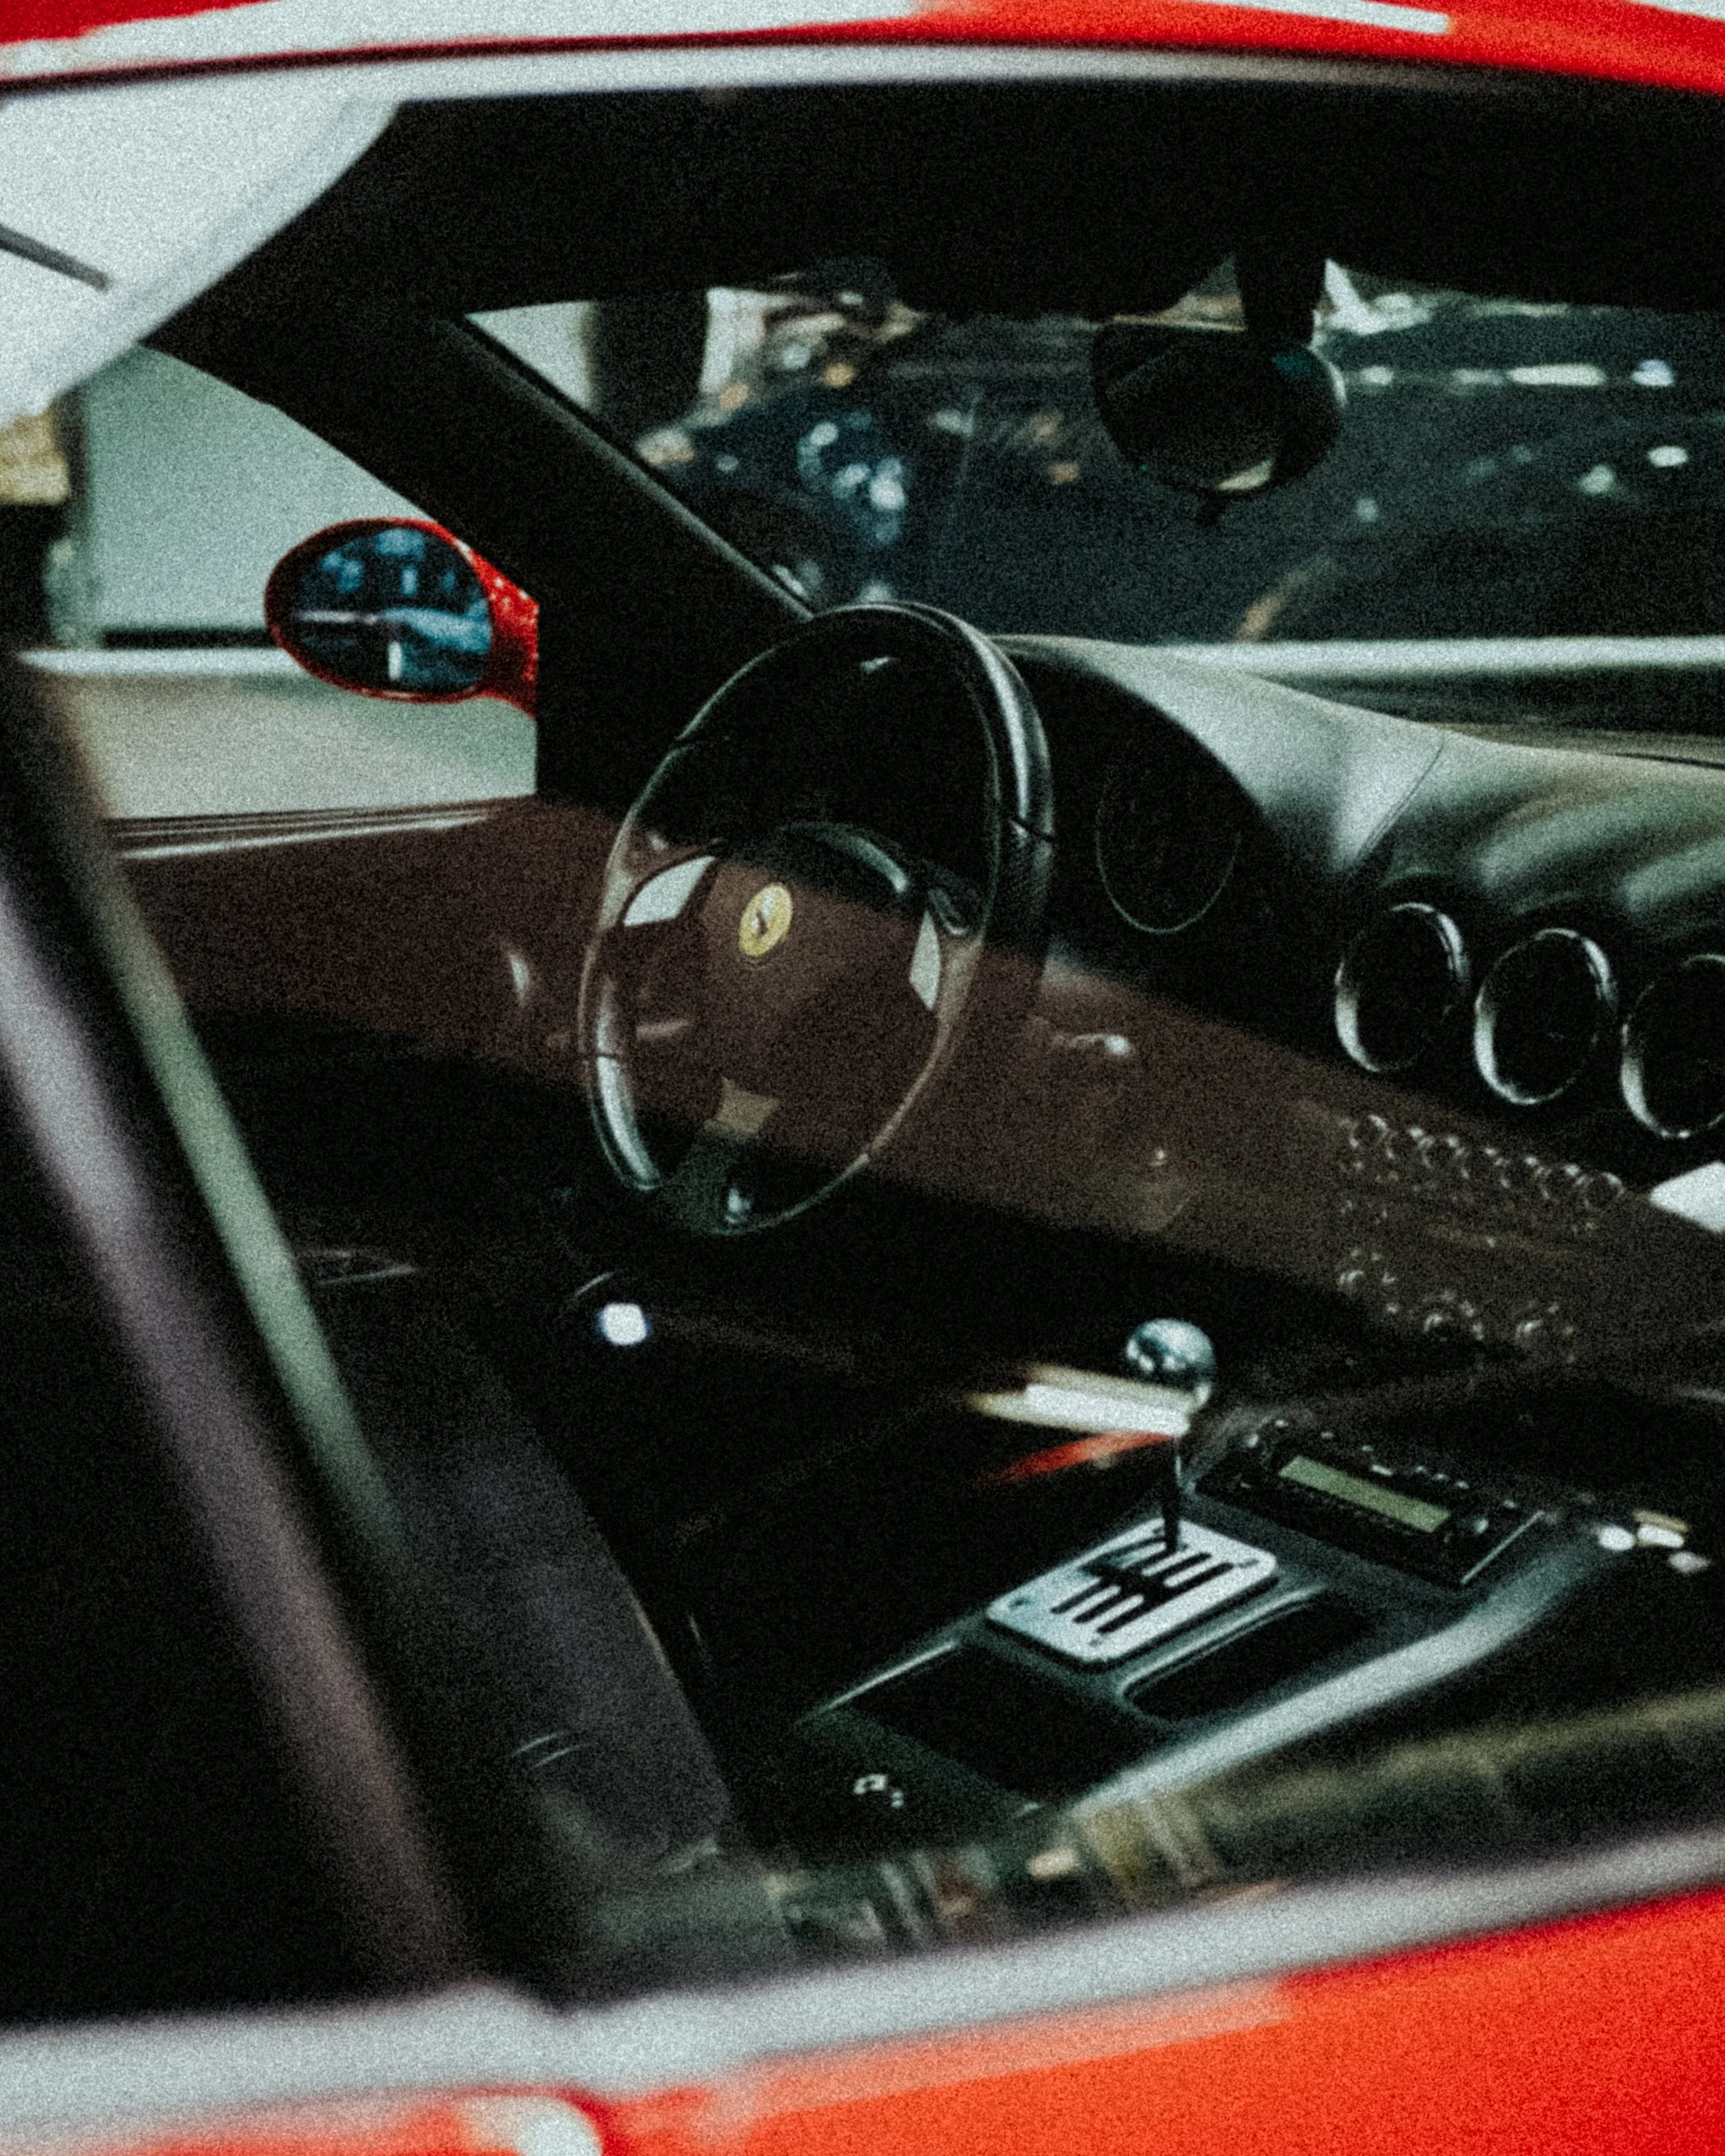
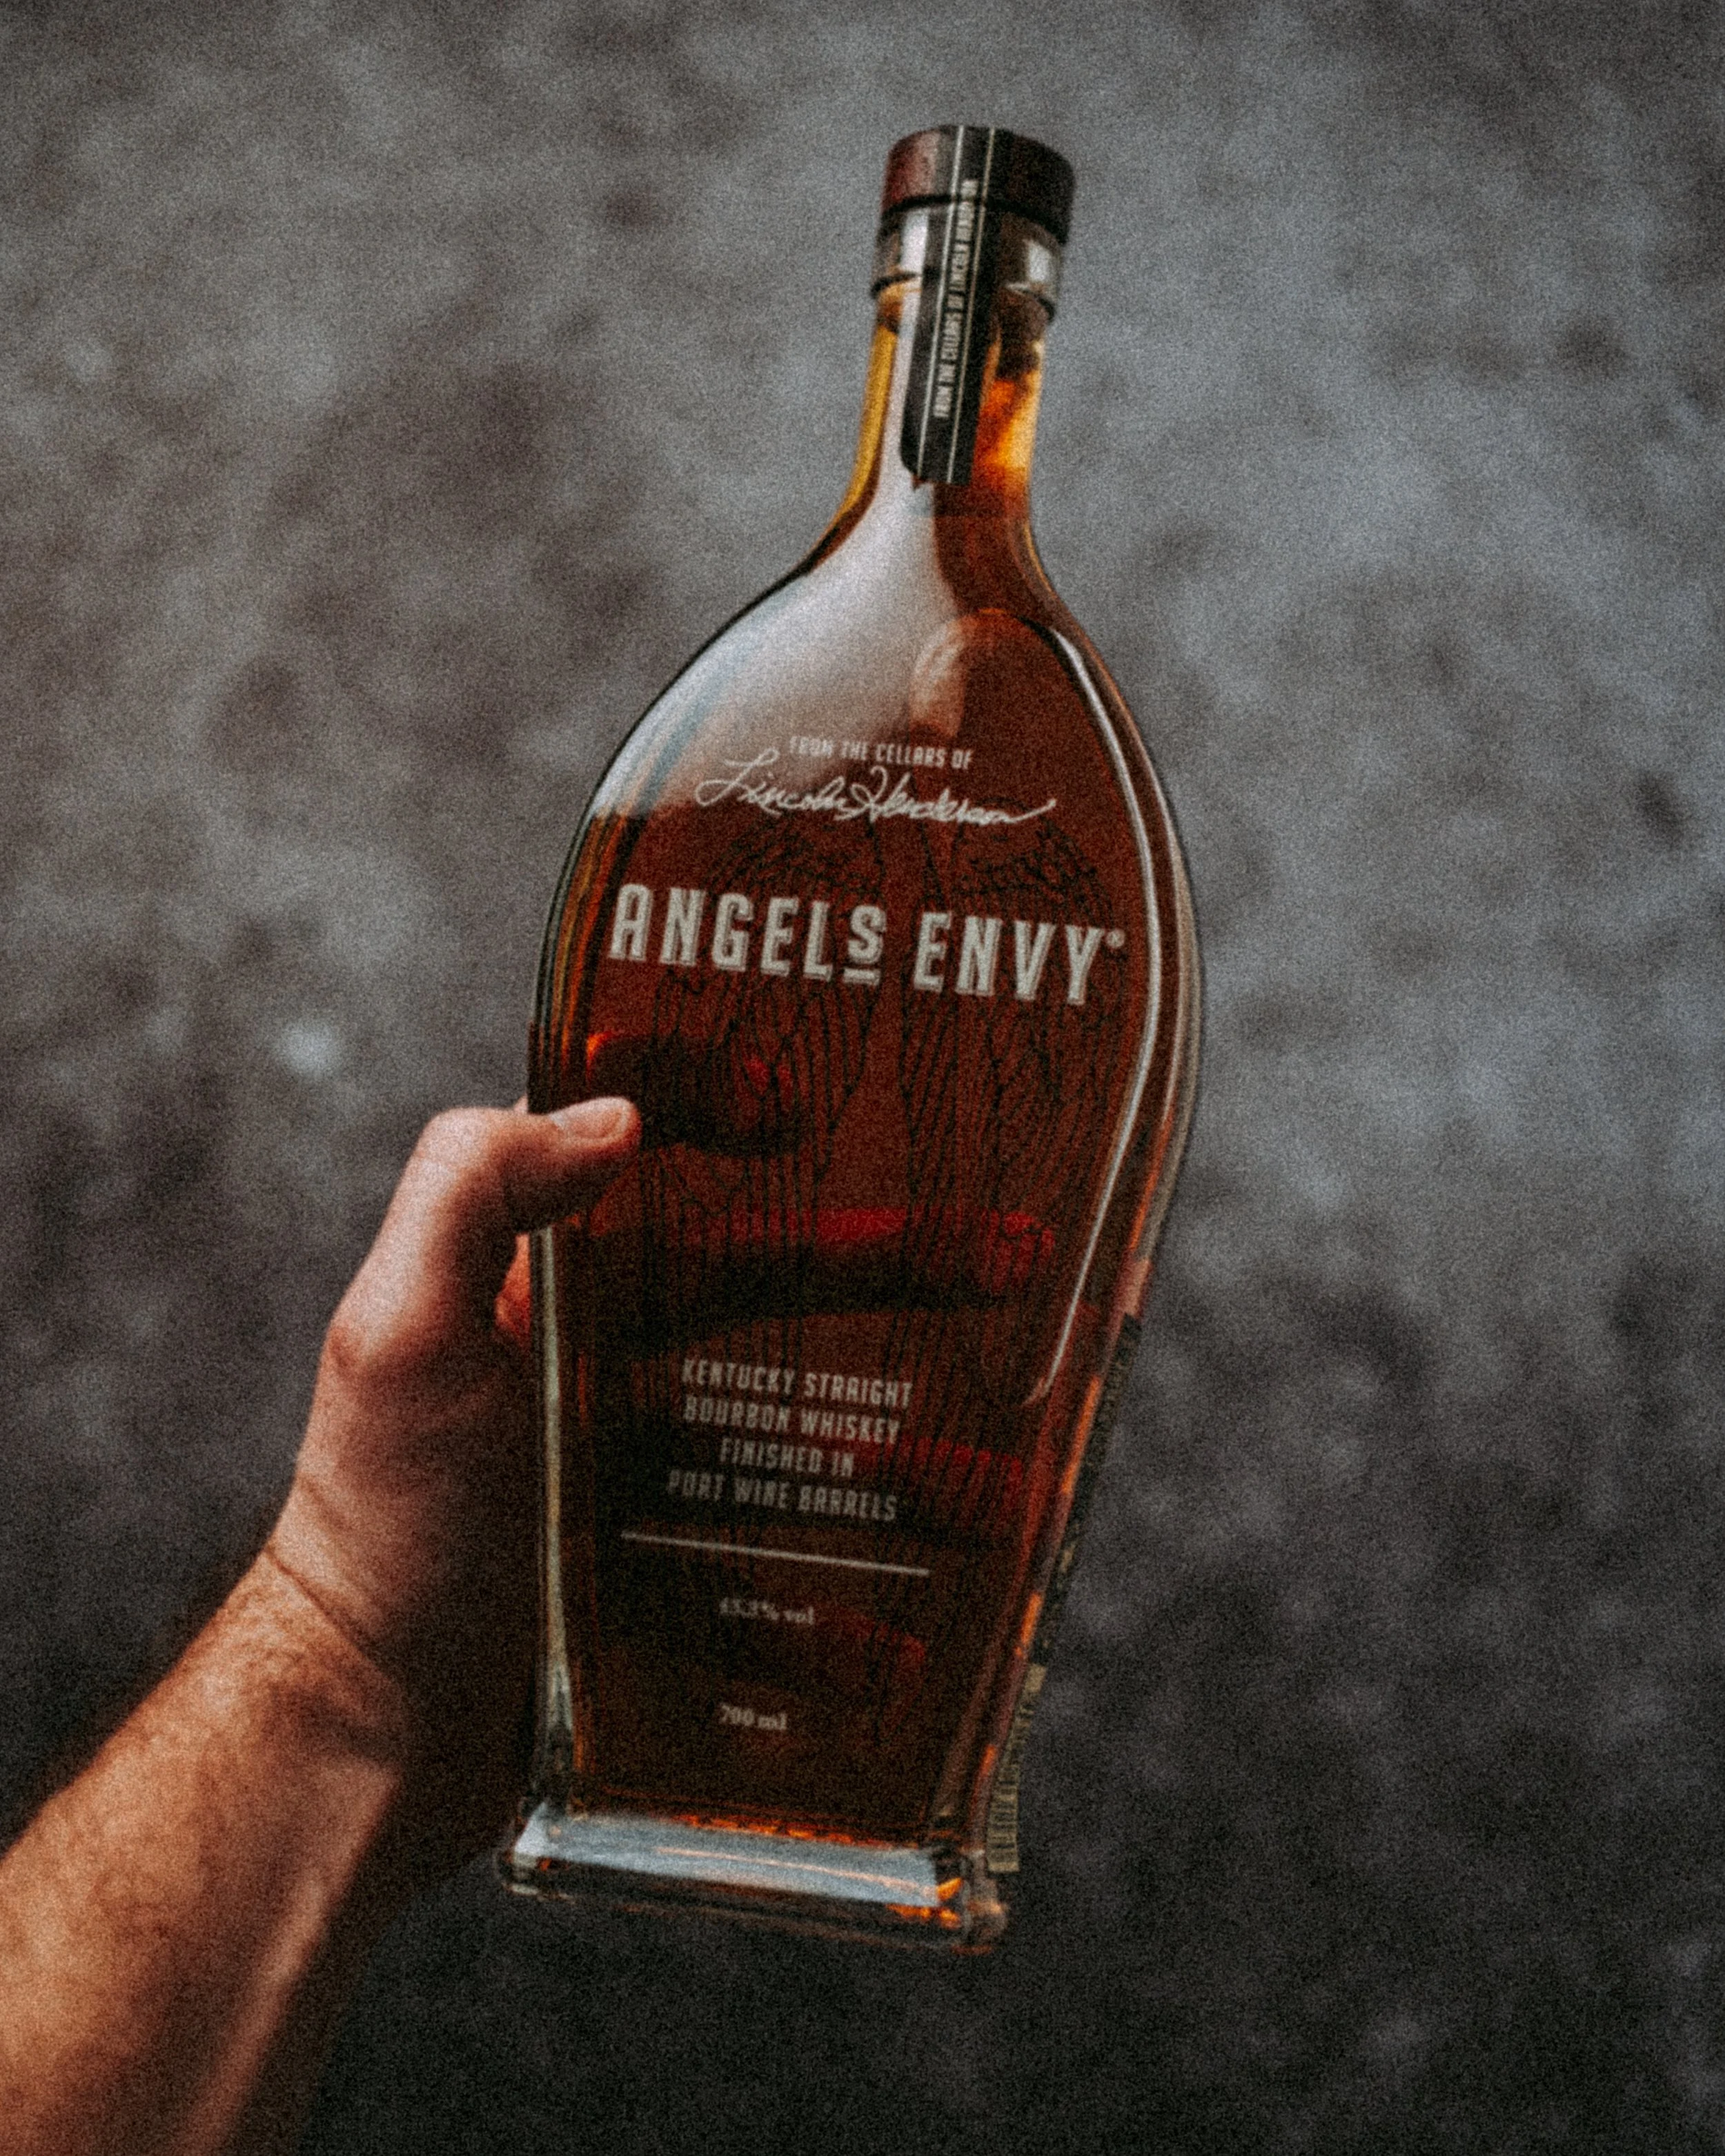
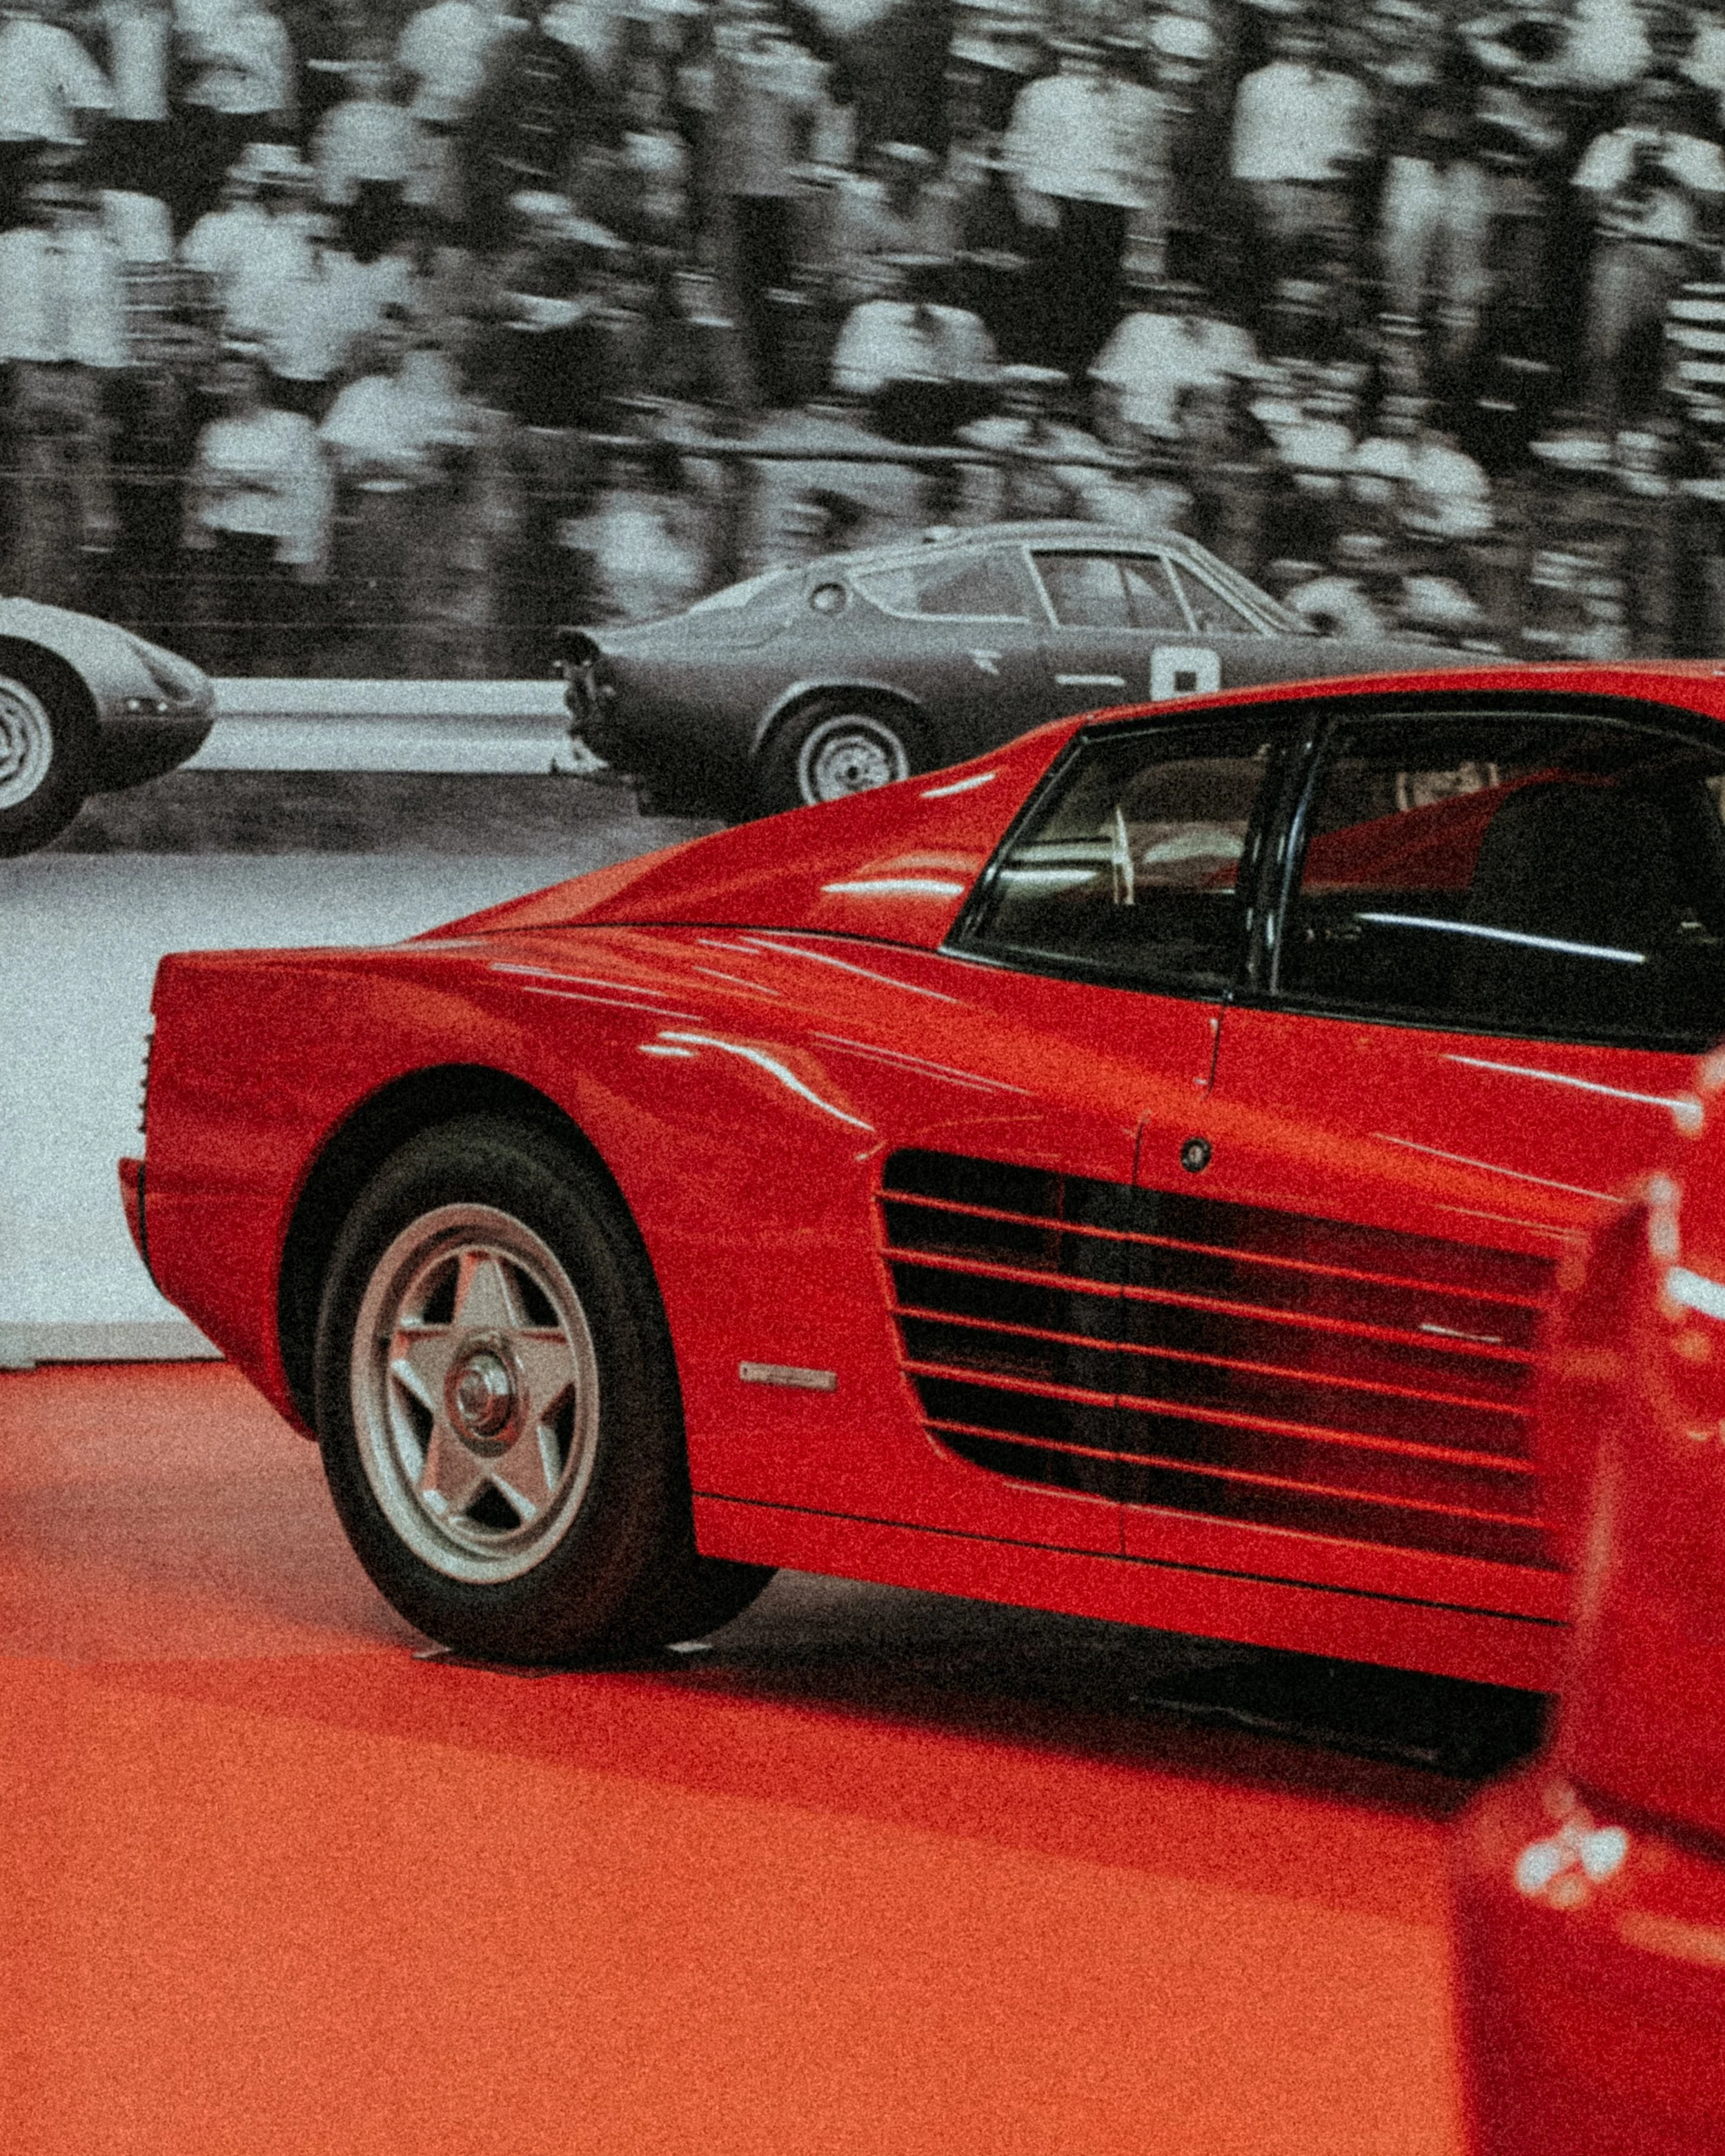
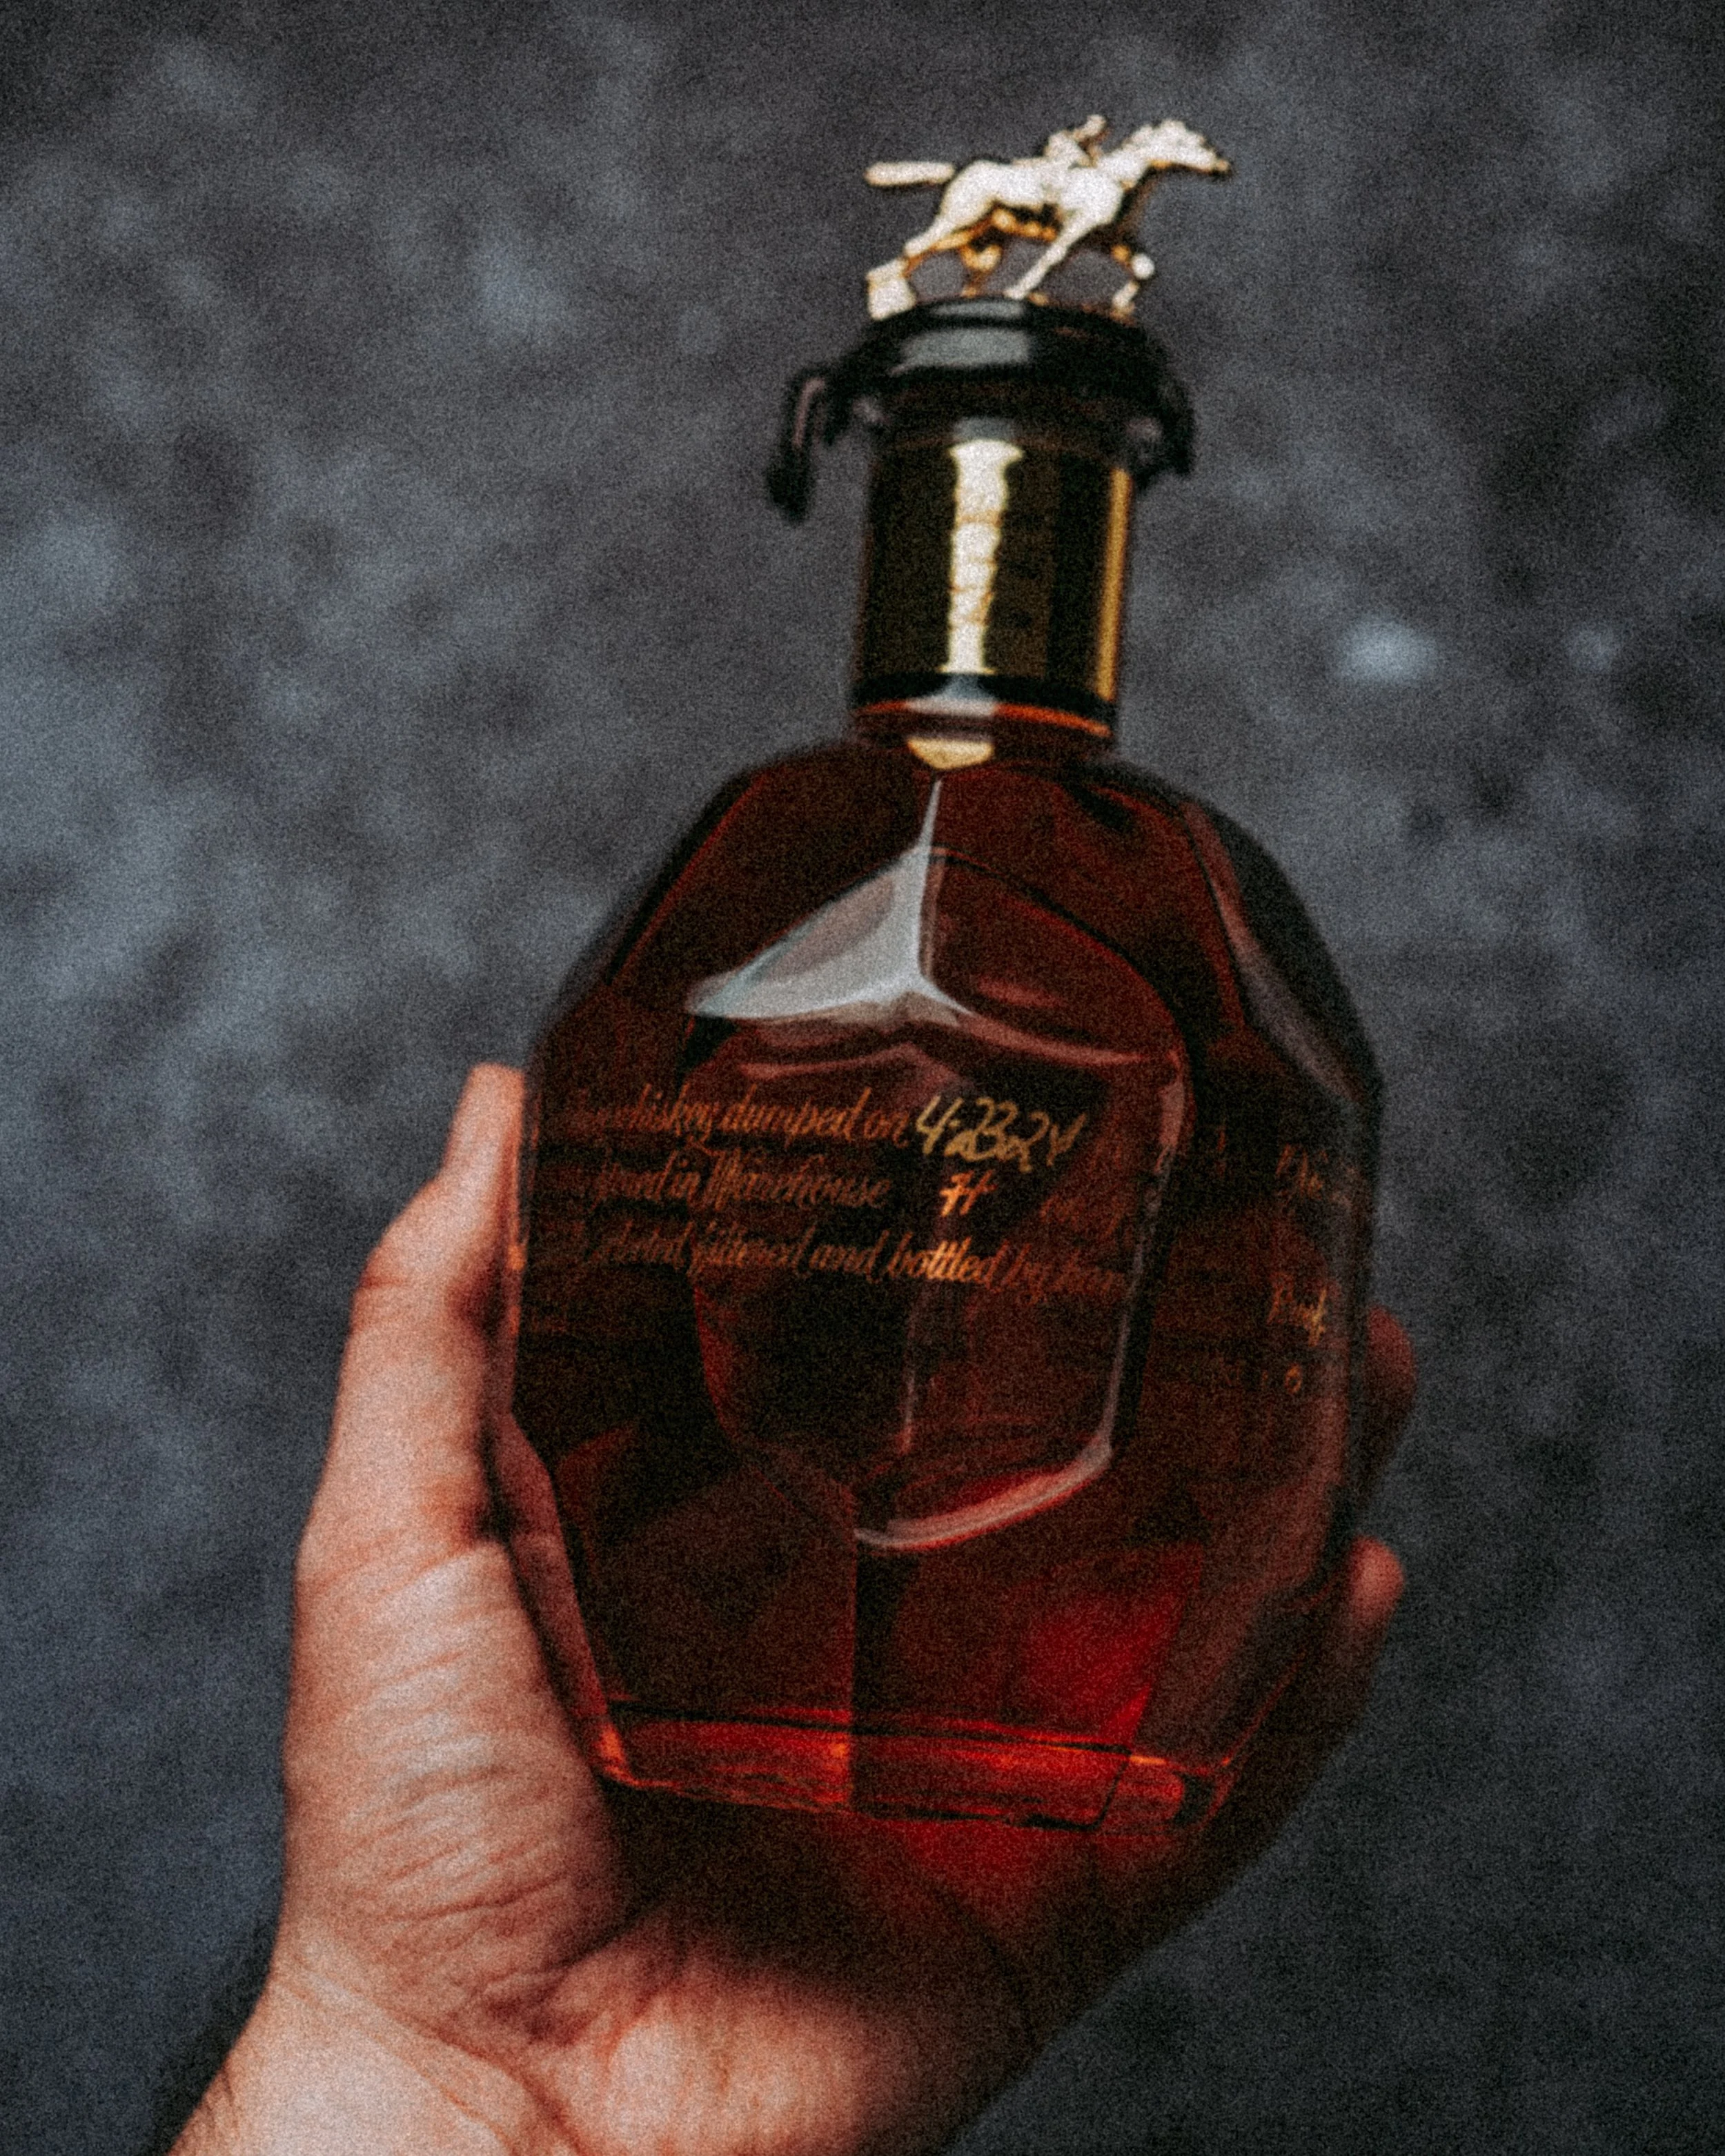
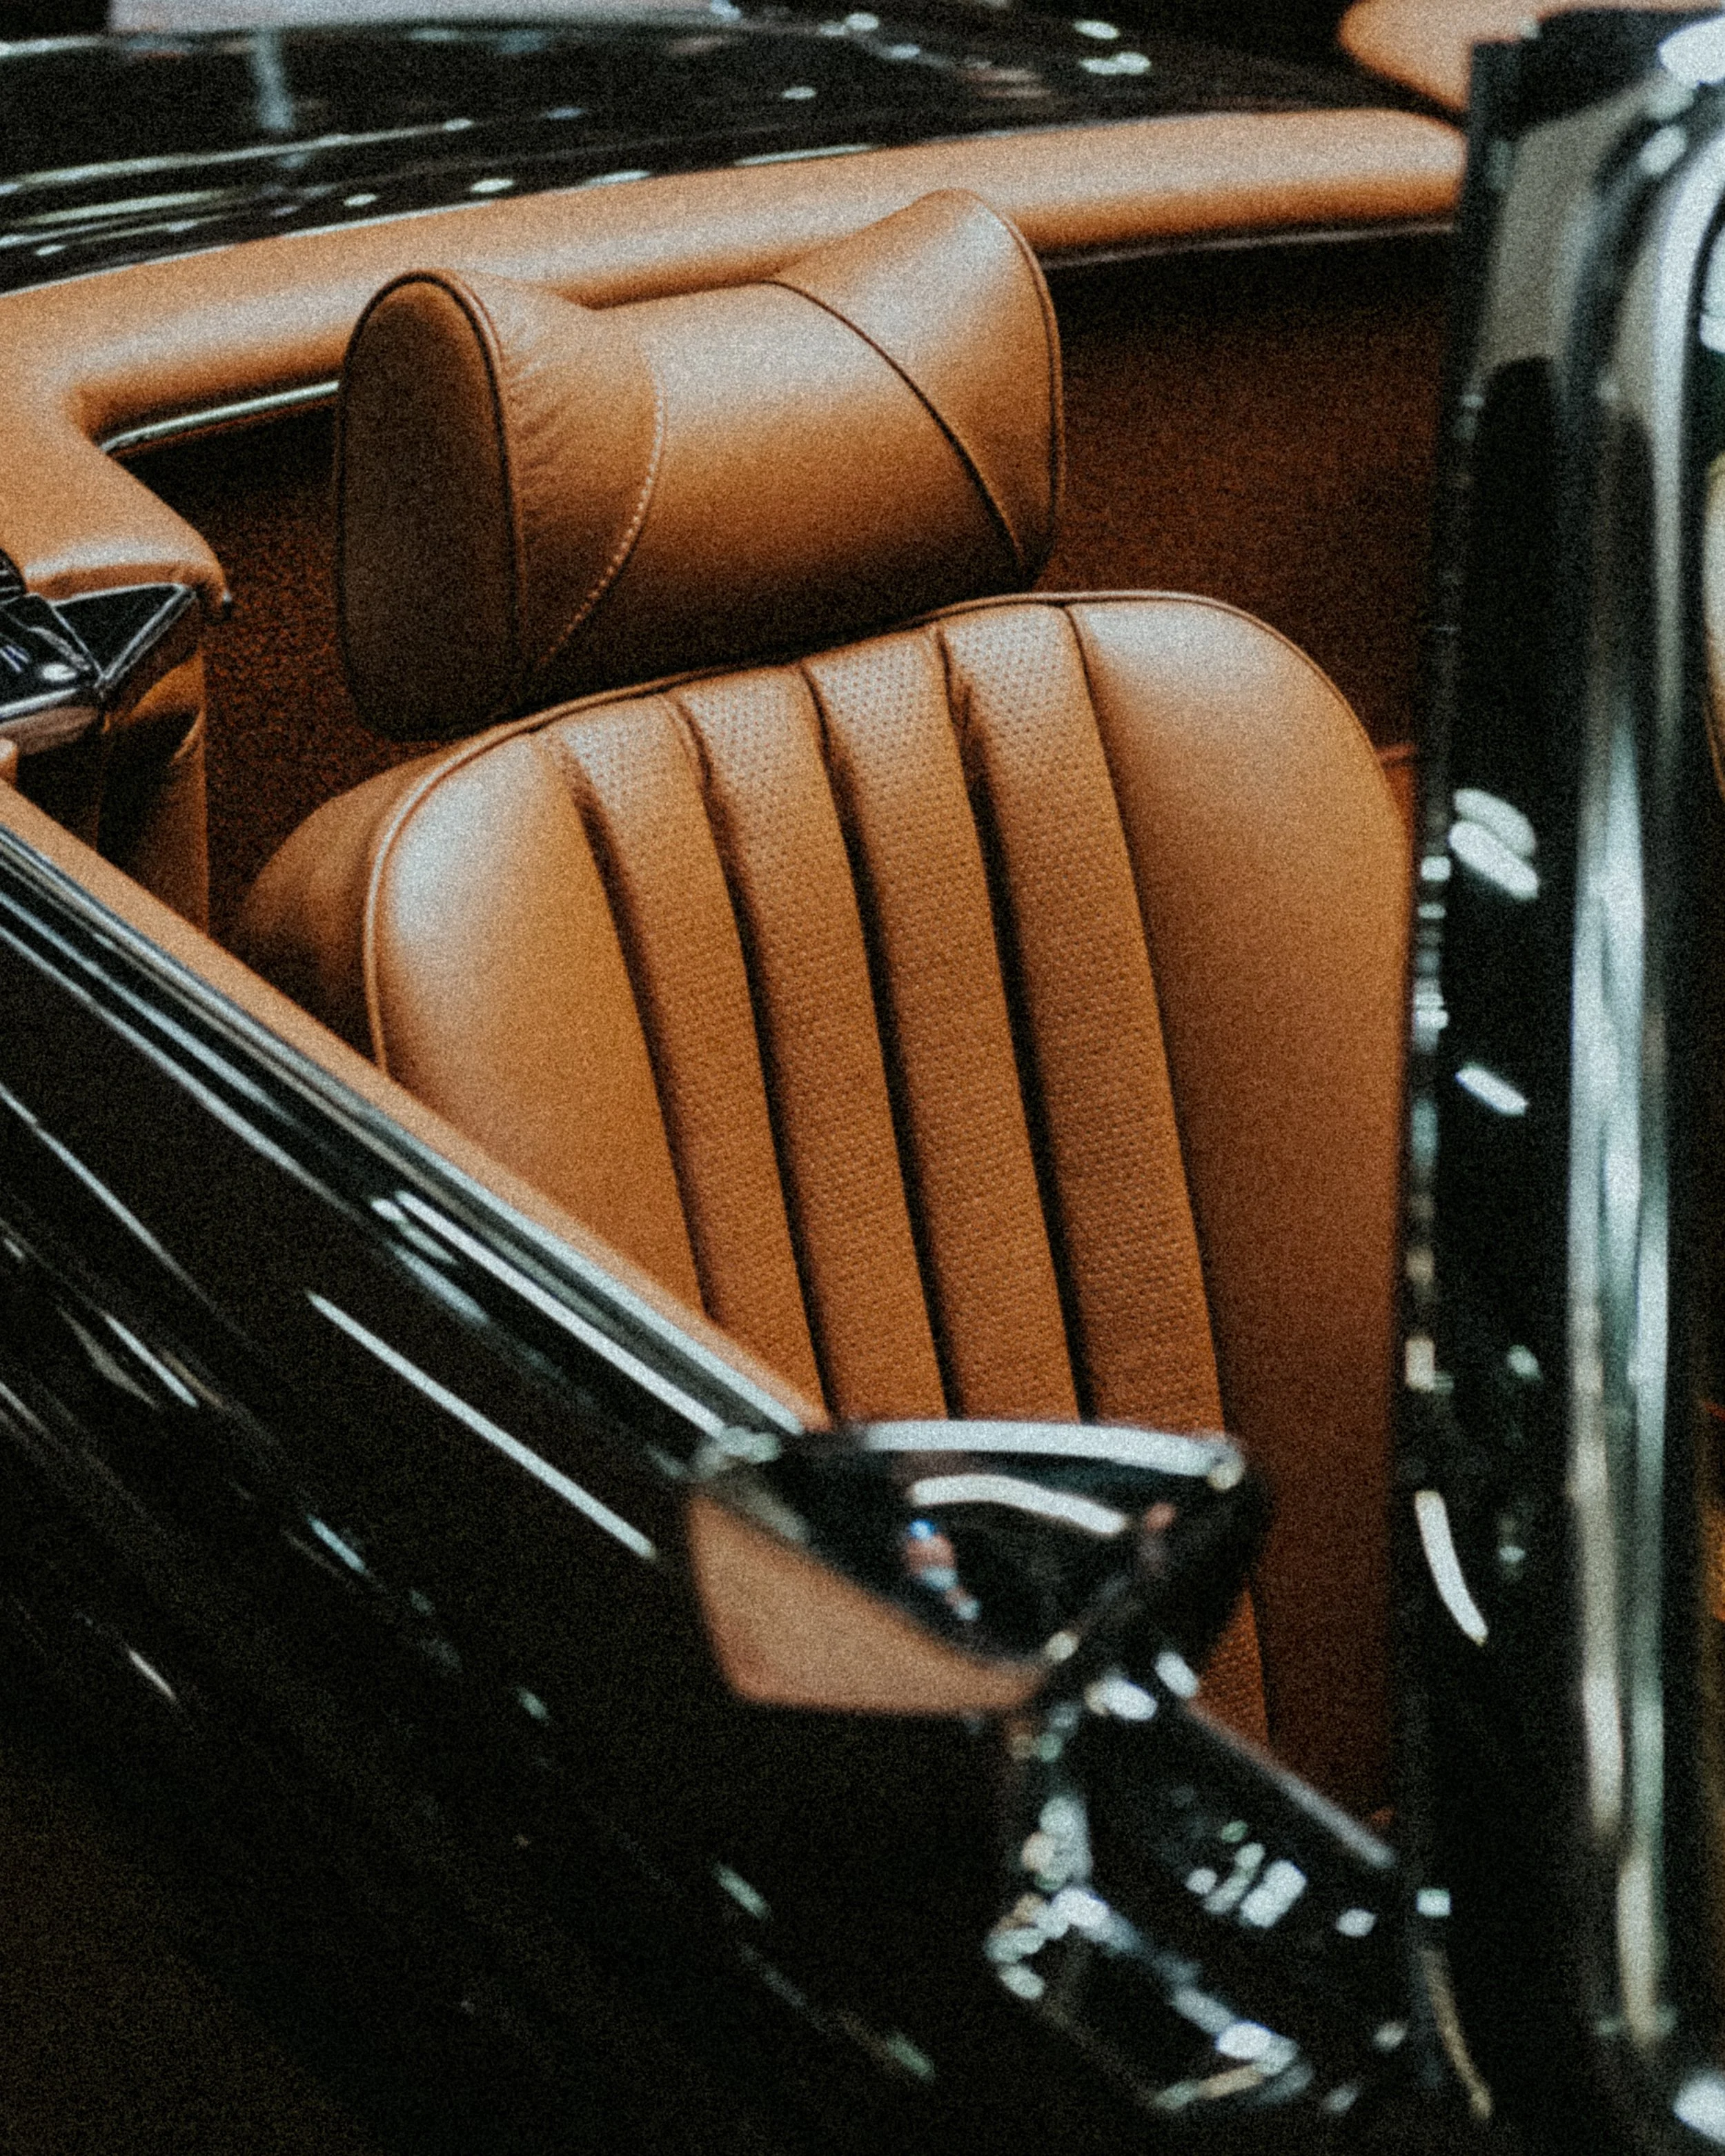
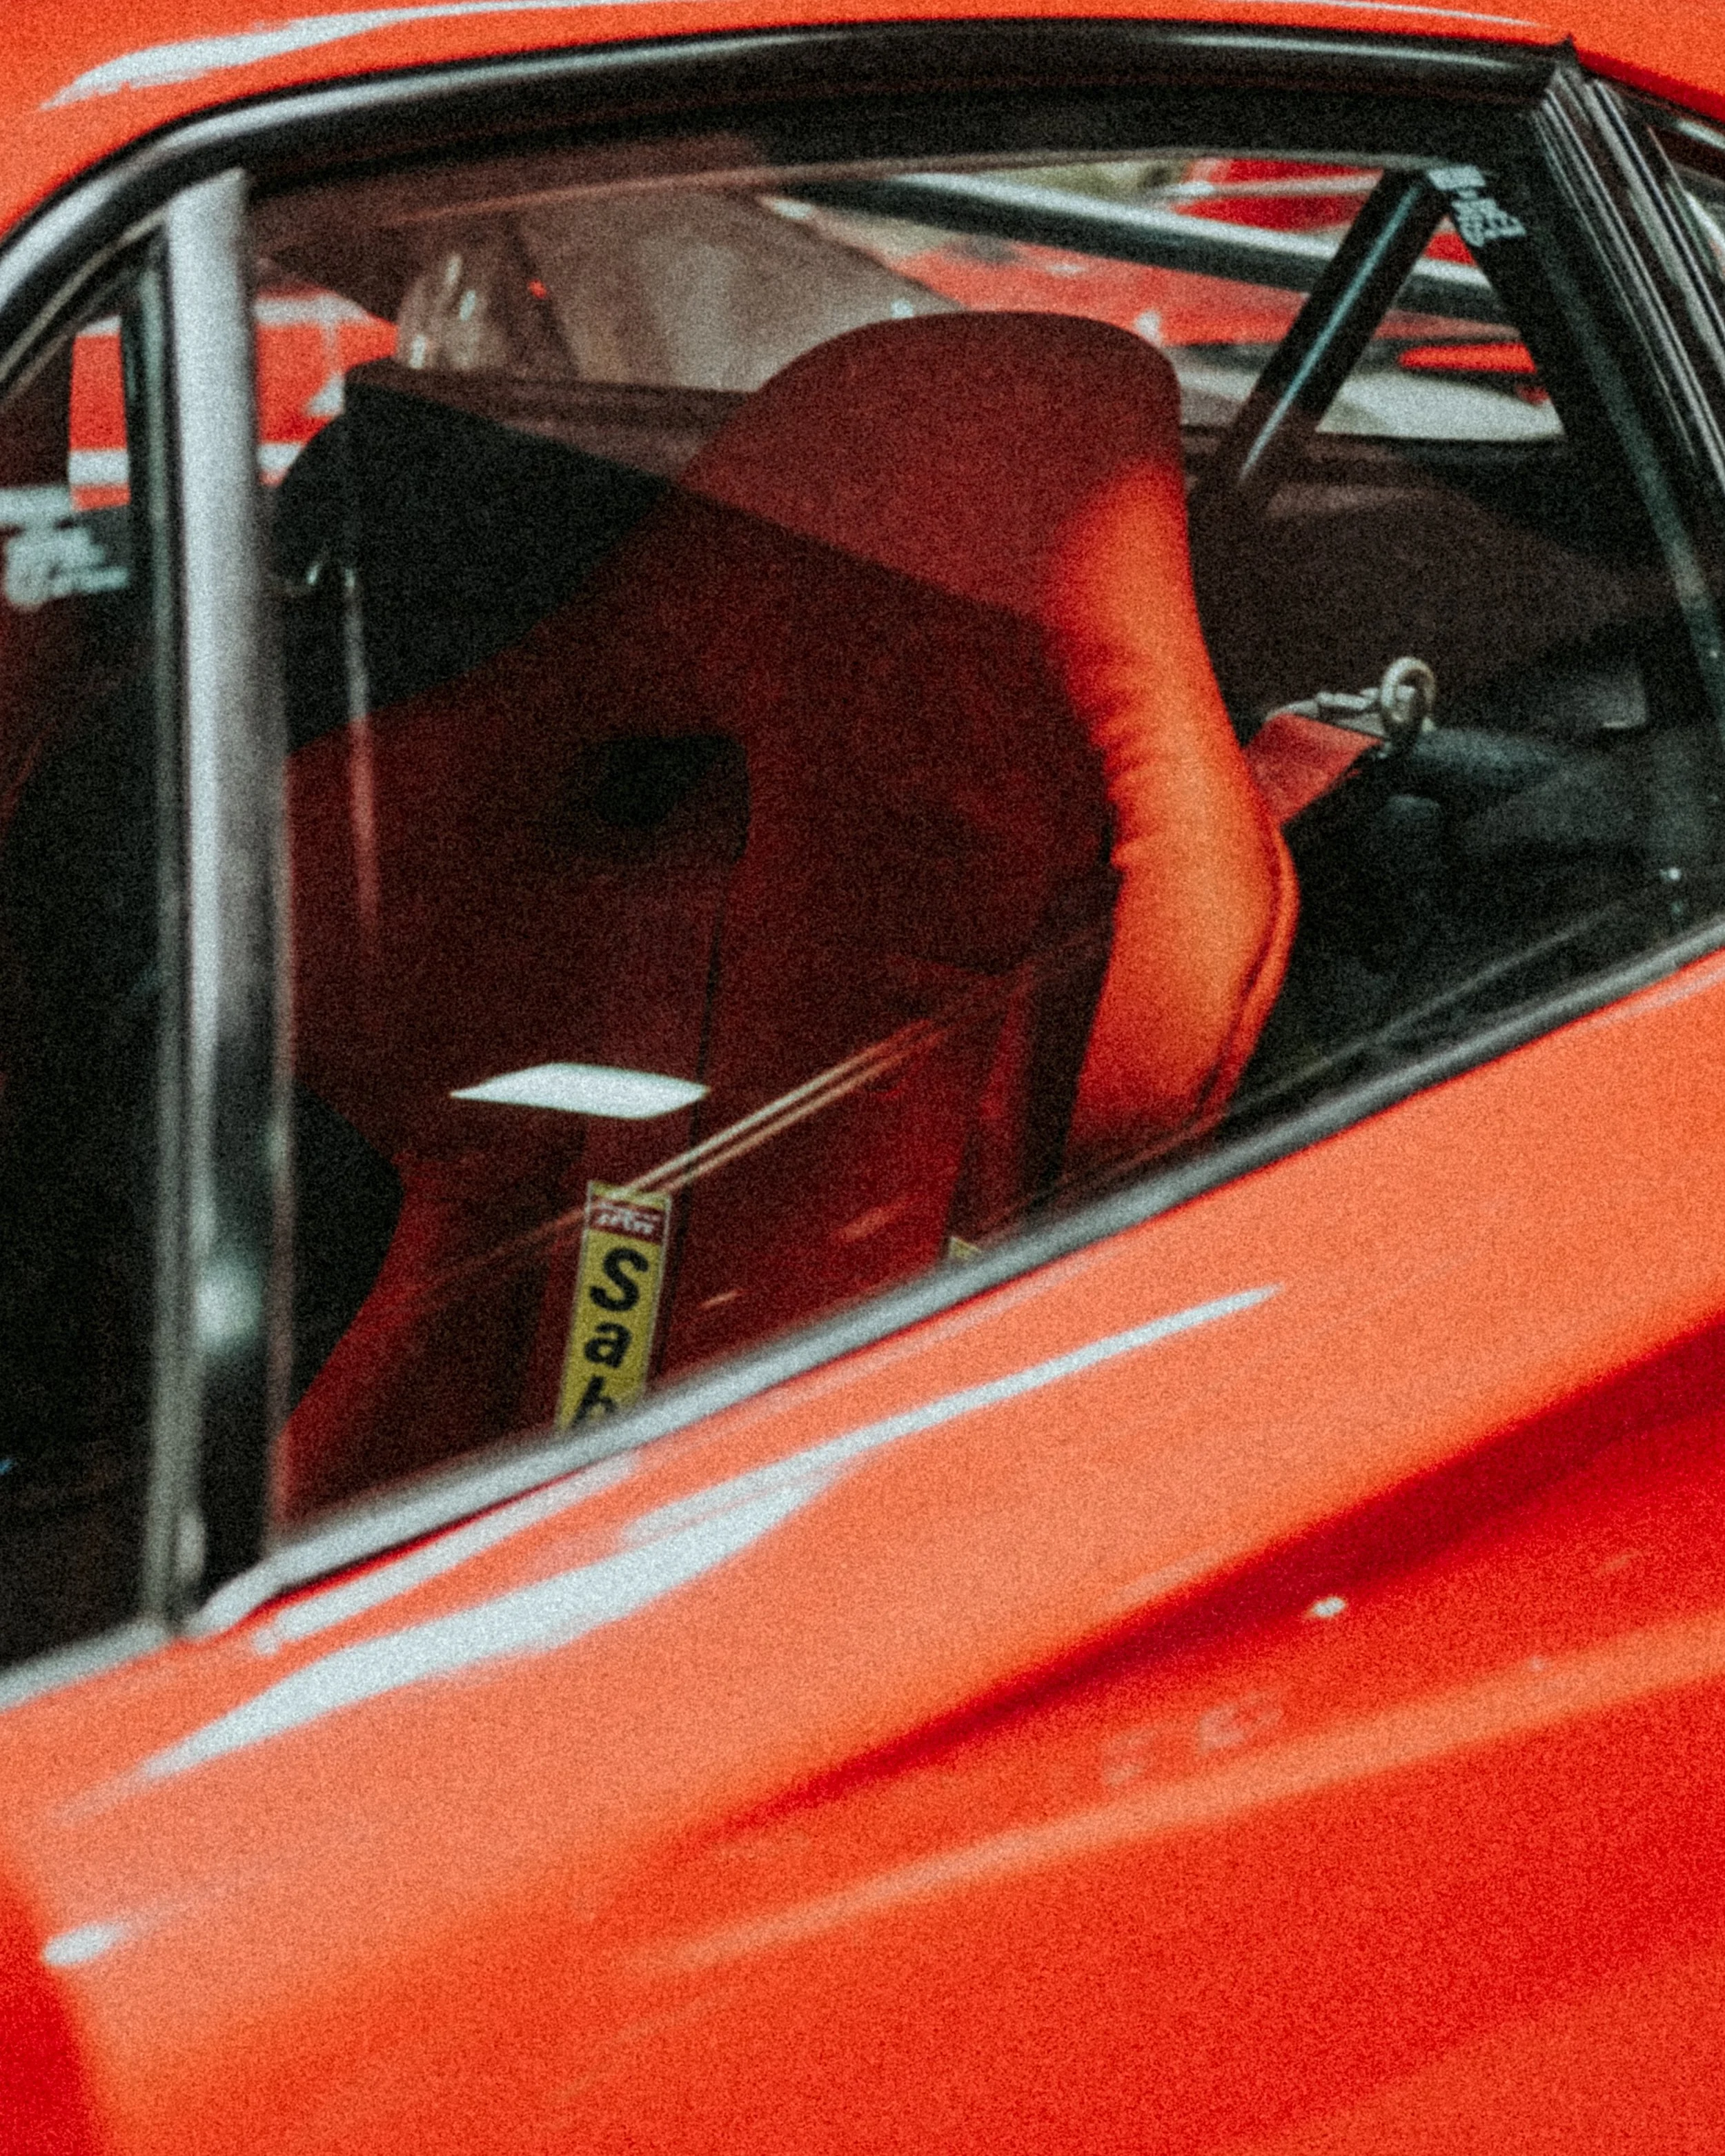
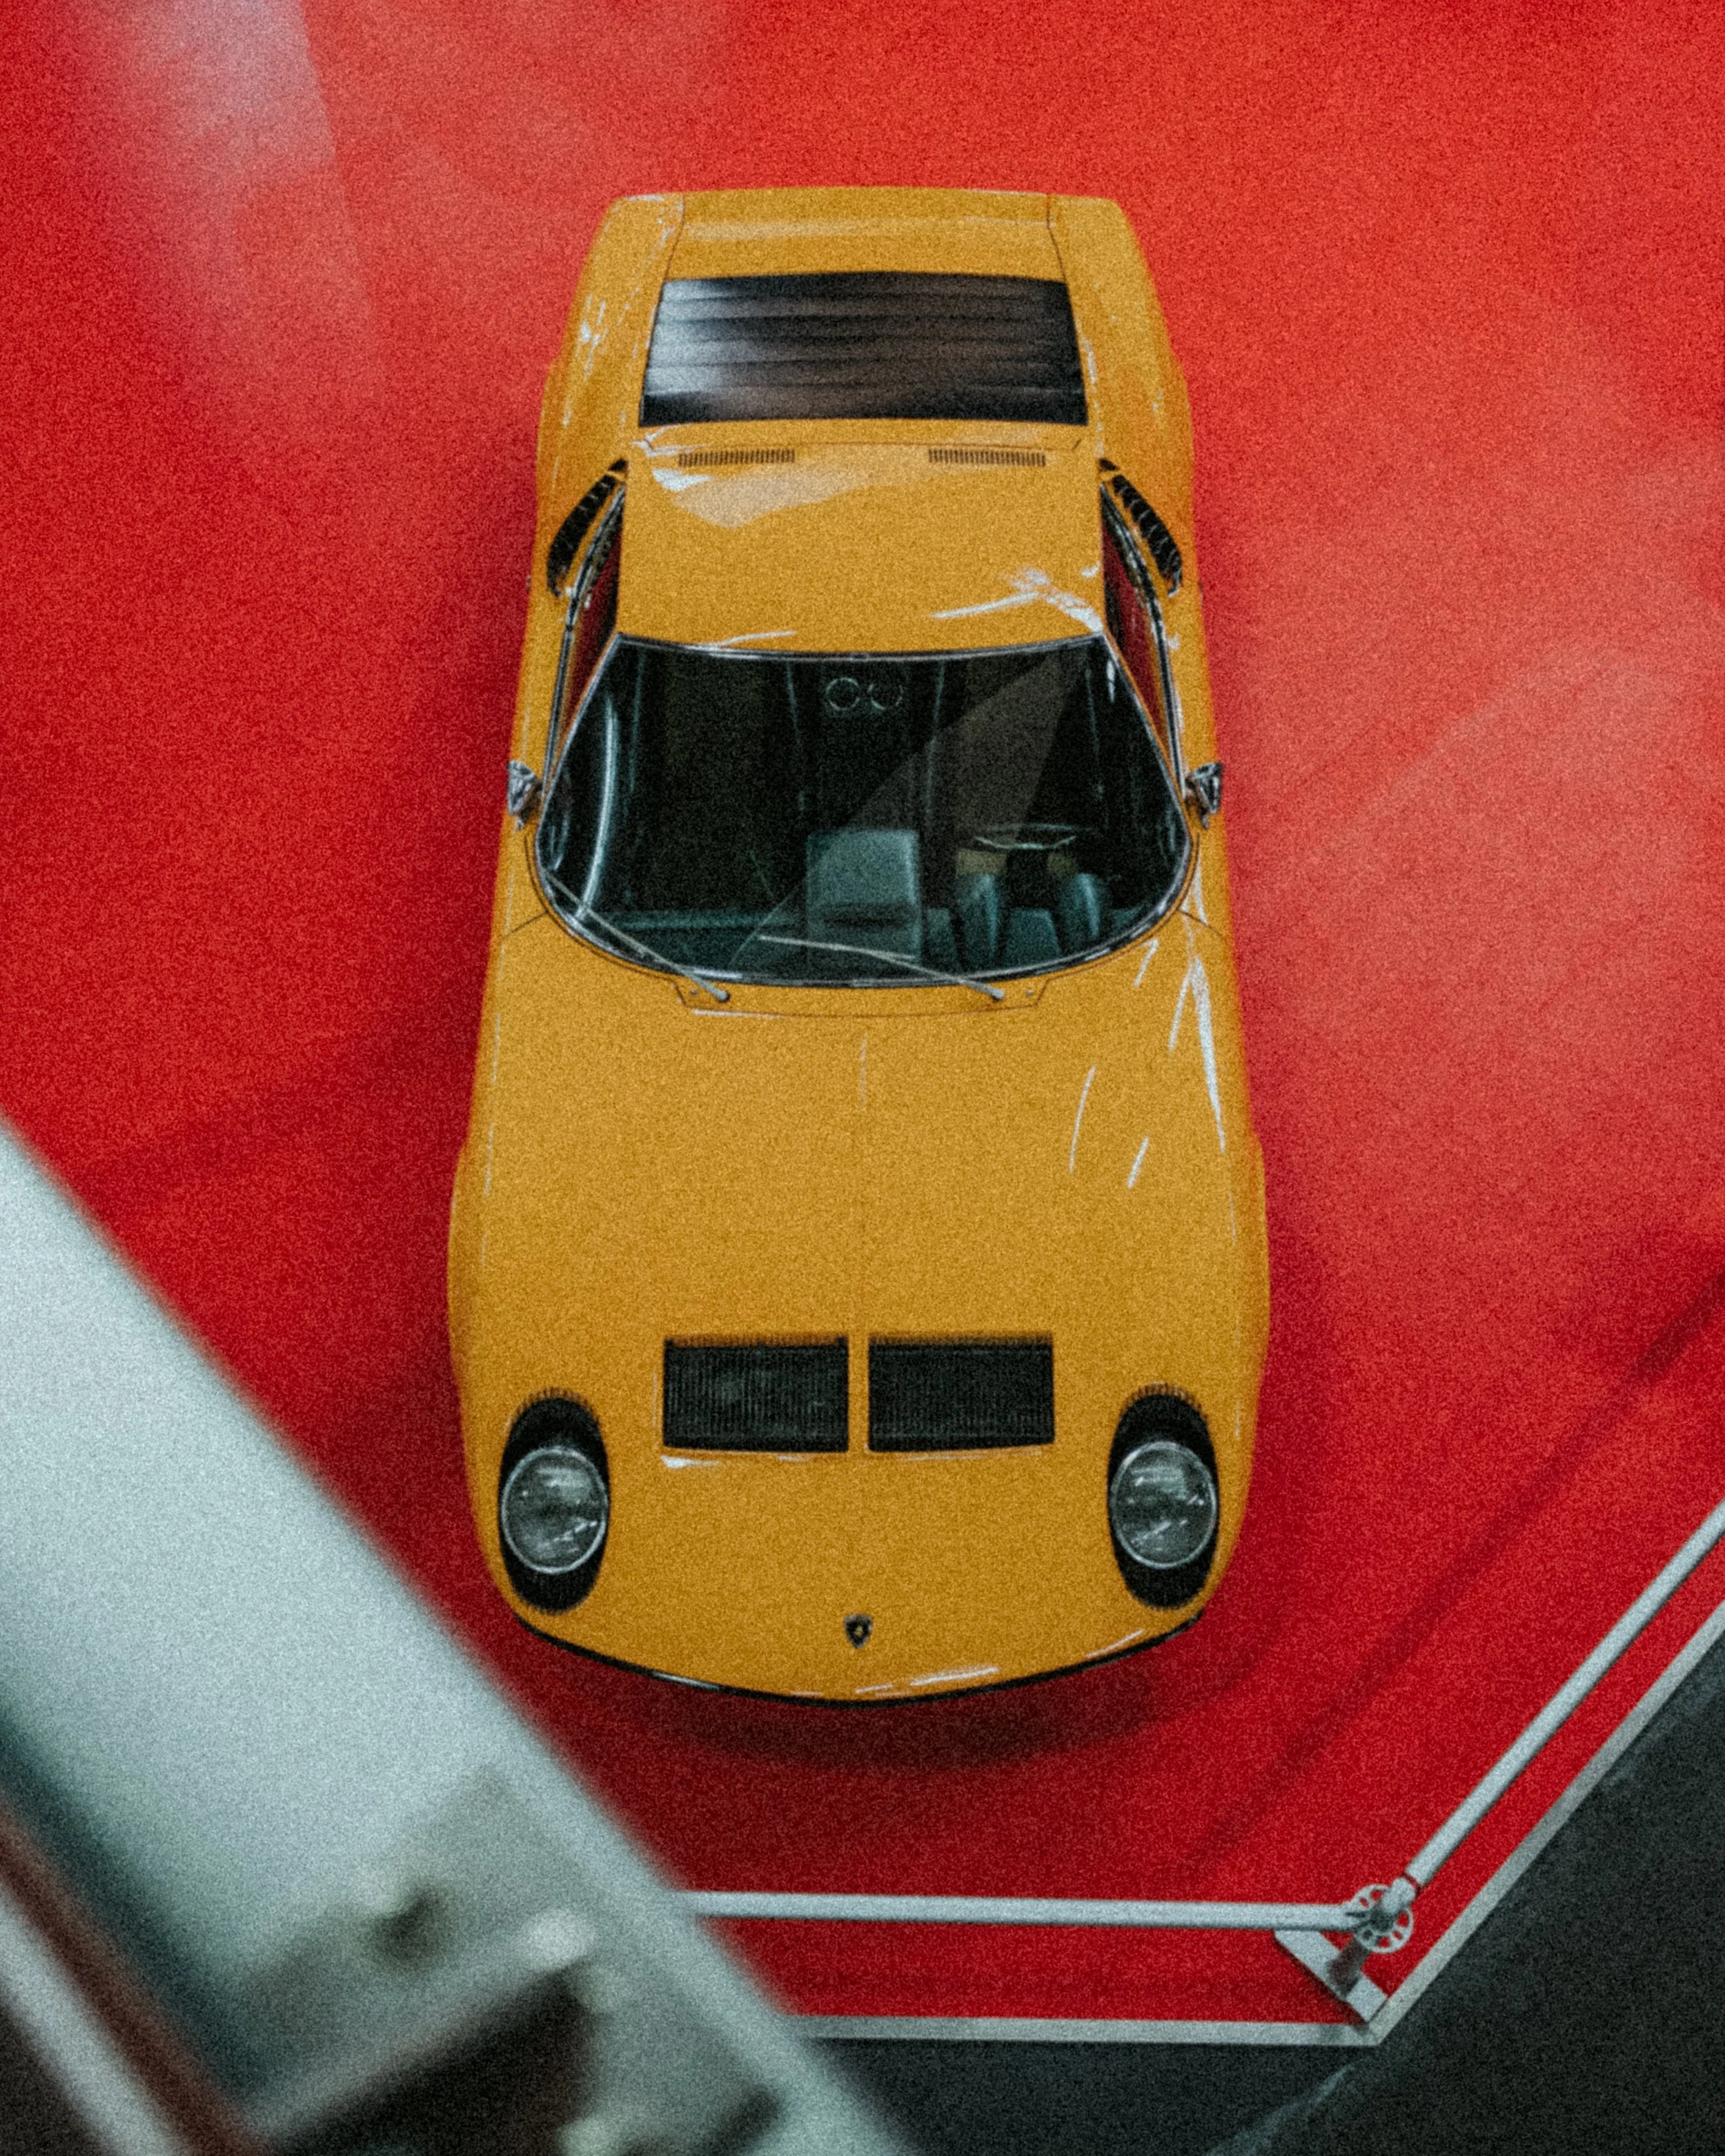
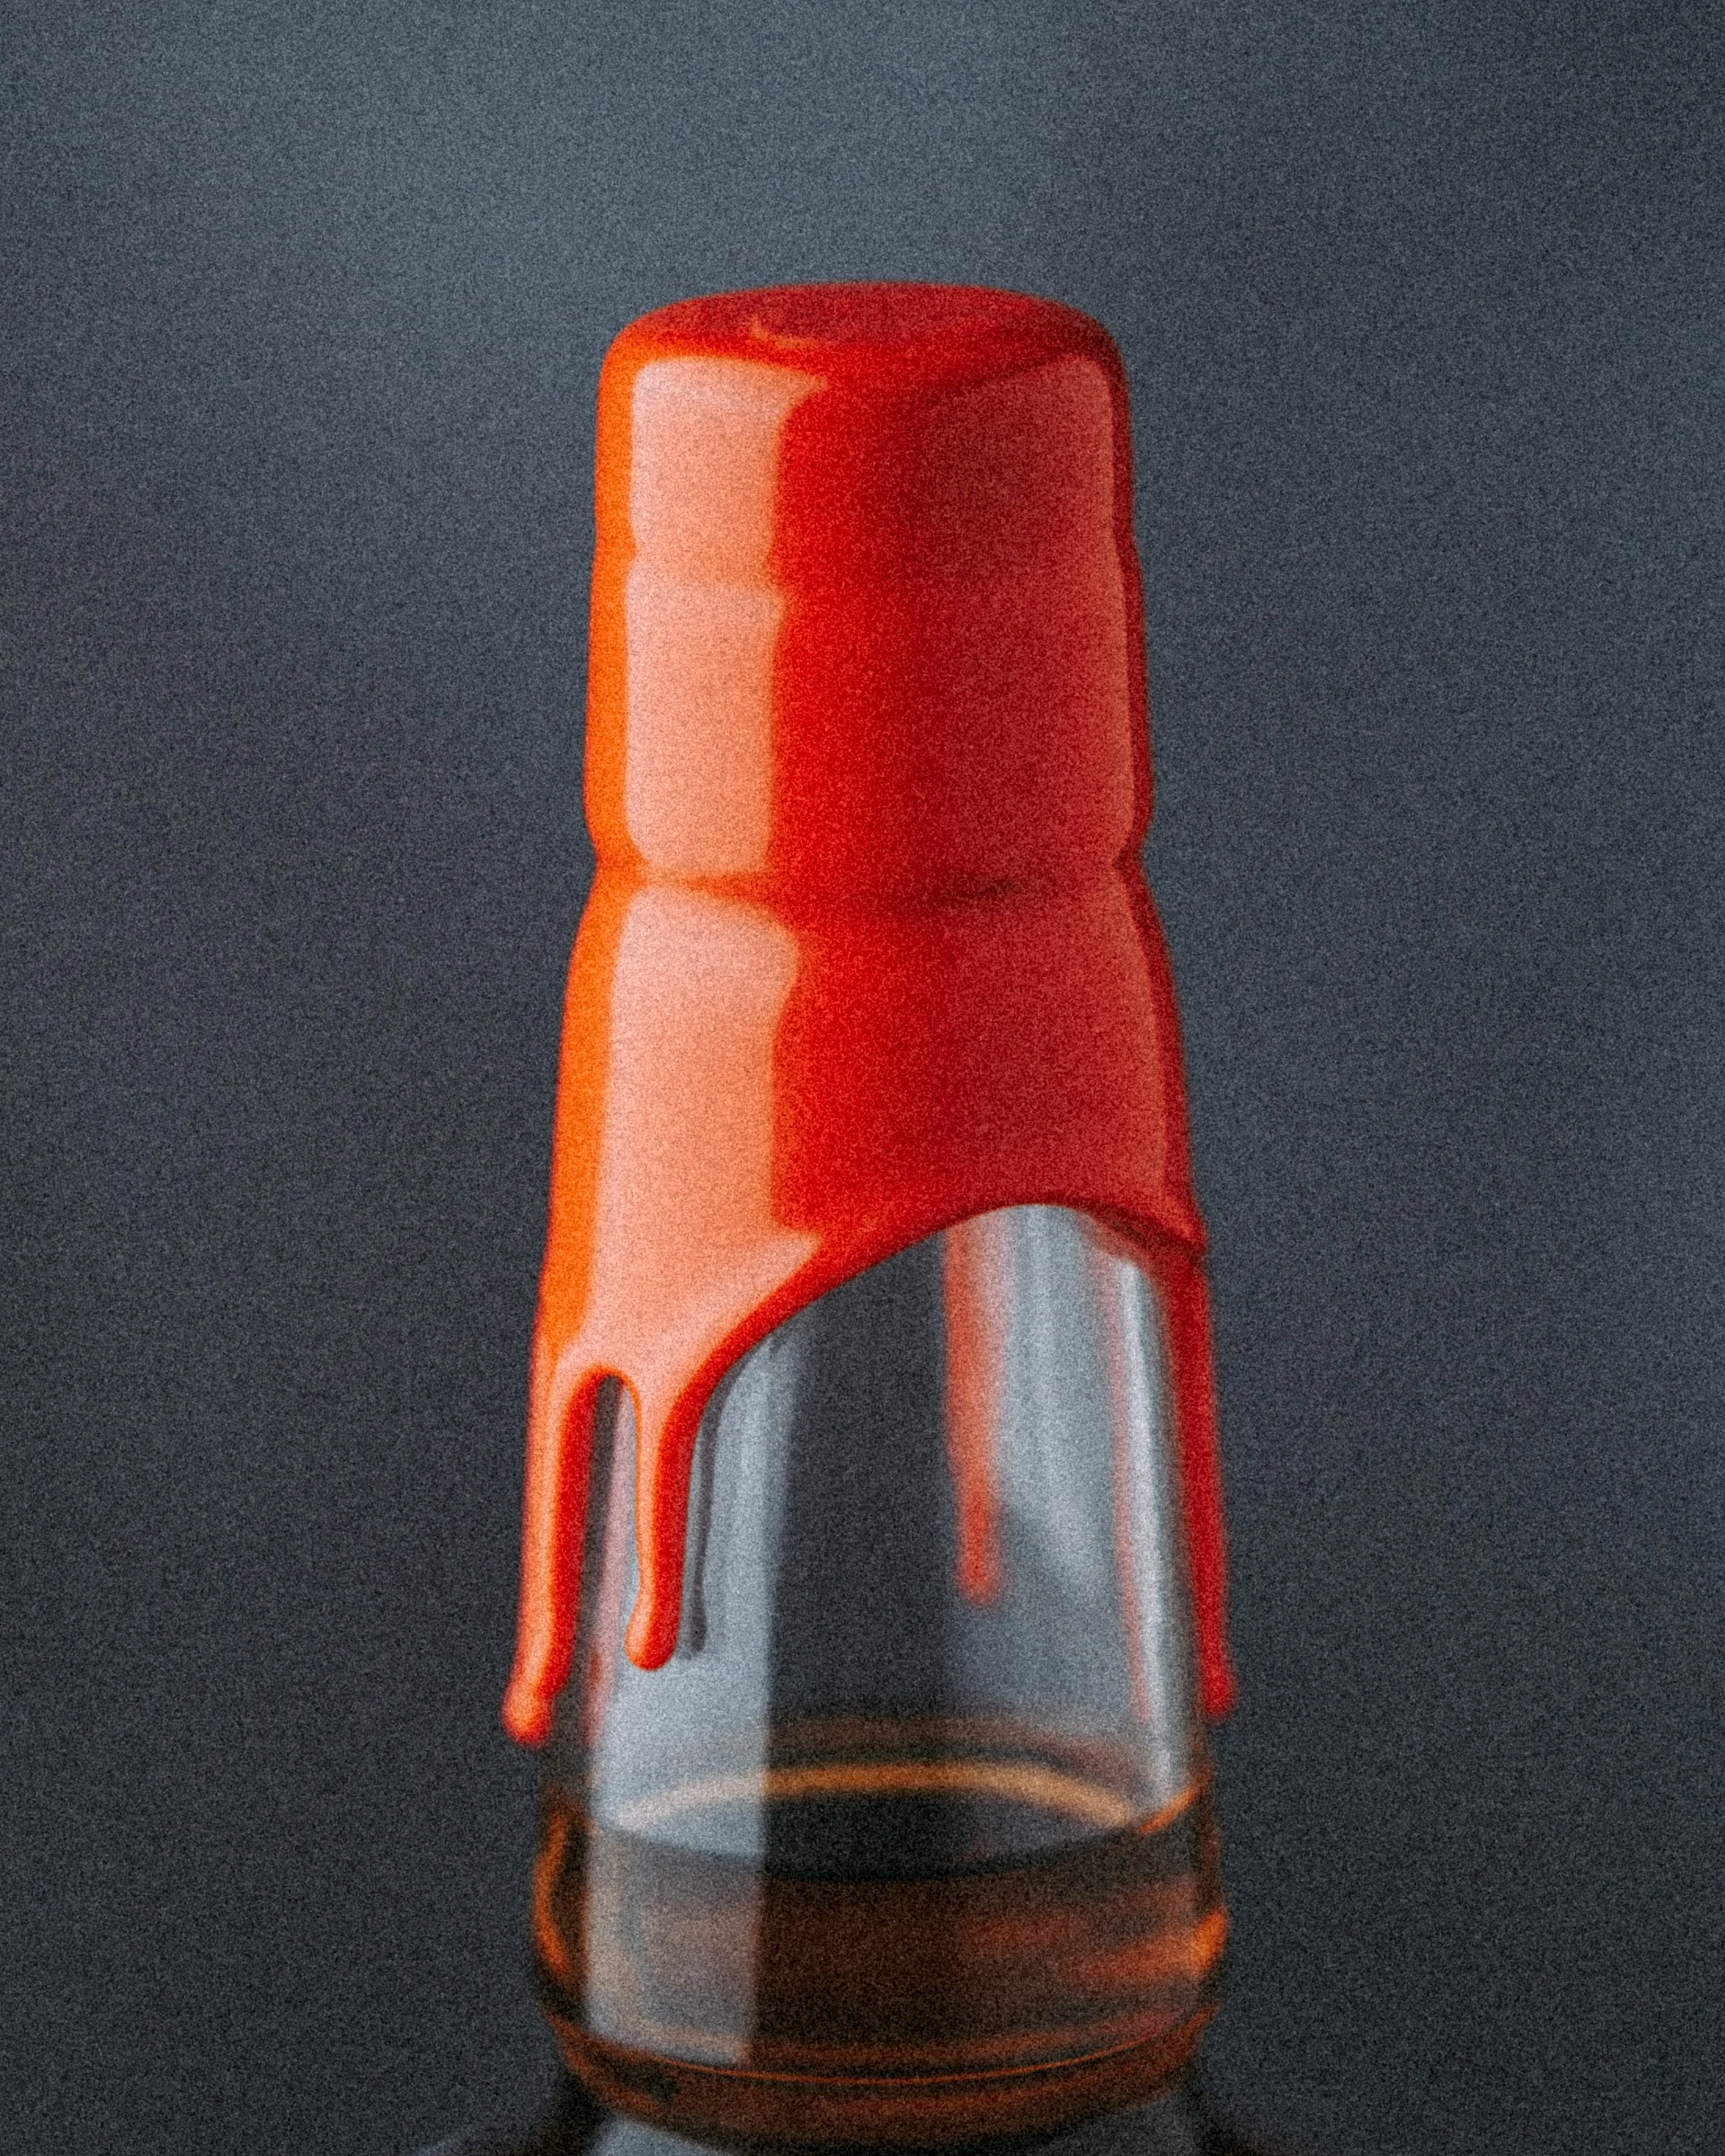
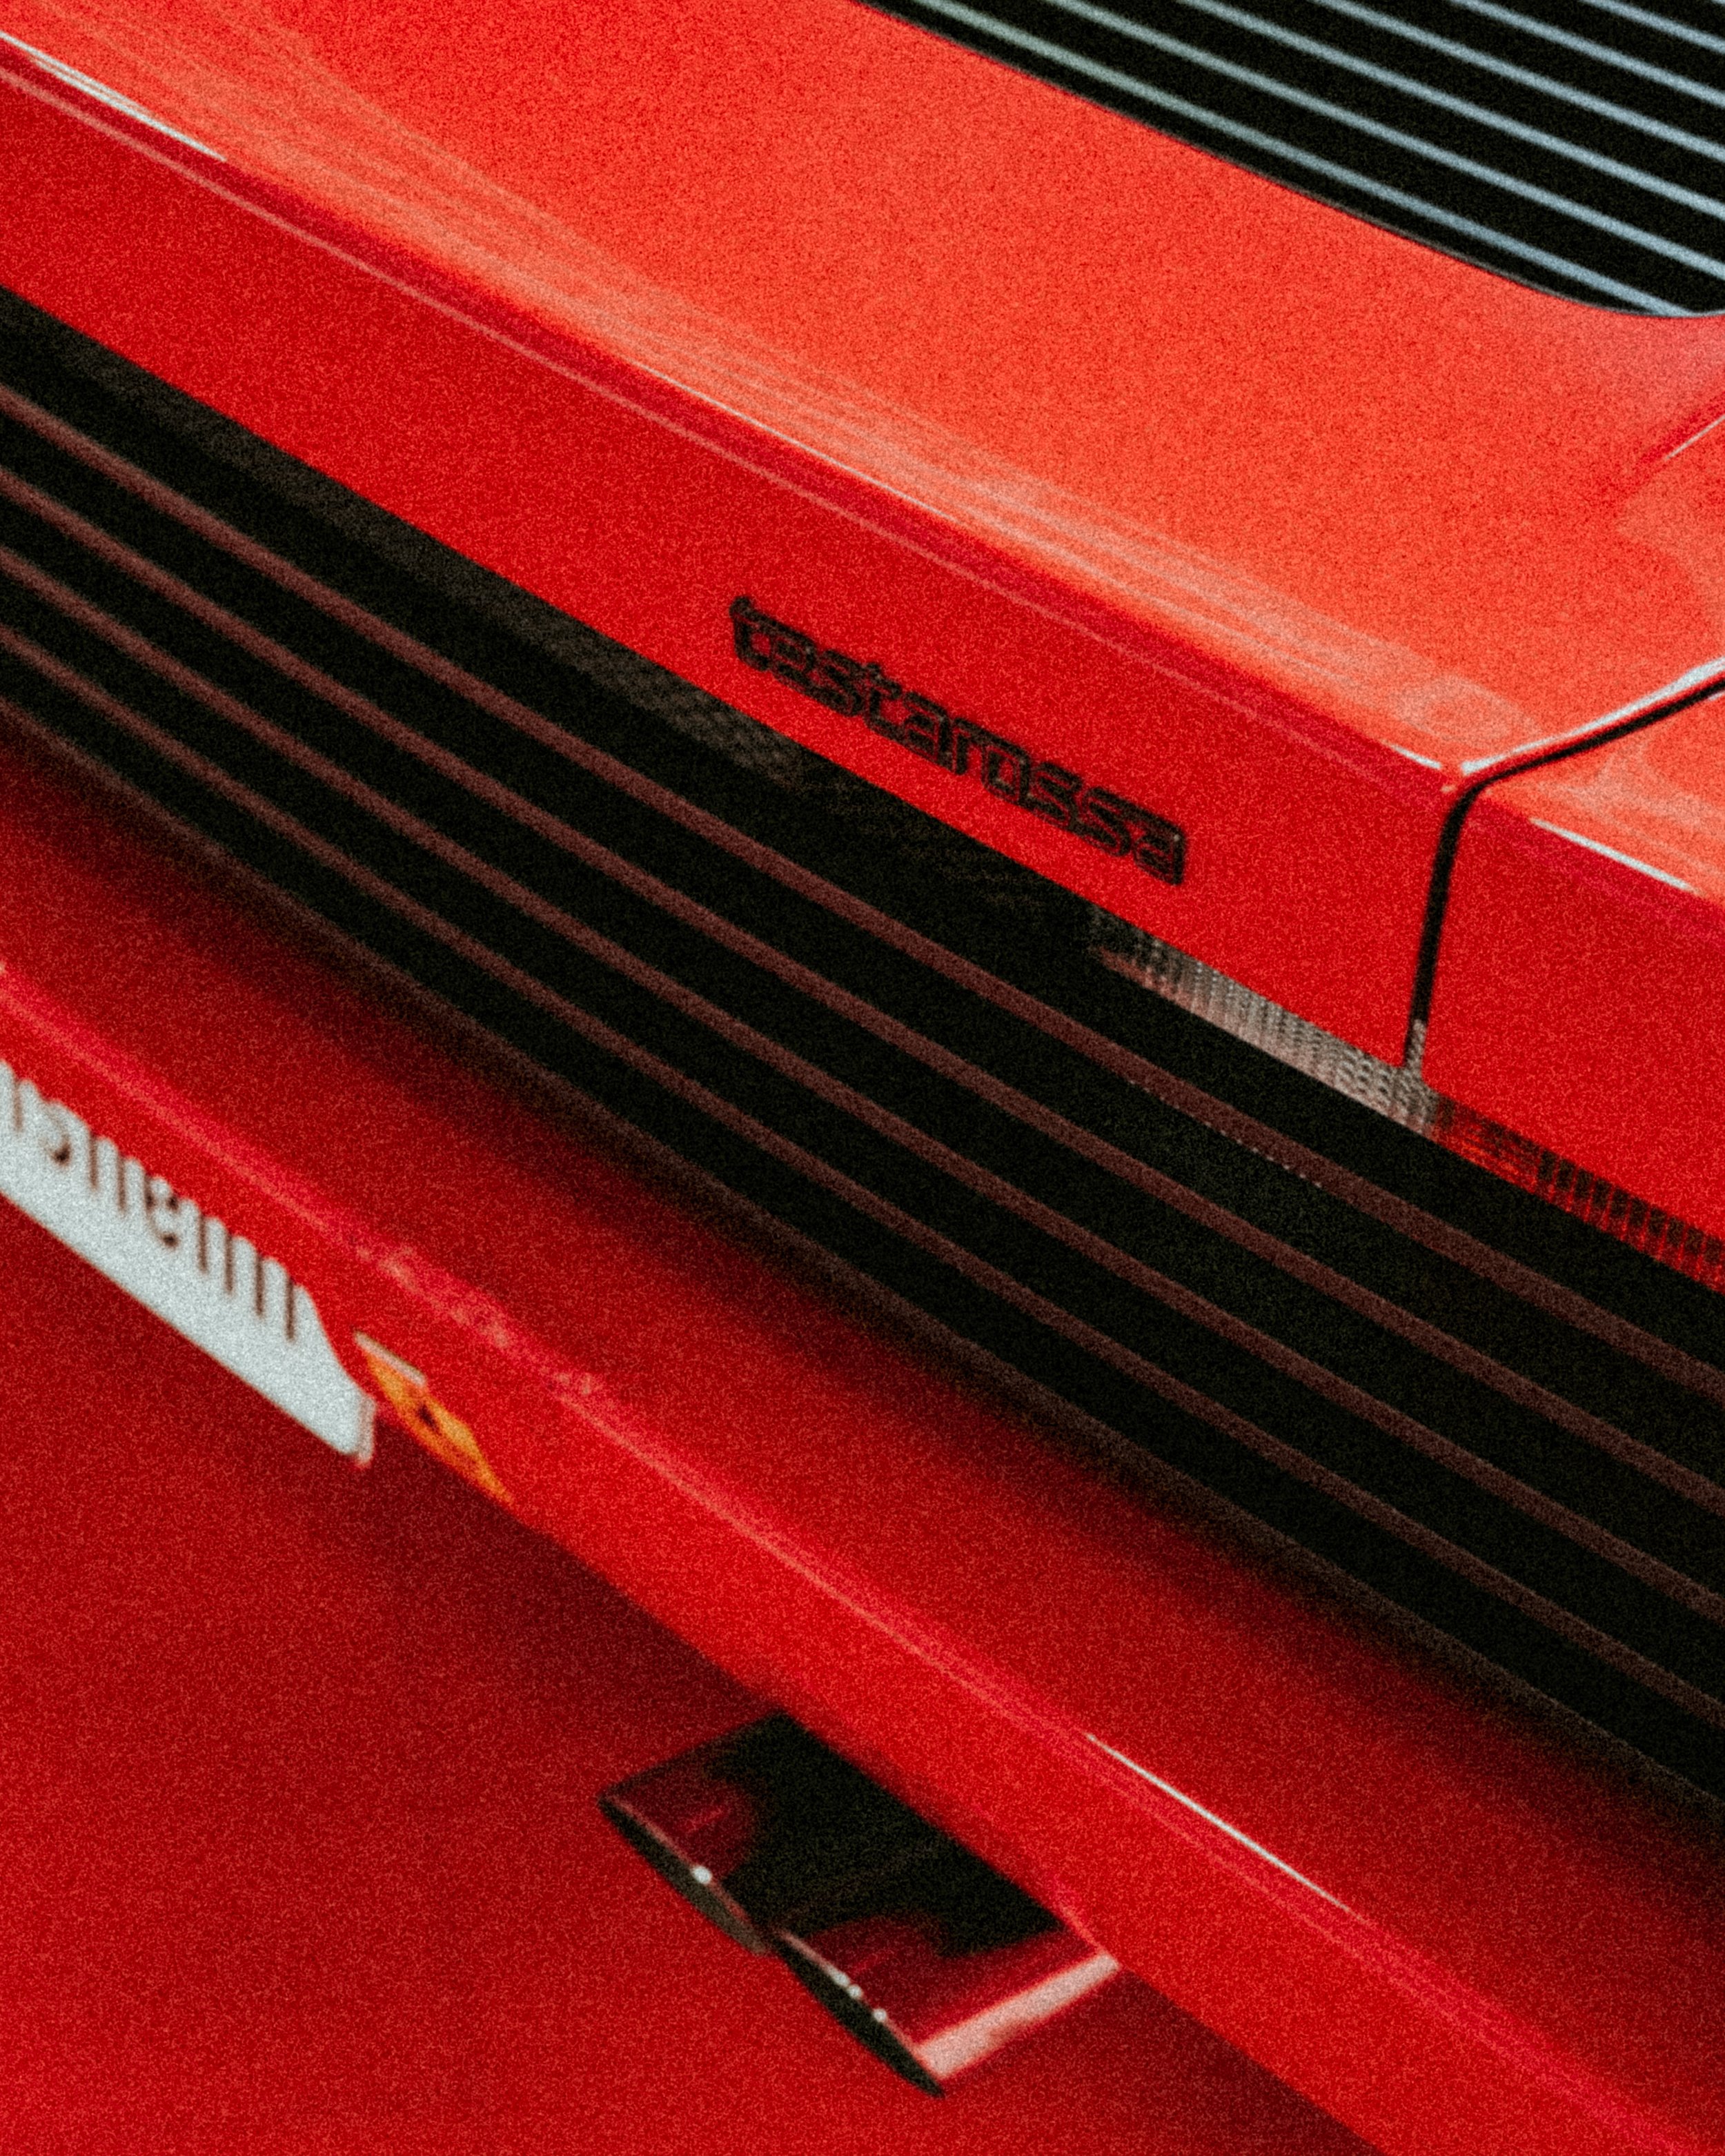
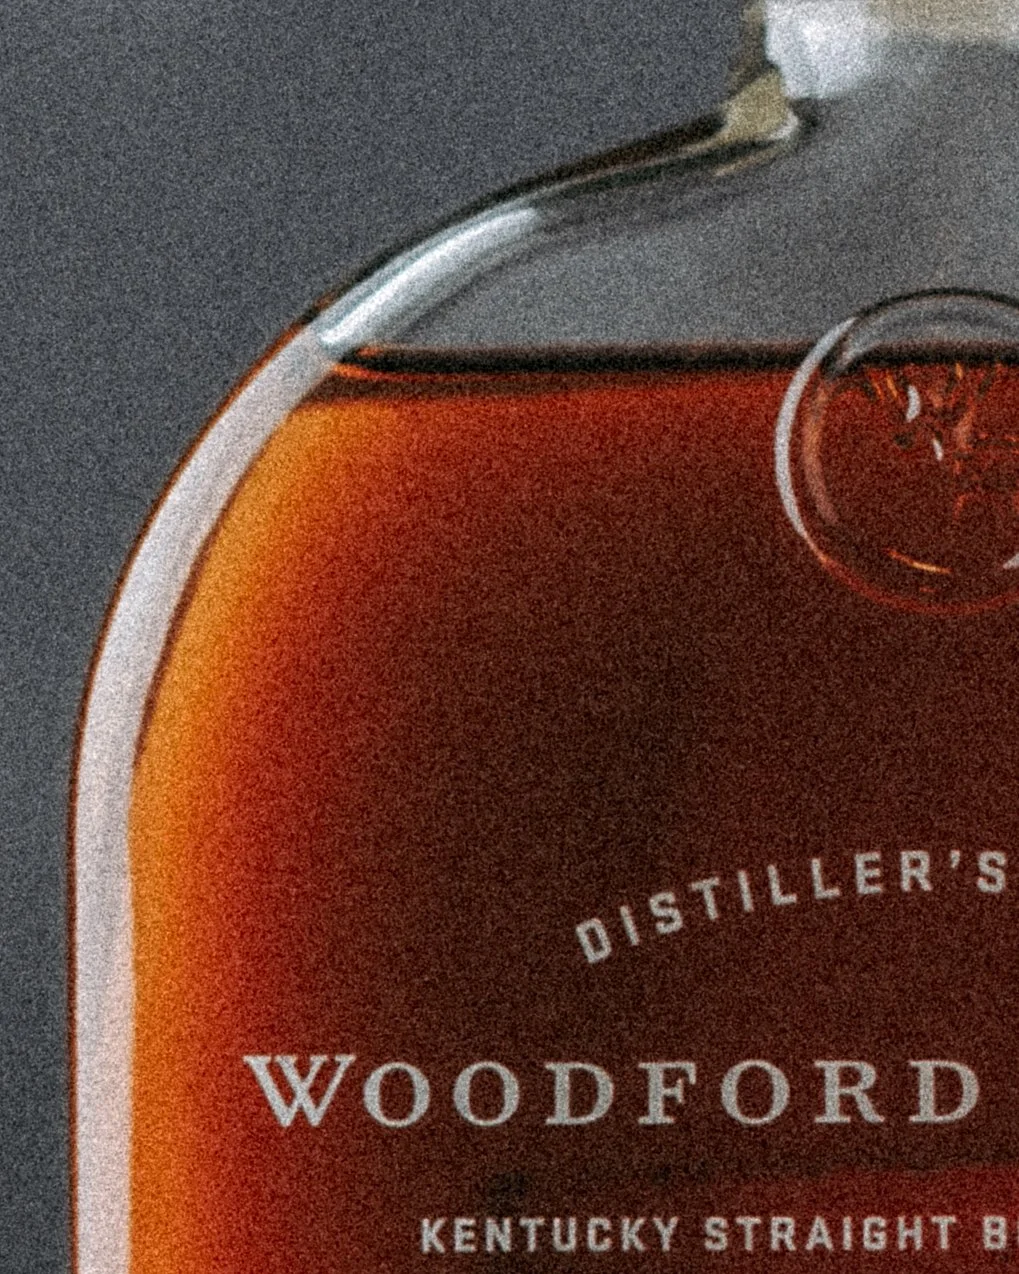
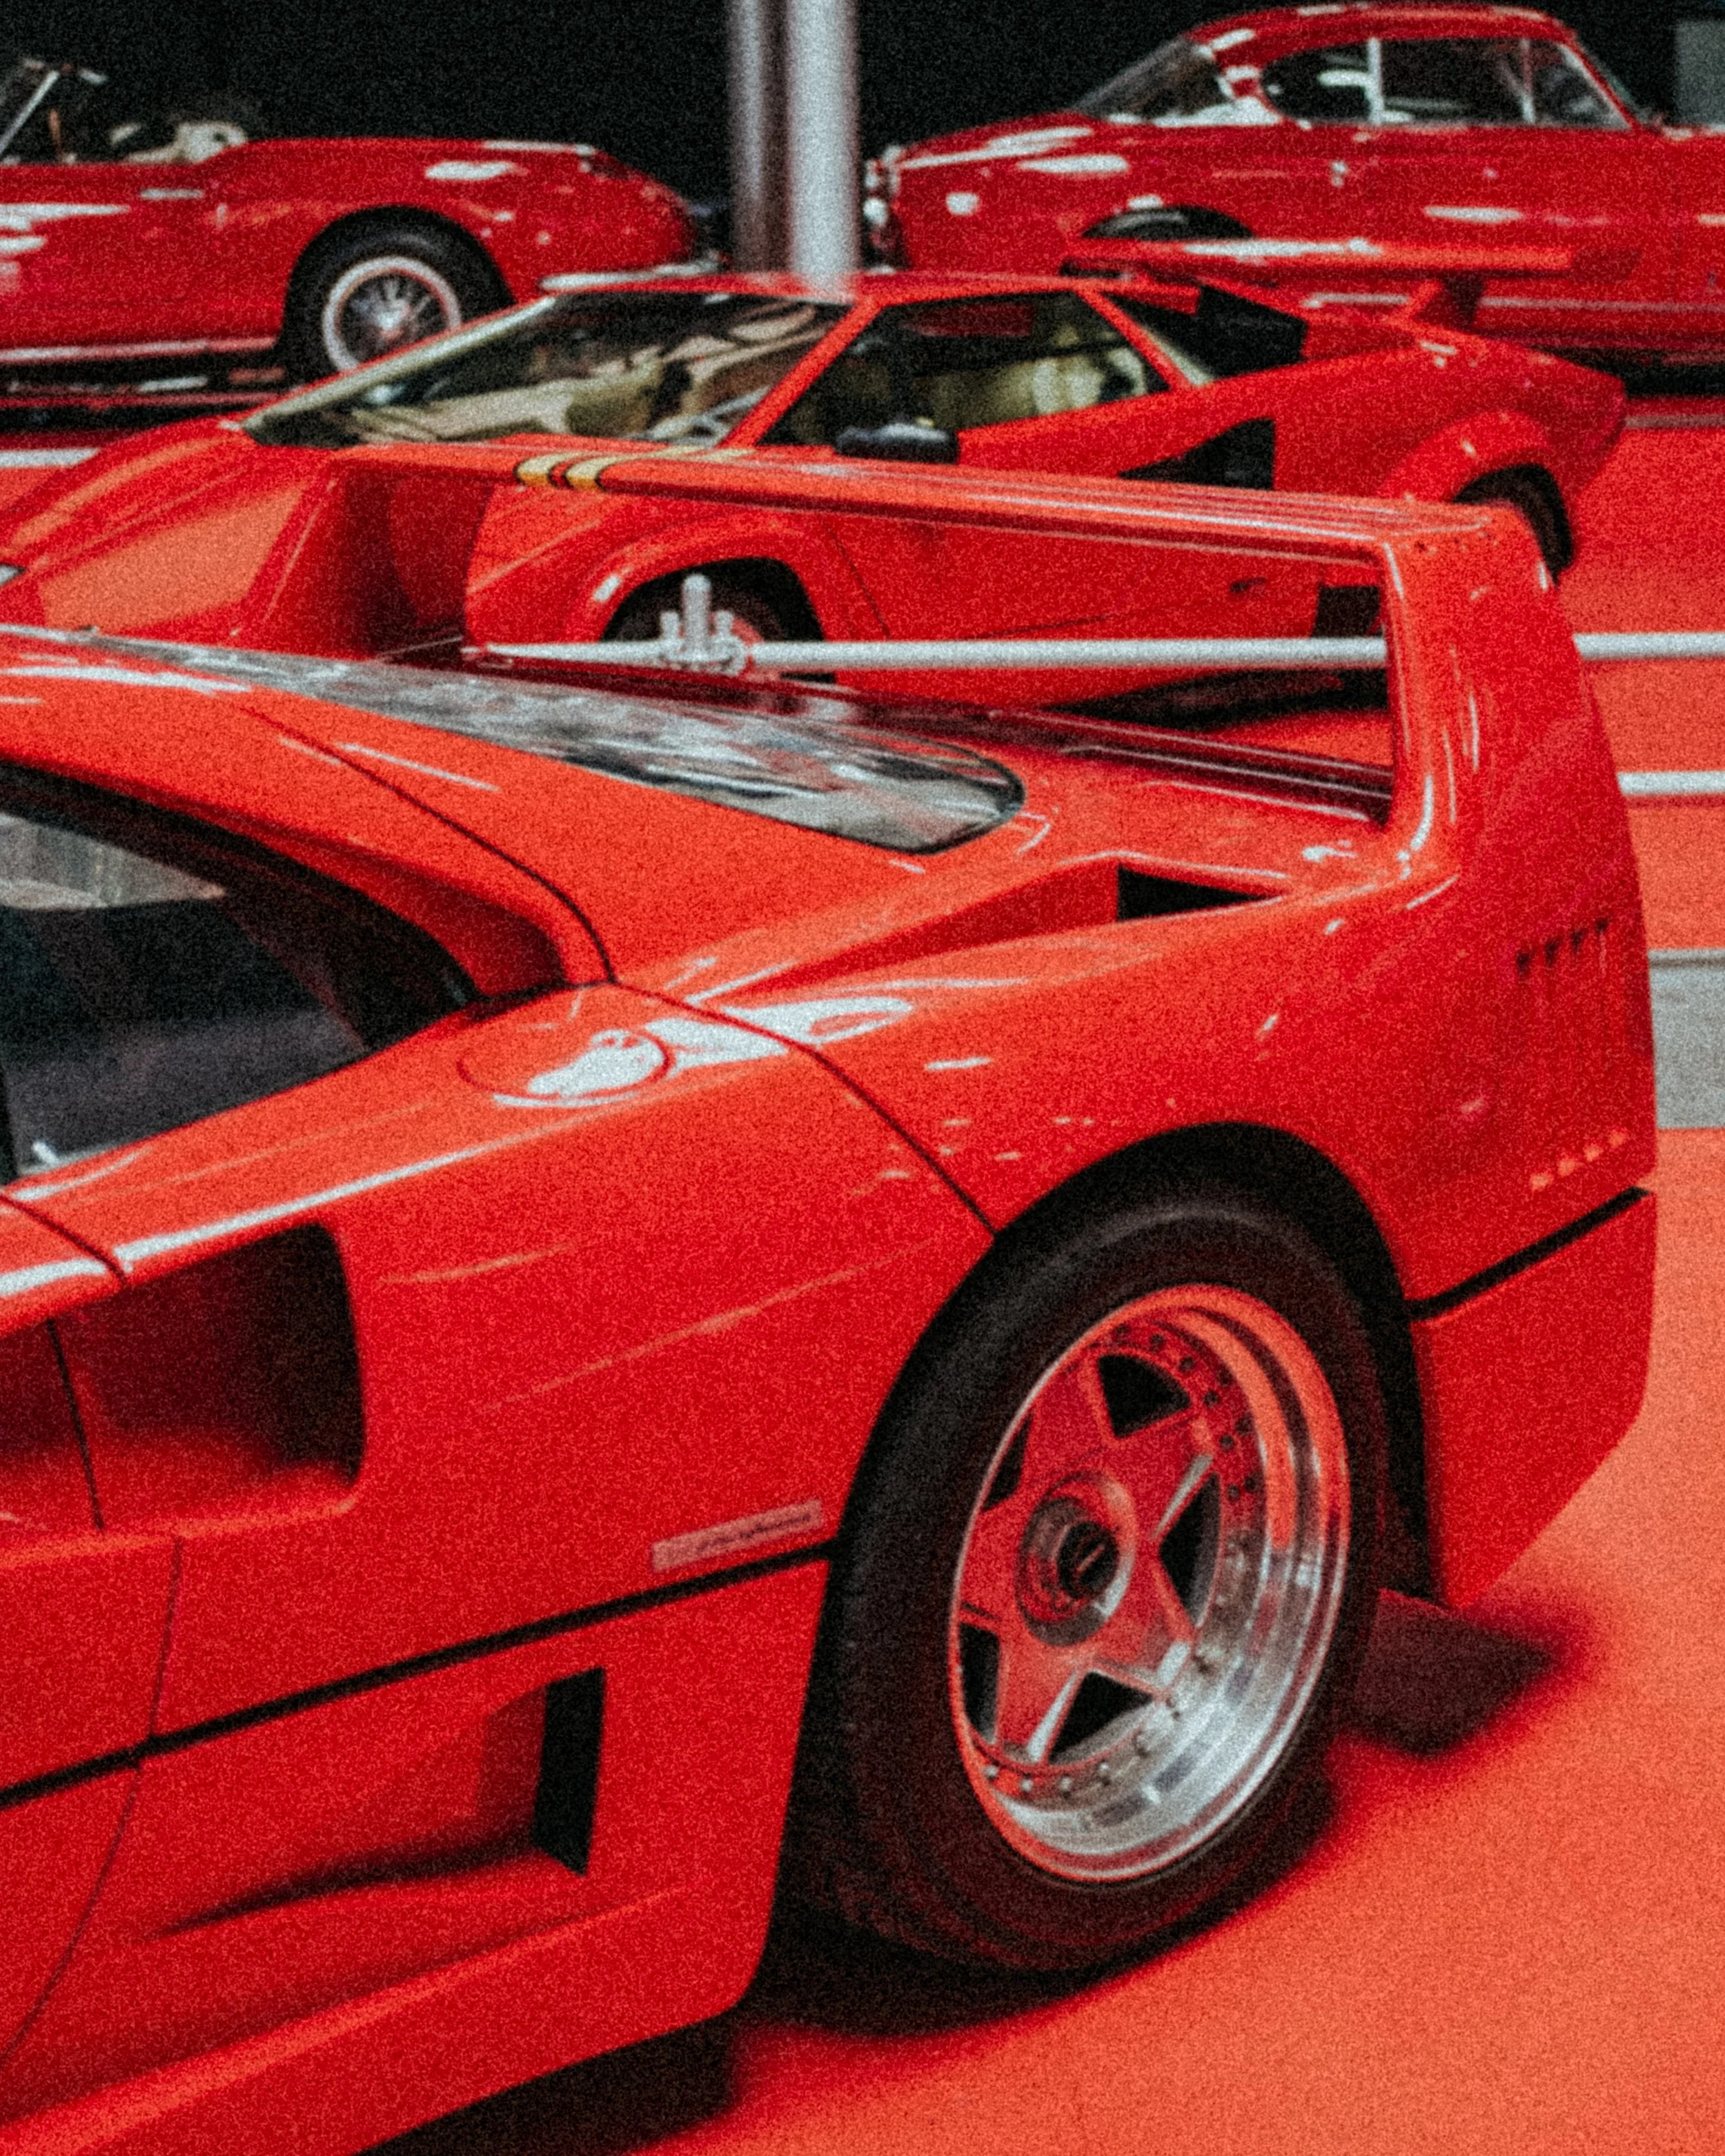
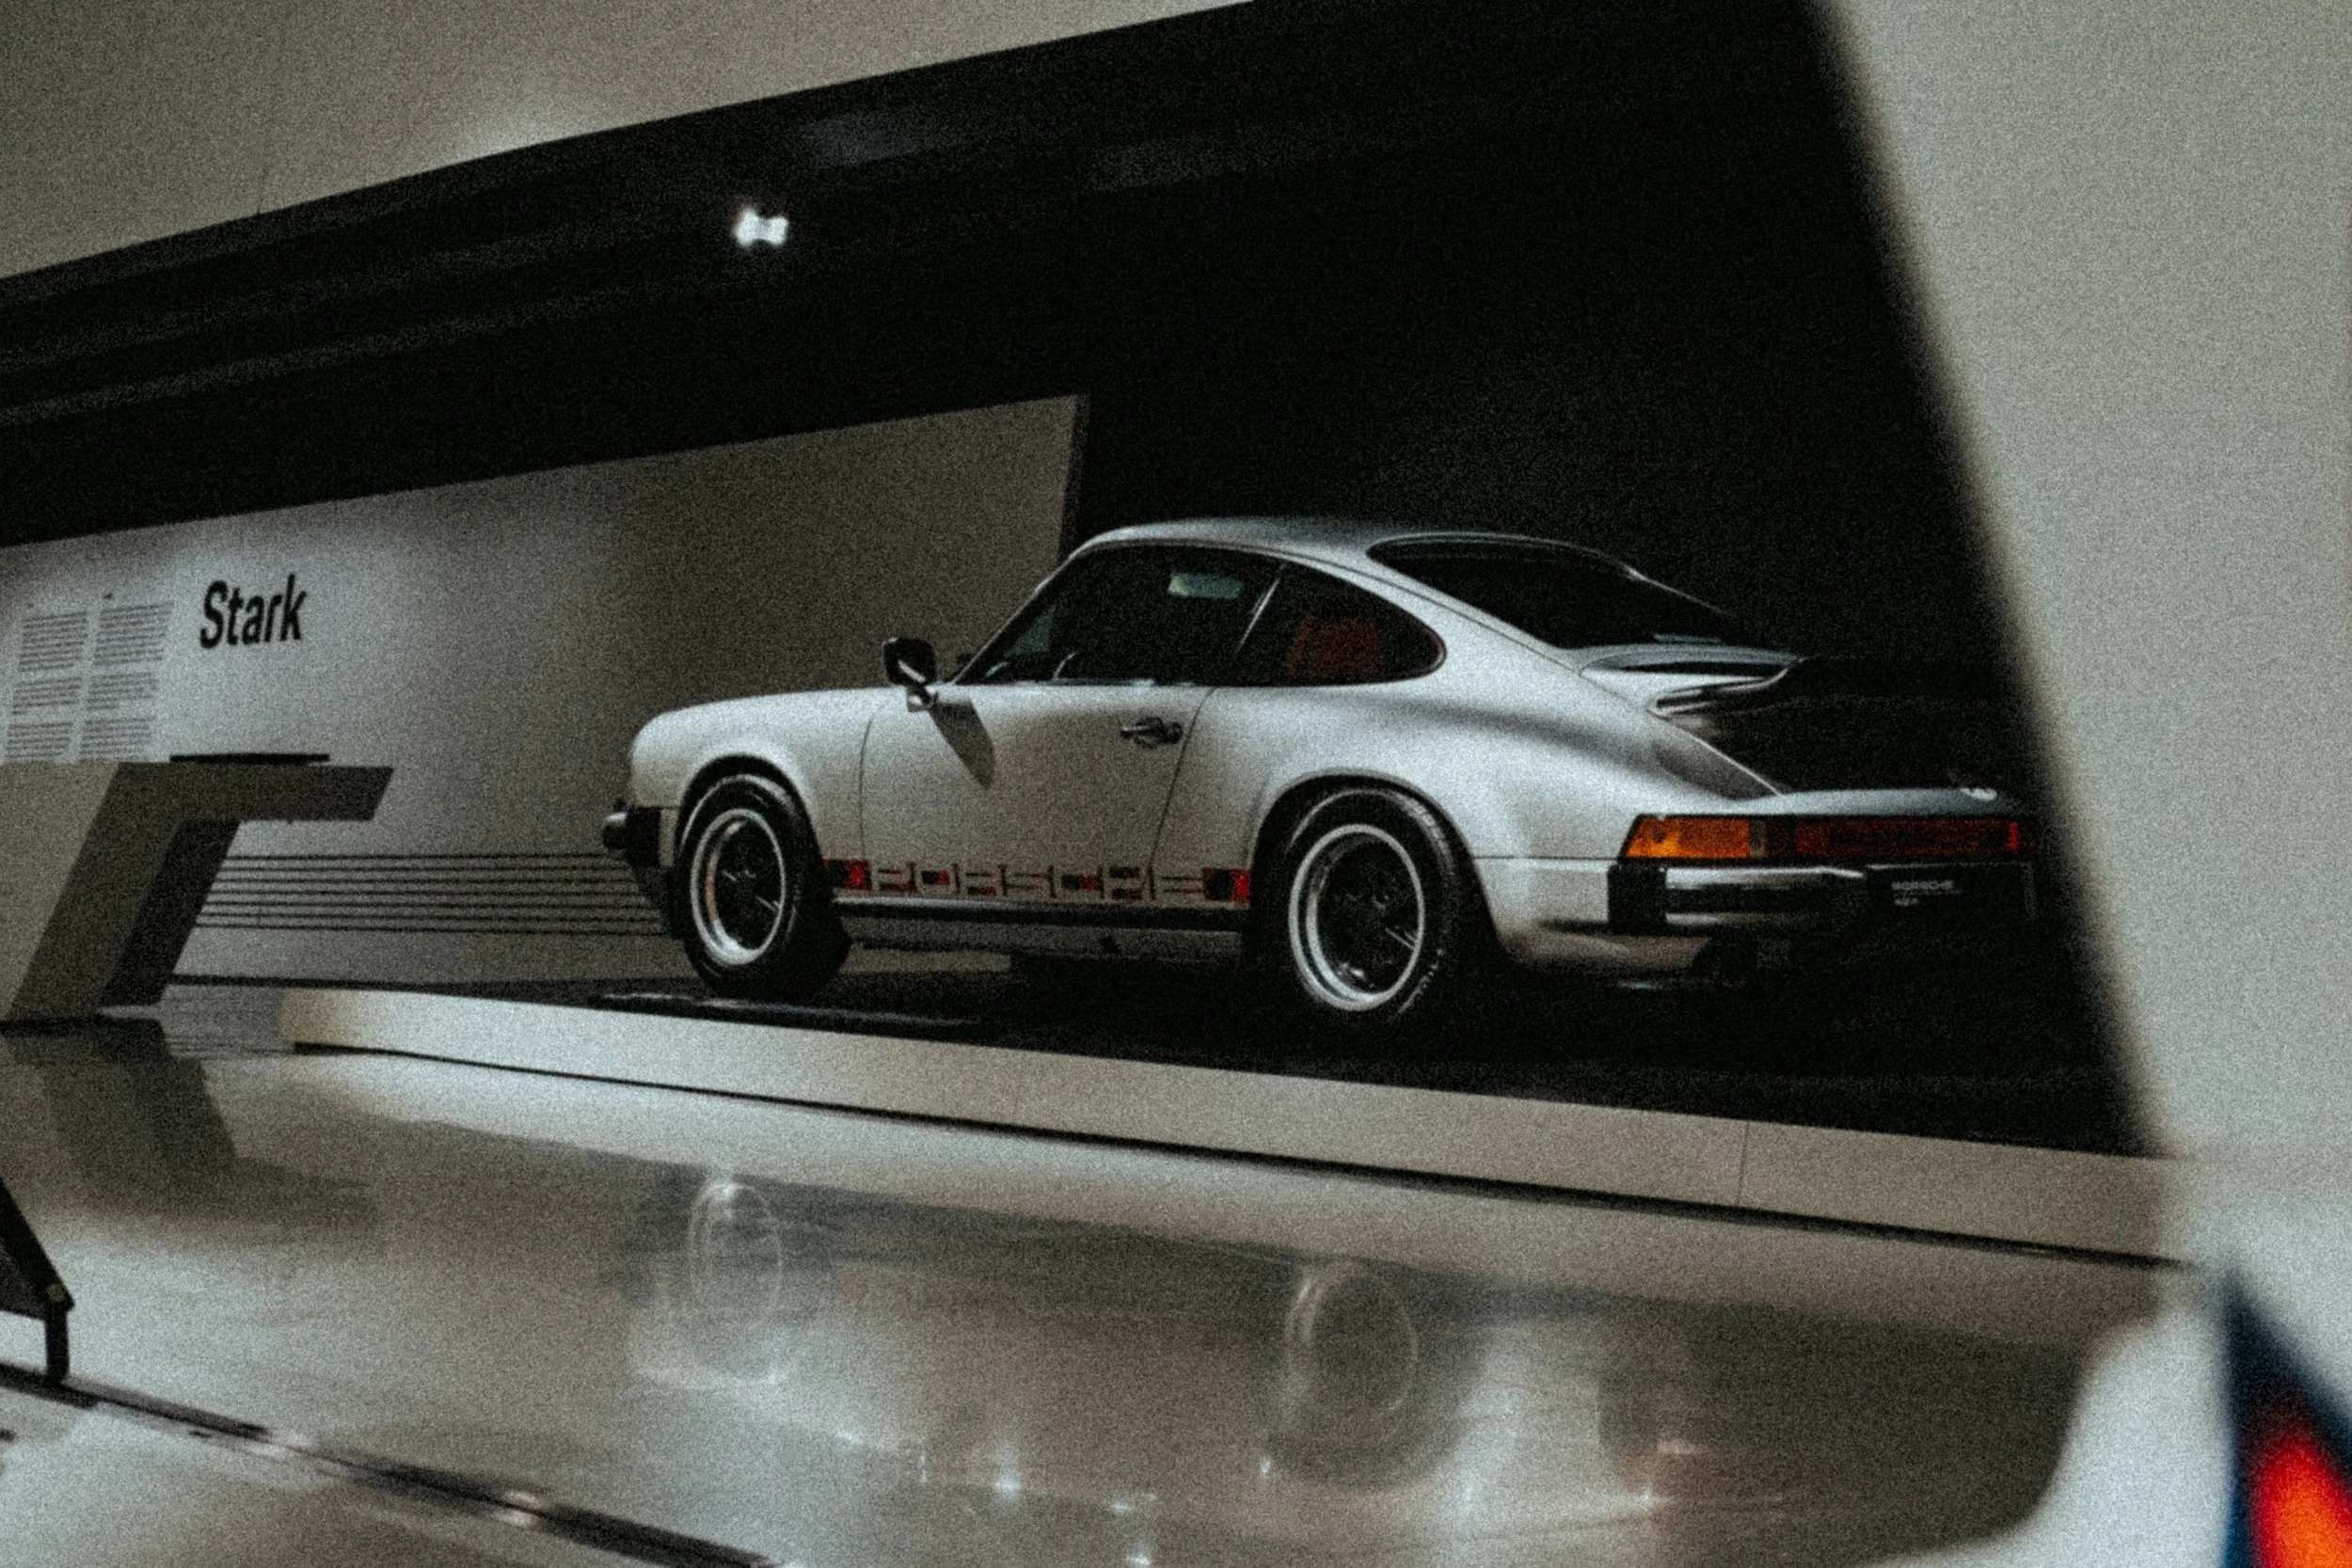
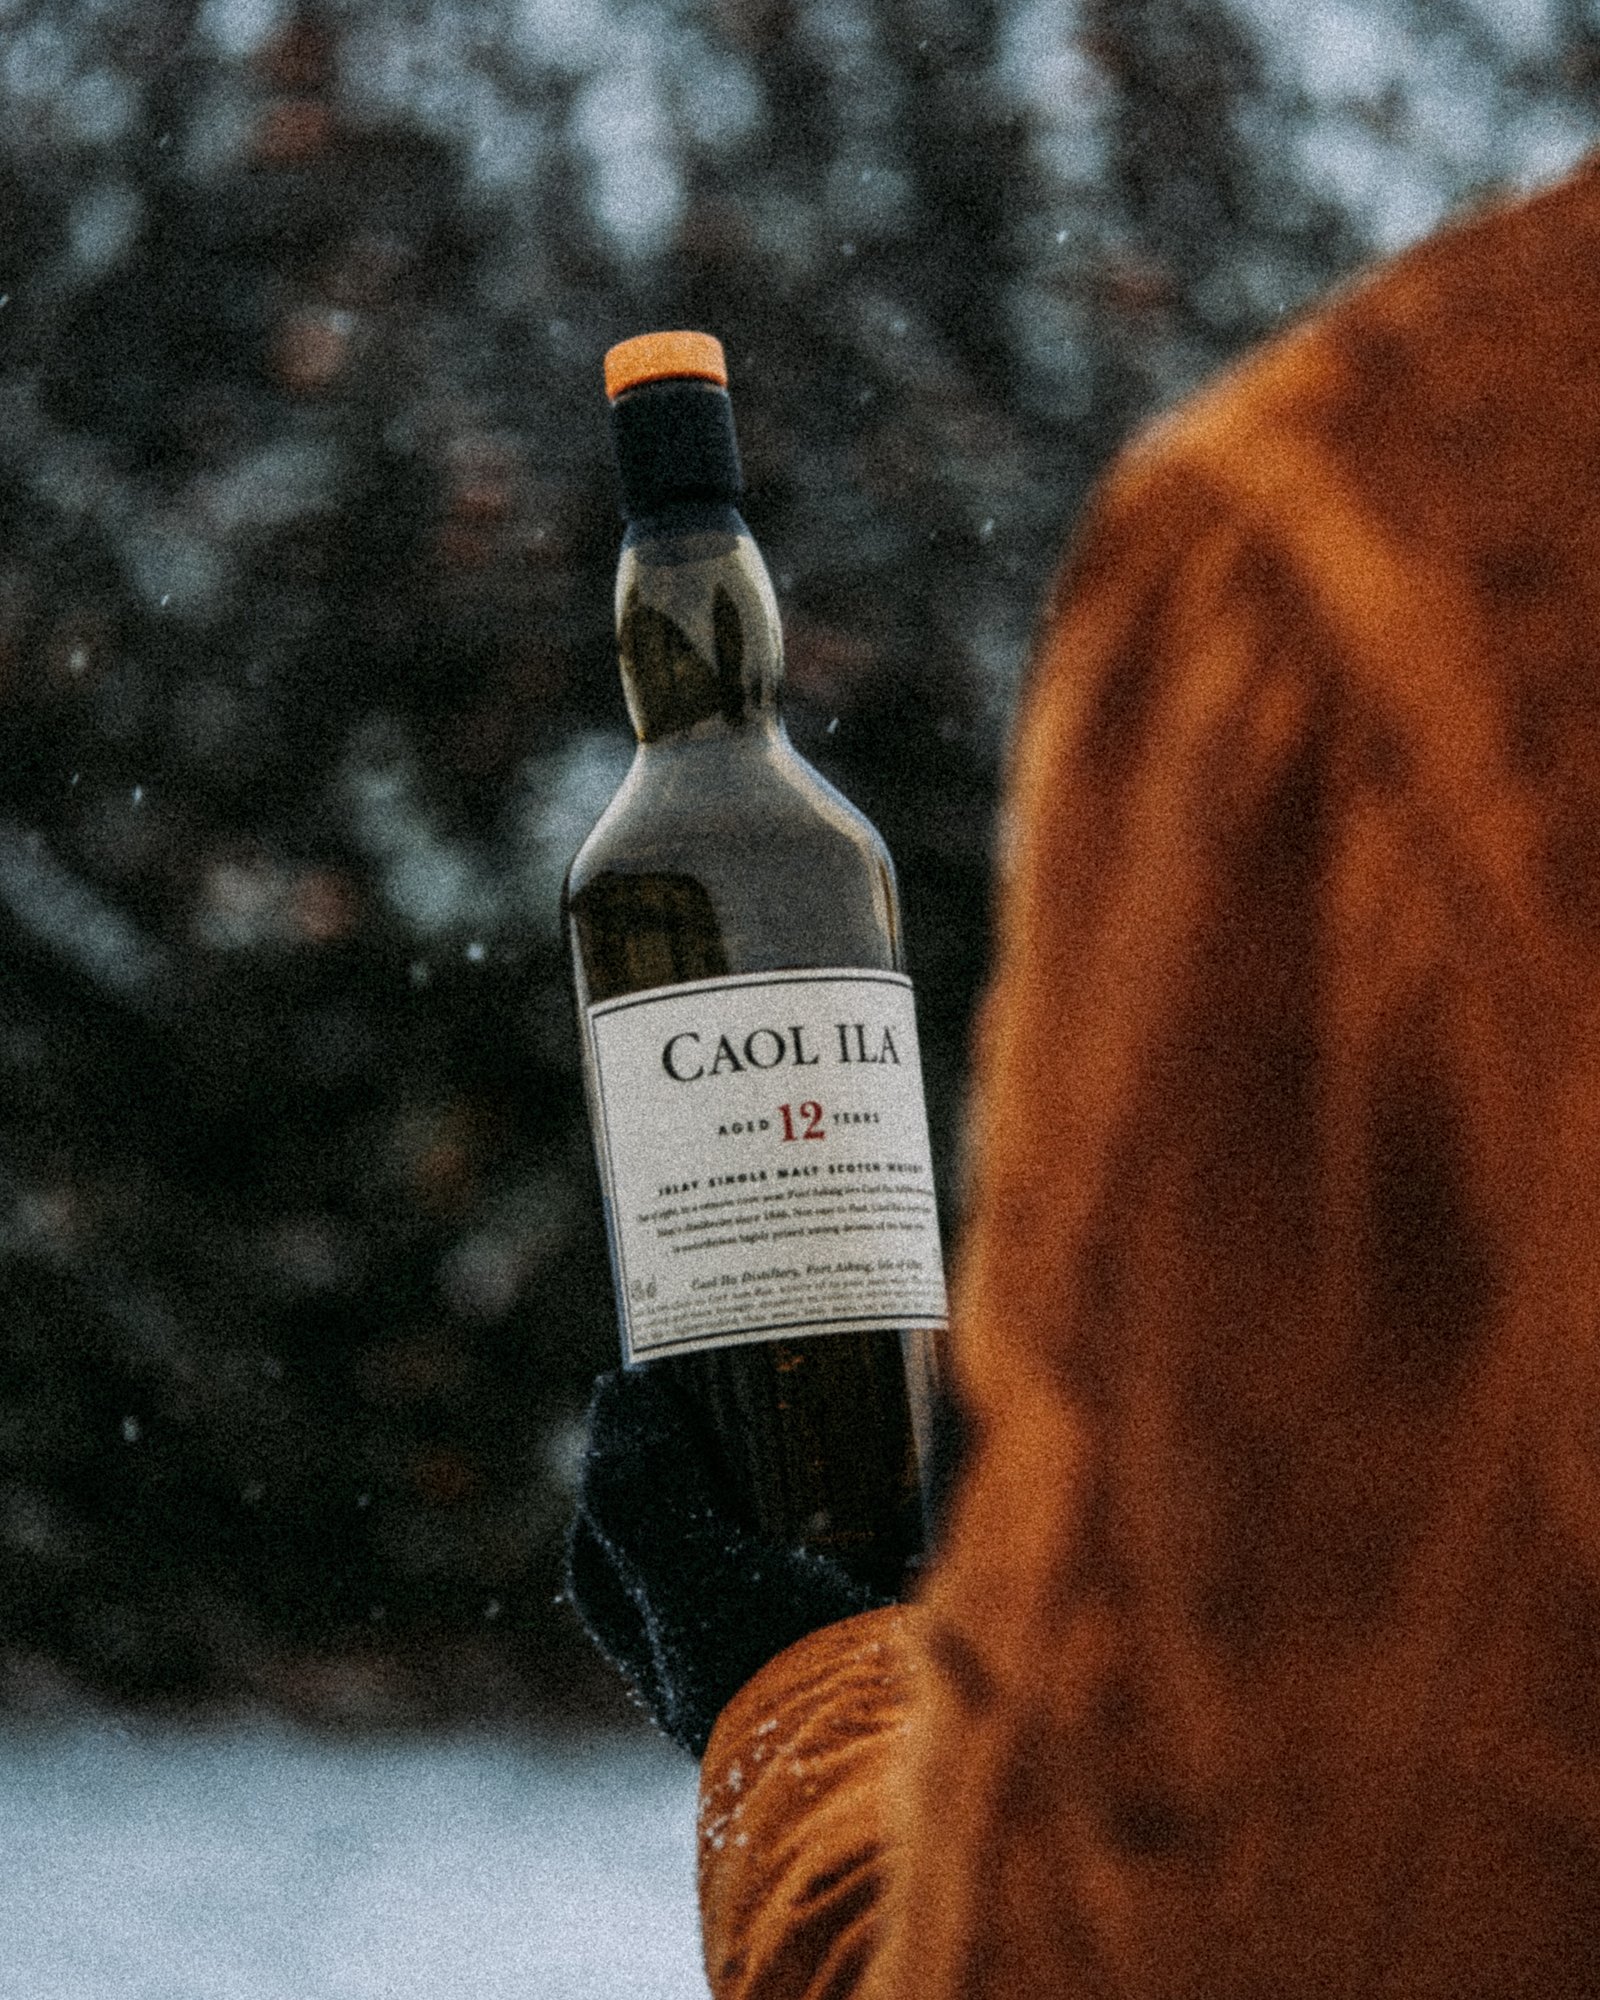
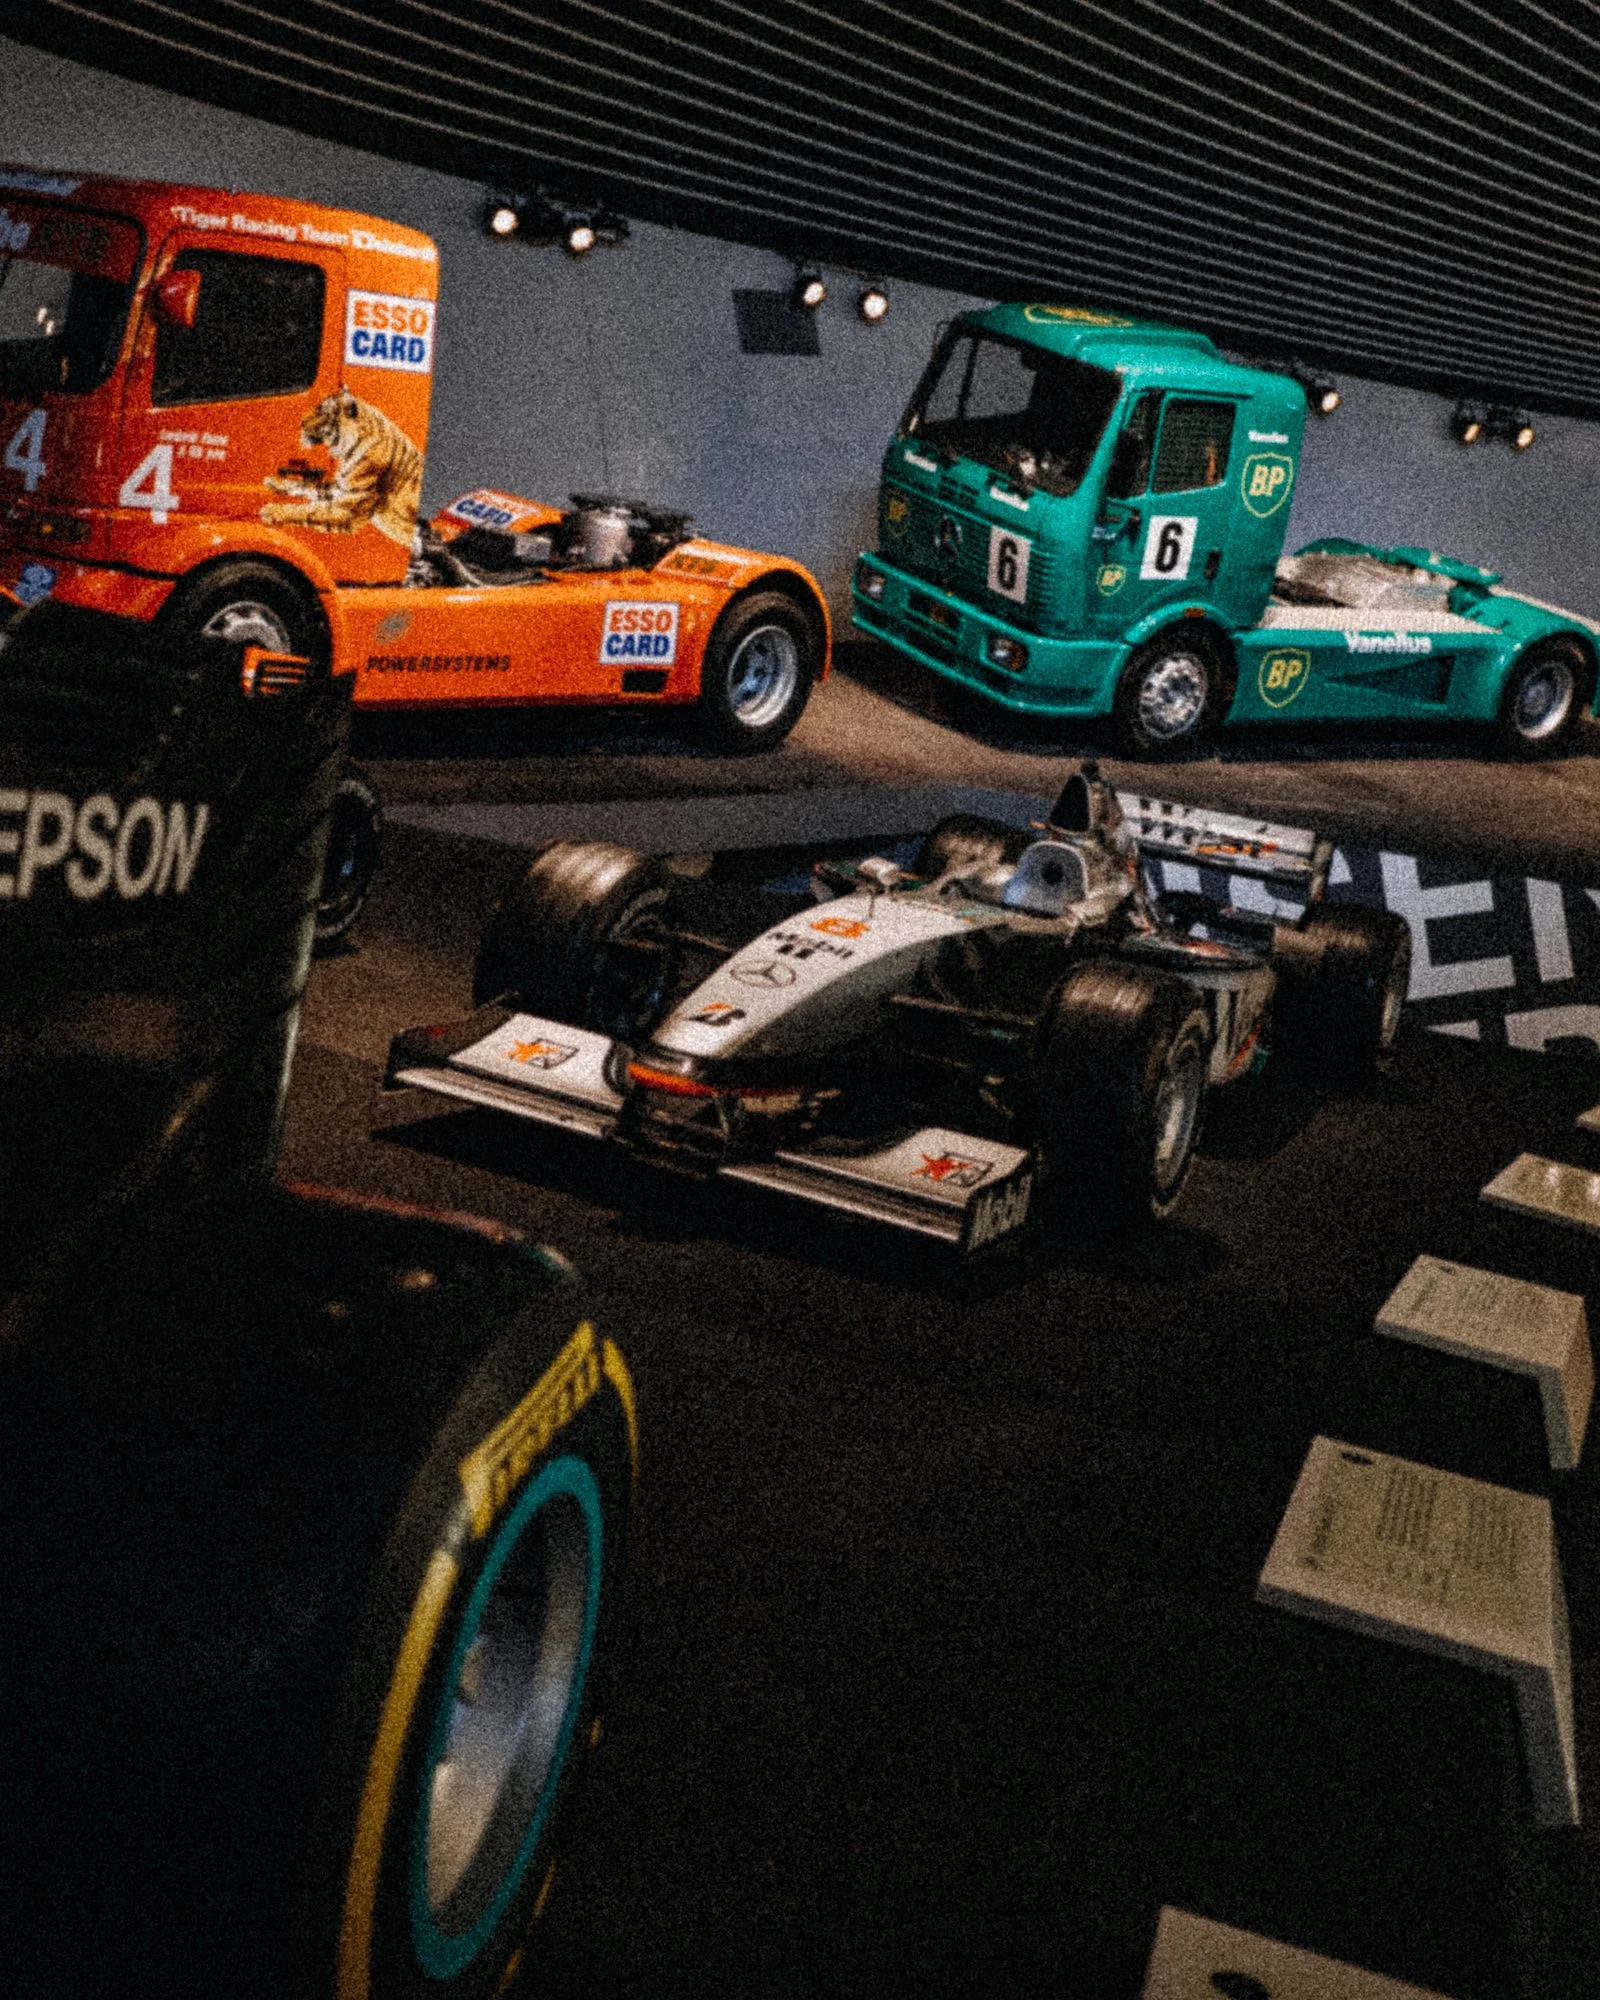
Chasing the nostalgia look in photography, I am trying to achieve that vintage film aestetic and texture throughout photo editing retaining my colorgrade. When I got bored of digitaly sharp, clean and punchy images, that are very popular today, I love to add film grain on my photos, since I can not afford to shoot on film and analogue.
To accomplish that, I am into the adding significant amount of film grain on my RAW images using the editing software. Also, I do intentionaly increase roughness and choose large size of the grain to soften the overall look of the image, getting the unique filmic quality, like the image was shoot with vintage lens on old grainy film roll.
Vintage look
For newer generations grain on someone’s photos instantly associate with poor quality images taken with some old camera gear with low performances, because film grain is very often mistaken with digital noise produced with digital cameras on higher iso values in bad lightning conditions. This type of aestetic might be least pleasing, looking harsh and outdated compared to modern editing styles.
Differenece between digital noise on high iso and added grain in this case is ability to retain colors and decent amount of contrast, which is key to my editing style. Washed out blacks with almost grey tone, is also one of the main aspects of the film and that characteristic lowers the overall punch of the images.
How I achieve vintage look and add grain on purpose step by step in Adobe Lightroom:
1.First I apply my preset or do my usual editing workflow, do the color grading, basic adjustments, sharpening and overall image balancing…
2.Than go to Effects tab in Adobe Lightroom and find sliders for Grain.
3. Amount of Grain - First slider is for addition of the certain amount of grain that will be added on the image. I choose to set slider between 35 and 75, depending on look that I want to achieve. Higher values work best for moody scenes or when I want strong analog film character, while lower values are better for cleaner images that still retain grainy texture.
4. Size of Grain - Second slider increase size of the grain, and I prefer larger size of it, so I choose to set slider between 30 and 75.
5. Roughness of Grain - Third slider increases roughness of the added grain, and my preference is towards heavier side, so I choose to set slider between 50 and 75.
Adding specific combinations of amount, size and roughness of grain intentionally combined with colour grading helps me achieve analog inspired look keeping full control over the final image.


Film photography
Shooting on film nowadays is expensive compared to digital, and that is the only reason why I am not fully into the old school photography revival yet. Film rolls might be pricy today and they have limited number of photos. Also, it takes time and additional costs to develop. Film rolls, as material with gelatine emulsion, have short expiry date if not used right on time. And you have to be very careful when unloading it from camera to prevent exposure which will ruin the photos that are taken.
It might be discouraging taking into account these “drawbacks” of film photography which sounds like seriuos constrains, yet that procces forces you to slow down and makes photographers to enjoy more compared to today fast pace of modern photography. In the future I hope I will shoot more analogue than just paying an hommage by editing in software...it is well worthy, fun and inspiring - opening the new possibilites for creative work.